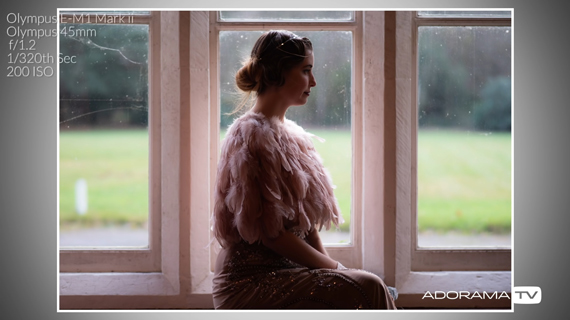
Windows act as wonderful sources of natural light for indoor portraits. Place your subject close to a window, and you can get beautiful natural lighting. However, when the window gets included in the shot, this can trick the camera’s metering quite easily. Photographer Gavin Hoey from Adorama explains how you can take control of the window and create three different looks:
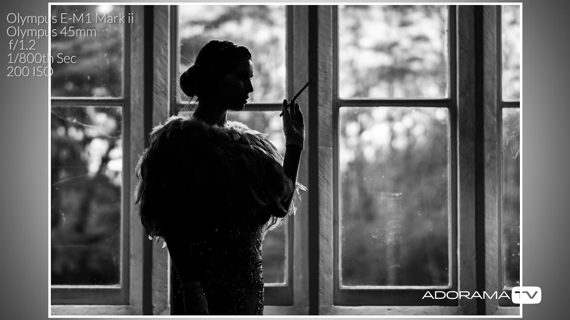
1. Create a Silhouette
A silhouette portrait works best with a subject placed in a dark environment (like inside a room) against a bright outside environment. When the camera is allowed to meter automatically in such a scenario, you end up getting an image with even exposure on the inside and outside. The image is definitely not flattering.
Instead, you can take control of the exposure by turning the camera to manual mode and changing the shutter speed to adjust the exposure. By slowing the shutter speed, you can get a shot wherein the subject appears as a silhouette against the outside environment. If you feel that the amount of light on the subject is too much and that your silhouettes are not coming out great, try moving the subject farther away from the window.
Keep in mind that it’s important that you focus on the subject and not on the background. Also, since silhouette images appear better in black & white, you can try it in-camera, or later in post.
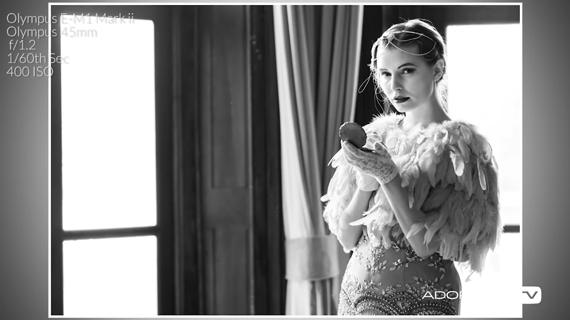
2. Expose for the Shadows
When using this technique, you do just the opposite of what you do when taking silhouettes. Instead of exposing for the highlights, expose for the shadows so that you can see maximum details on the subject. While doing so, you will notice that the window will be overexposed.
“This is a perfect technique if your world outside is less than glamorous.”
You can expose for the shadows easily when in manual mode. Set the metering mode to spot metering, and meter for the subject’s face by lowering the shutter speed.
3. Balance the Light
This technique comes in handy when you need the best of both worlds. When you balance the light between the subject and the window, you capture the details in both. But since the camera can struggle to keep a balance in contrasting lighting conditions, you’ll need to use a reflector or flash.
The reflector will reflect some light toward the subject and fill in the shadows. When you place the reflector close to the subject, it’ll light the subject quite evenly. This will allow you to shoot conveniently in aperture priority mode. If you prefer, you can still shoot in manual.
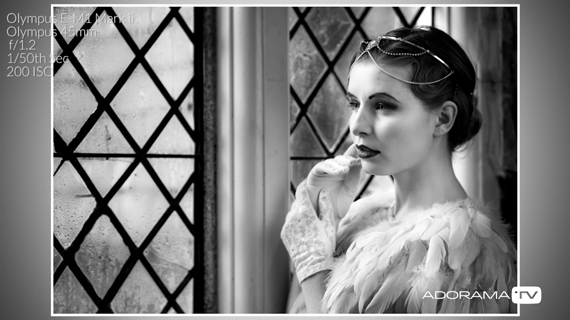
A window can really make a difference to the look and feel of your photos. And with these tips, you now know how to take better control over window light.
Like This Article?
Don't Miss The Next One!
Join over 100,000 photographers of all experience levels who receive our free photography tips and articles to stay current:


Leave a Reply