Space is fantastic. And what better opportunity to practice photographing spatial bodies than with our closest neighbor: the moon. Photographer Jay P. Morgan presents his tips and tricks on how to photograph the moon:
Timing
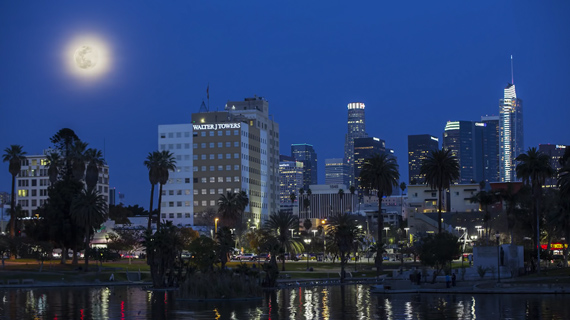
In order to photograph the moon in its full glory, you might be naturally tempted to shoot during a full moon. However, when it is a full moon, the sunlight is hitting the moon straight on. This causes the details on the face of the moon, that is, the craters, to be less visible. Hence, Morgan suggests that you plan your shoot a day before or after the actual full moon. The side lit moon will have greater details.
Location
The rise and set cycle of the moon is less precise than that of the sun. Every evening, the moon can rise around 50 minutes late. You therefore need to use some kind of tool to keep track of the moon. Morgan suggests using the app “Moon Seeker” for the purpose. The app will let you know when the moon will be rising, and also tell you where the moon will be at what time of the night. Morgan uses this feature of the app to identify when the moon will be on top of the skyline. This allows for better planning so that you can get your gear and setup ready well ahead.
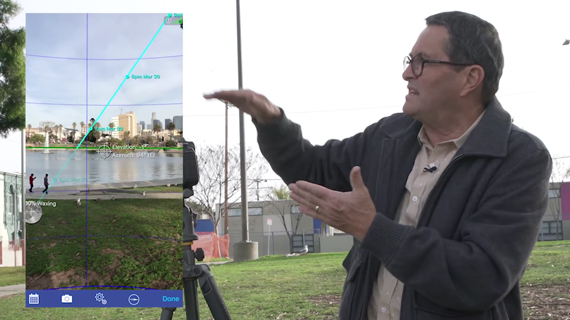
Using the moon seeker app to locate the moon
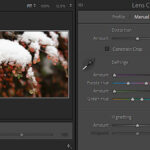
Exposure Settings
If you photograph the moon directly when it has risen up, your settings will be comparable to when you take a photo during day time. But if you try to shoot it when it is low at the horizon, it will seem pretty dark. This is because the light has to pass through all of our atmosphere. So you will need to adjust your exposure settings depending on the moon’s location.
Camera Setup
Morgan uses two cameras to photograph the moon. On one camera, he uses his Tamron 24-70mm lens. This lens allows him to get a wider perspective as well and get some part of the lake in front of him. On the other camera, he uses his Tamron 70-200mm lens to get a tighter shot of the moon with the top of the buildings. This two camera setup will also come in handy as you will not get enough time to change the lenses. This is due to the fact that the moon will move pretty fast and will only be in the area where you need it for 15 to 20 minutes.
You will also notice that Morgan uses tripods while setting up the cameras. Tripods are especially necessary when using longer lenses to reduce any kind of camera shake. You can further reduce camera shake by using some kind of triggering device to release the shutter remotely. Morgan uses a MIOPS Mobile Remote to control his camera through his smartphone and release the shutter remotely. And if you are concerned about the mirror in your DSLR causing camera shake, you can lock the mirror as well. This is especially useful if you are using a really long focal length.
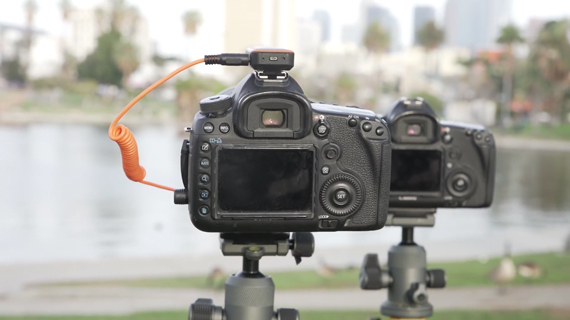
MIOPS Mobile Remote for remote shutter release
To maintain a proper color balance Morgan suggests that you keep the white balance set to auto. He also prefers to shoot in aperture priority mode with the aperture set at f/4 instead of f/2.8. While he prefers to meter with the exposure compensation set at -2/3, he also keeps an eye on every shot to see how the exposure is changing. He then makes necessary changes to the exposure compensation depending on how the exposures are coming out.
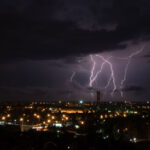
So the key here is to understand when and where the moon will be rising and to be prepared with you gear to capture it. However, at times you cannot predict the weather, and clouds may interfere with your photo shoot. Don’t lose hope! You can give it another try next month.
Like This Article?
Don't Miss The Next One!
Join over 100,000 photographers of all experience levels who receive our free photography tips and articles to stay current:


Leave a Reply