If you’re just getting started with studio portraits and artificial lighting, chances are that you’re wondering about where to place your lights. Photographer Daniel Norton from Adorama shares some commonly used portrait lighting setups to help you get started:
Getting Started
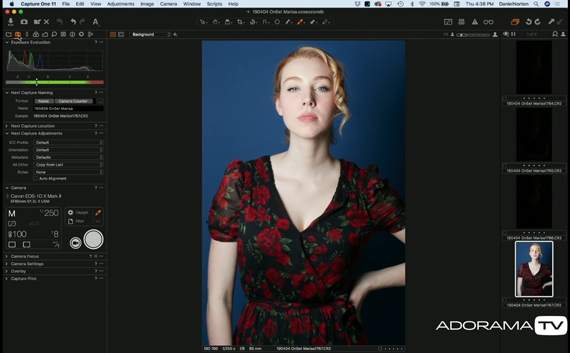
Norton uses a single light setup with a Profoto B1X inside a Chimera extra small softbox. First, he checks the exposure by taking a shot with the flash turned off. The idea is to get a black frame with no ambient light creeping in. He gets it at f/8 and 1/250 second. So, at this setting when he uses the flash, it will be the only light that’s affecting the final image. It’s important to have complete control over the light you’re using on set.
Classic 45-Degree Light
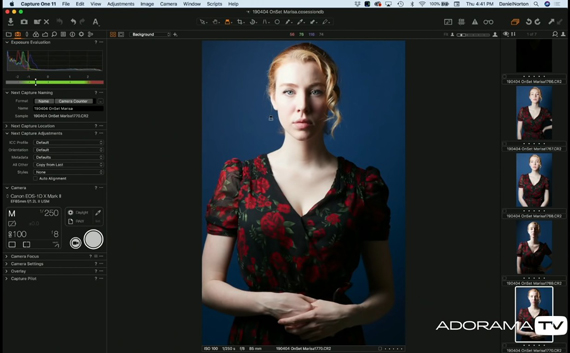
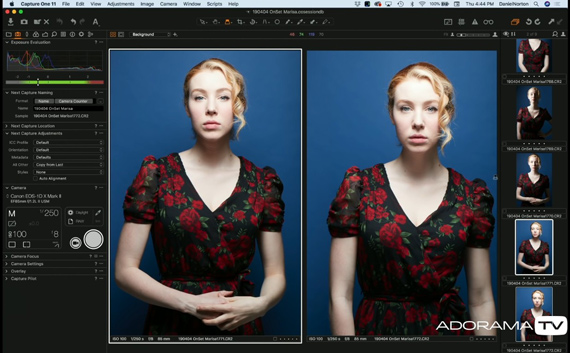
This is often the most basic lighting setup that beginner photographers start with. Place the light source in front of the model roughly at a 45-degree angle. Place the light as close to the subject as possible without getting it in the frame.
As expected, you can see some nose shadow on the side of the face that’s away from the light source. There’s also a fall-off to the shadows on the parts of the neck and shoulder that are away from the light source.
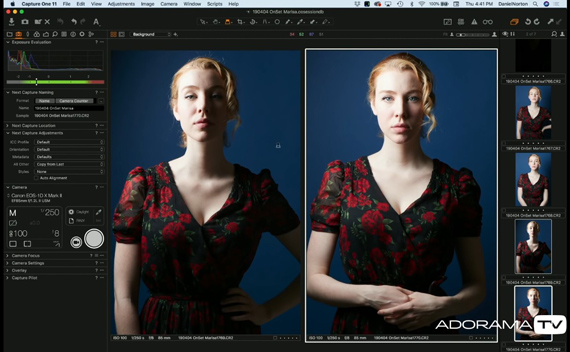
A better approach to this lighting setup is to have the light coming in from a greater height. You’ll end up with softer shadows this way.
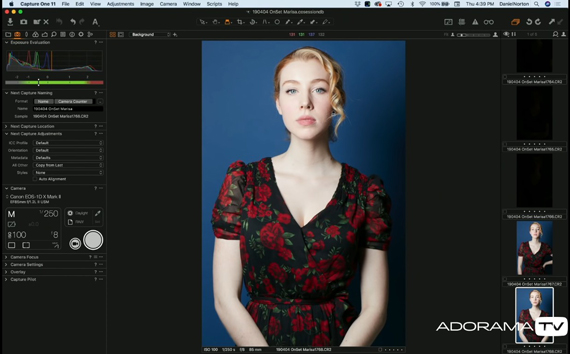
Having the light coming in from above softens the shadows.
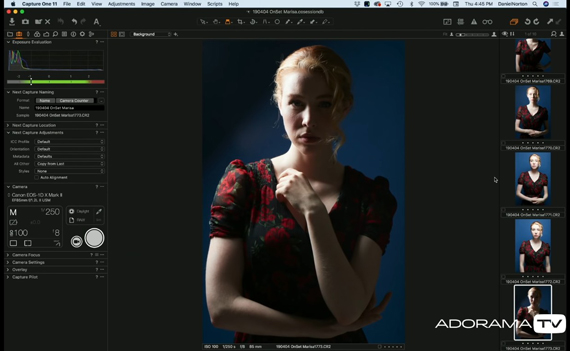
Side Lighting for Dramatic Portraits
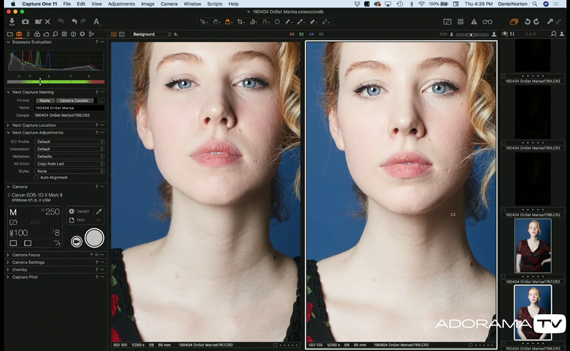
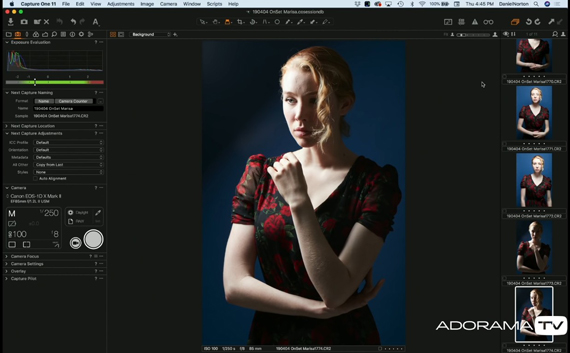
To get a dramatic and moody portrait, move the light more to the side of the model. Doing so will have more of the light falling on one side of the model’s face and a quick falloff on the other.
If you’re not going for something overly dramatic, simply move the light forward a bit. This will cause some amount of light to spill over to the other side of the face.
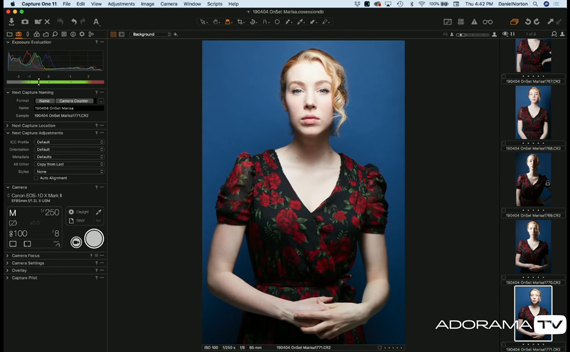
Butterfly Lighting
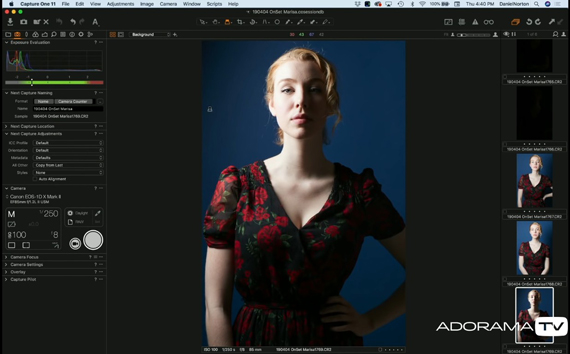
This lighting setup usually works best with feminine subjects. The butterfly lighting setup gives an even light across the face, gets rid of most shadows, and makes the face appear narrower. This is why most beauty shots make use of this lighting technique.
Place the light source in front of and above the subject. Also make sure that the softbox is slightly tilted toward the subject. This will light up the subject’s face evenly while causing some shadows to appear under the chin.
If you feel the need to fill in the shadows, use a reflector. Or, use another light at a very low power setting.
Backlighting
Backlighting can be an interesting way to light your subject if you’re going for a dramatic portrait. As the name suggests, when using this technique, you light your subject from the back.
“Even more so than the side light, we don’t really have any light on the face.”
In order to get some more light on the face, have the subject turn their face slightly more toward the light.
Not all of these lighting techniques will work for every subject. You’ll need to make some adjustments depending on your subject and light source.
Like This Article?
Don't Miss The Next One!
Join over 100,000 photographers of all experience levels who receive our free photography tips and articles to stay current:


Leave a Reply