Light painting is a long exposure photography technique that you can use to creatively capture photos in the dark. By using light sources as brushes, you can draw shapes and patterns. COOPH has put together this video with five hacks that you can use for light painting:
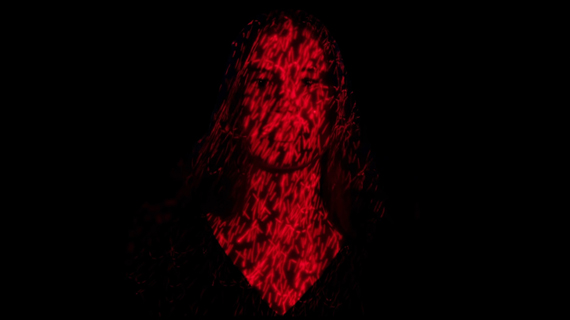
1. Laser Scanning
You can get a cool laser scanning effect by following these simple steps:
- Have the subject seated on a chair inside a room. Ask them to stay as stationary as possible until you’re done taking the photos.
- Set the camera up on a tripod, ready to take a long exposure. Even better, use it in bulb mode with a remote shutter release.
- Block any light entering a room by covering the openings with a dark cloth. Close any doors and turn off the lights.
- Release the shutter and draw streaks of light across your subject’s body using laser pointers.
You can use the same concept on other subjects and get interesting images.
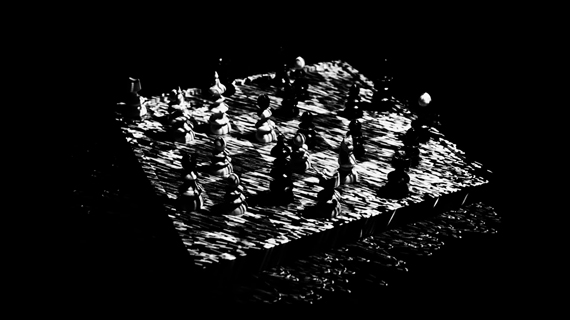
You can even use a tag scanner. It’s a great tool for this purpose and you’ll end up getting some fantastic images.
Light Painting with a Tag Scanner
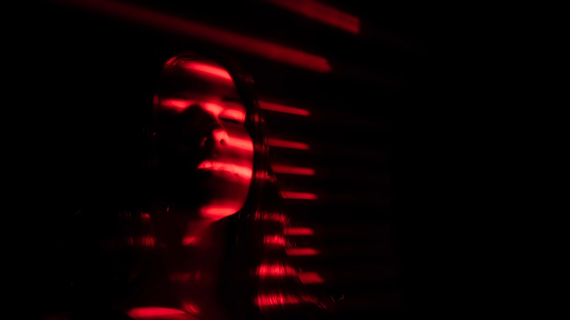
2. Projector Painting
Start off by creating interesting colors or patterns in your computer. Then, using a projector, project them on your subject with all the lights turned off and take photos.
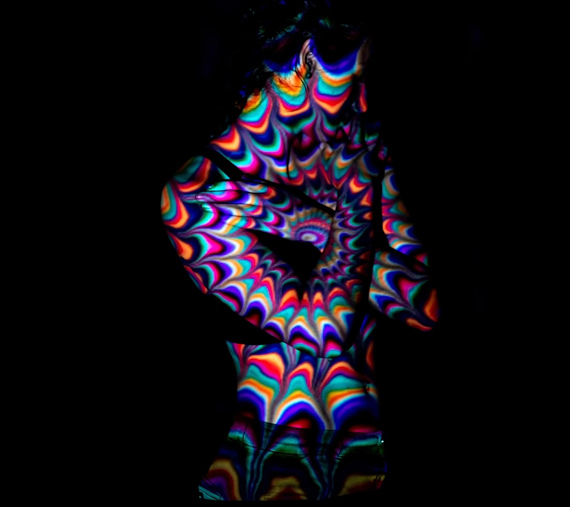
And don’t forget to get creative with your choice of colors and patterns.

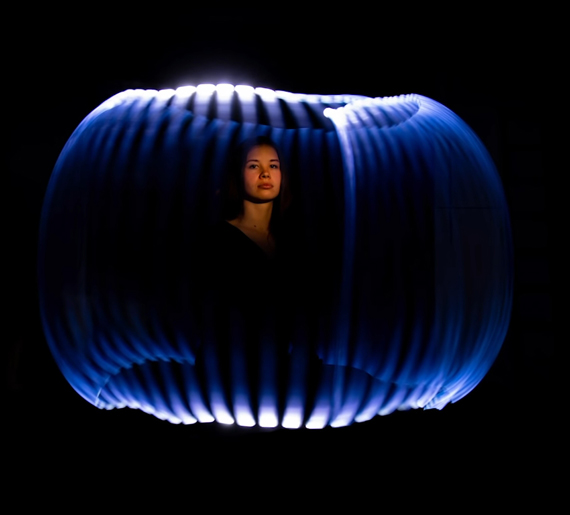
3. DIY Strobe Pencil
This is a technique similar to light painting using a flashlight, but instead of using a simple flashlight, you need to modify it a bit.
- Cut out a piece of acrylic sheet in any shape you want.
- Attach a flashlight to the end of the acrylic shape using some foam and tape.
- When you turn the flashlight on, the edge of the acrylic shape will shine, and voila! you have reshaped the flashlight.
- Using this lighting tool, draw around your subject in a smooth motion with the camera set to shoot in long exposure mode. You can pop a flash on your subject to freeze them in place.

You can use different kinds of lighting tools and shapes for variety.
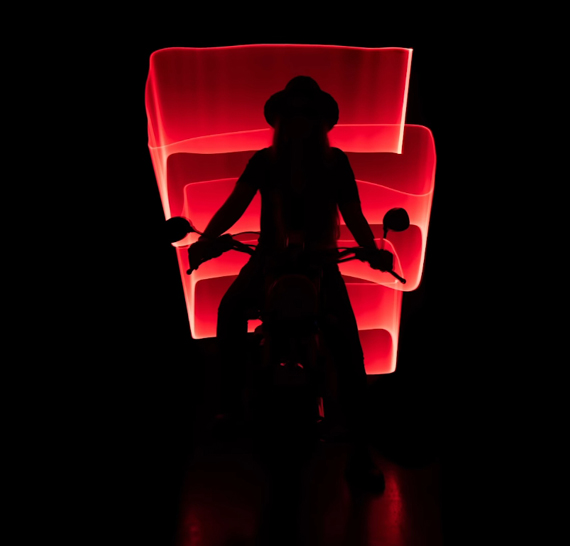
4. Classic Light Painting
This time, instead of using acrylic pieces to shape light, use traditional flashlights or other light sticks.
- Set the camera up to shoot long exposure.
- With the model staying still, draw patterns around them.
- Use a mix of colors for more interesting effects.
If the subject appears blurry, pop a flash on the subject, then continue painting. The flash will freeze the subject and keep motion blur from appearing.
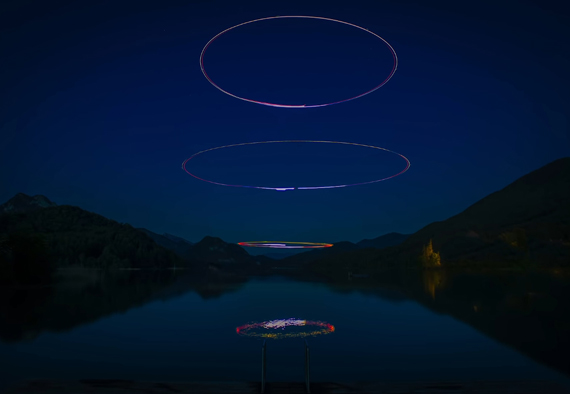
5. Drone Painting
If you really want to take your light painting photography to the next level, drone painting is the way to go. However, be sure to try this in an open place when the lighting outside is low.
- Attach small LED flashlights to a drone, making sure that they don’t get in the way of the propellers.
- Once your shot is composed, set the camera to take a long exposure and bring the drone into the shot.
- The path that you fly the drone in will leave an impression in the final image just like in other cases of light painting.
Be sure to try these tips out. If you have any other light painting tips, let us know in the comments.
Like This Article?
Don't Miss The Next One!
Join over 100,000 photographers of all experience levels who receive our free photography tips and articles to stay current:


Flying a drone after dark is very illegal – and unsafe. There are enough idiots, doing idiotic things with drones, and encouraging them is not in the best interest of anybody.