Night photography can make Manual Mode feel more complicated than it really is. During the day, you can often change a setting and immediately see what happened. At night, exposures may last several seconds, autofocus can struggle, and the camera’s meter can become less useful.
The solution isn’t to memorize dozens of settings. Instead, give each of the three exposure settings one specific job. Once you decide what matters most in the scene, the settings become much easier to choose.
Related reminder: Want to master manual mode faster? Only 1 day left for the October PictureCorrect Premium Special Enrollment 🎉
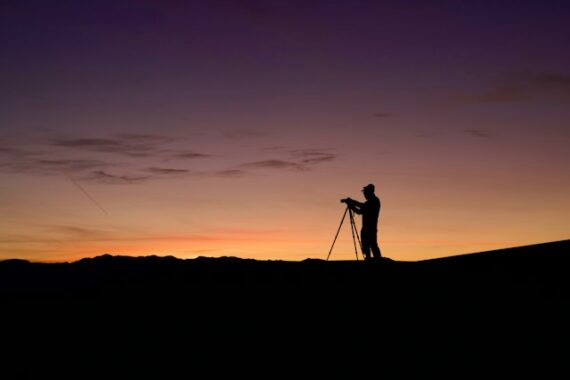
Photo captured by Steve Gribble
Step 1: Choose Your Aperture for the Look You Want
Start with aperture because it controls both depth of field and how much light reaches the sensor.
For many nighttime scenes, a good starting point is:
f/2.8 to f/4
This works especially well for stars, night portraits, and scenes where gathering light is important.
But if you’re photographing a cityscape and want more of the scene sharp—or you want pronounced starbursts around streetlights—you might use:
f/8 to f/11
Don’t choose the aperture simply because it makes the exposure brighter. Choose it based on the depth of field and visual effect you want.
Then leave it alone unless the scene changes.
Step 2: Set the Shutter Speed Based on Motion
Next ask yourself:
What is moving, and how do I want that movement to look?
If nothing important is moving and your camera is on a tripod, you have enormous freedom. A shutter speed of 2, 5, 10, or even 30 seconds may work perfectly well.
If cars are moving through the scene, a longer exposure can transform their headlights and taillights into streaks.
If people are walking through the frame, several seconds may make them blur—or even nearly disappear.
Stars are different. If you want stars to remain points rather than becoming trails, your maximum exposure time depends on factors including focal length, sensor size, and resolution. This is where rules such as the 500 Rule can provide a rough starting point, although checking your stars at high magnification is more reliable.
The important idea is simple:
Shutter speed controls what happens to movement.
Choose it intentionally.
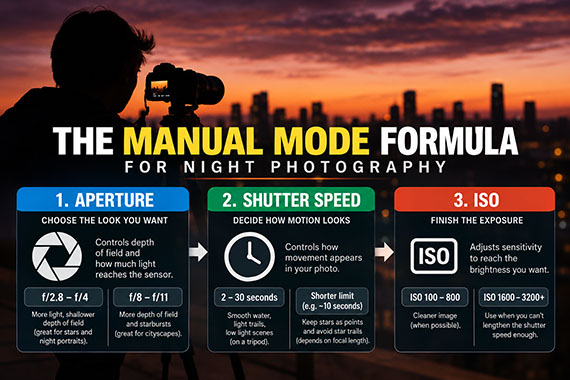
Step 3: Let ISO Finish the Exposure
Now you’ve made the two creative decisions.
Your aperture controls depth of field.
Your shutter speed controls motion.
That leaves ISO.
Instead of randomly changing all three settings until the exposure looks right, increase ISO until the image reaches the brightness you want.
For example, you might begin with:
Aperture: f/2.8
Shutter speed: 10 seconds
ISO: 800
Take a test shot.
Too dark?
Try ISO 1600.
Still too dark?
Try ISO 3200.
You now have a controlled process instead of guessing.
And if you’re using a tripod and your subject isn’t moving, you may have another option: lengthen the shutter speed instead of raising ISO. That can give you a cleaner image.
You’re not searching for a mysterious combination of “correct” settings.
You’re making a few deliberate decisions in a logical order—and then using a test shot and histogram to refine them.
Once you start working this way, night photography becomes far less about guessing settings and much more about deciding how you want the photograph to look.
Premium Subscribers Are Already Ahead:
Every week, more photographers are subscribing to PictureCorrect Premium (special October Enrollment discount going on this weekend 🔥) to level up their craft — and you could be next. Subscribers receive expert-led tutorials, creative challenges, and printable exercises that make each lesson stick.

Whether you’re working to master manual control, advanced lighting, or composition, Premium gives you the structure to make steady progress. The special $1 intro offer is ending soon, and once it’s gone, so is your chance to lock in early access.
Only 1 day left: October Enrollment Special Intro Offer
Like This Article?
Don't Miss The Next One!
Join over 100,000 photographers of all experience levels who receive our free photography tips and articles to stay current:




Leave a Reply