Meteor Shower Alert (November 2026): The Northern Taurid meteor shower peaks November 11–12, offering photographers a chance to capture unusually bright, slow-moving meteors known as fireballs. The shower is visible across much of the Northern and Southern Hemispheres, including throughout the United States. With very little moonlight expected, conditions are especially favorable this year. For the best results, head somewhere with dark skies, ideally around midnight. And before pointing your camera toward Taurus, there’s one important photography mistake worth avoiding…
When a meteor shower approaches, most photographers instinctively point their cameras toward the constellation where the meteors appear to originate. It seems logical, but aiming directly at the meteor shower’s radiant can actually produce less impressive photographs.
Here’s why—and where you should aim instead.
Related: only a little while left for the Milky Way Photo Guide 🌙 Clear Skies Sale
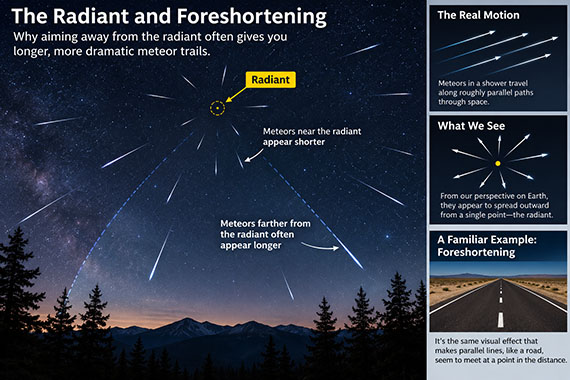
Why the Radiant Isn’t Always the Best Target
Every meteor shower has a radiant, the point in the sky from which its meteors appear to originate. Although the meteors travel along roughly parallel paths, perspective makes them appear to spread outward from one location.
The problem is that meteors appearing near the radiant produce relatively short streaks, while those farther away often create longer, more dramatic trails.
This effect, called foreshortening, is similar to how a straight road appears to narrow toward the horizon.
Where Should You Aim?
Instead of centering your camera on the radiant, try pointing approximately 30 to 60 degrees away from it. This often provides a better opportunity to capture longer meteor streaks.
A few additional tips:
- Aim high: Start around 45–60 degrees above the horizon for a clear view of the sky.
- Find darker skies: Avoid the Moon and nearby city lights whenever possible.
- Include a foreground: Trees, mountains, or silhouettes can make your composition more interesting.
- Use a wide-angle lens: A 14–24mm lens on a full-frame camera increases your chances of capturing passing meteors.
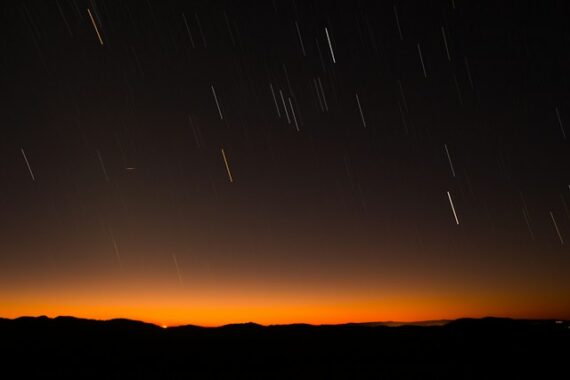
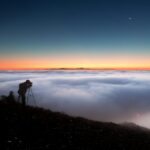
Photo captured by Fernando Rodrigues
Recommended Camera Settings
For a typical meteor shower under dark skies, start with:
- Aperture: f/1.8–f/2.8
- Shutter speed: 10–20 seconds
- ISO: 1600–3200
- Focus: Manual, focused carefully on a bright star
- Format: RAW
- Shooting: Continuous interval shooting with minimal gaps
Remember, longer exposures don’t make individual meteor trails longer. They simply increase the time available for a meteor to enter your frame.
Try This During the Next Meteor Shower
If you have two cameras, point one toward the radiant and another approximately 45 degrees away. After an hour of continuous shooting, compare the results.
You’ll often find that meteors farther from the radiant produce longer, more visually striking streaks.
The takeaway: Meteor photography involves luck, but camera placement matters. Sometimes the best shooting star photographs happen when you aim away from where everyone else is looking.
For Further Training on Night Photography:
If you want a simple, field-ready way to master night photography, the Milky Way Photography Field Guide breaks it down step-by-step.
Right now, it’s part of our Clear Skies Sale—timed perfectly for the months when most photographers start planning their Milky Way shoots.
Deal ending soon: Milky Way Photography Guide 🌙 Clear Skies Sale
Like This Article?
Don't Miss The Next One!
Join over 100,000 photographers of all experience levels who receive our free photography tips and articles to stay current:




Leave a Reply