Not all photographers are lucky enough to own a full-fledged studio. While some rent studios, others make do with a small home studio in the basement or spare room. If you fall in the latter category, photographer Gavin Hoey from Adorama has just the right tutorial for you. In this video, he walks through how to take high key images using a single light in a small space:
Hoey takes up this particular challenge because high key photography becomes challenging in small spaces.
The Setup for High Key Photography
For the purpose of the shoot, Hoey shoots with a single light setup and a white background. For lighting, he uses a small flash (Flashpoint eVOLV 200) in a 24-inch softbox. The small design of the softbox produces hard–but not too hard–shadows.
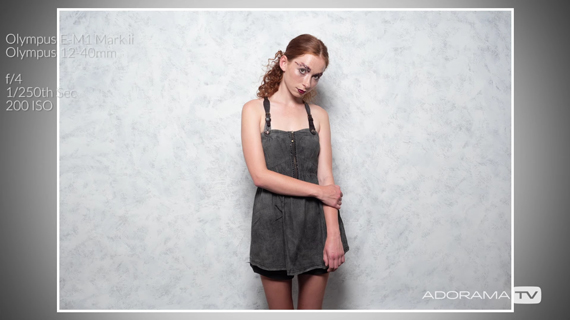
Light Placed in Front of the Model
If the space you’re shooting in is narrow, the ideal place to put in the light is above the model and in line with the camera. Hoey sets the light up this way and meters the light at f/4. As you can see below, there are no visible shadows. This is because the position of the light causes the shadows to be formed directly behind the model.
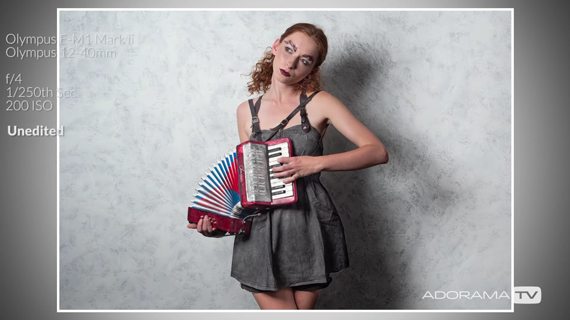
Light Placed to the Side of the Model
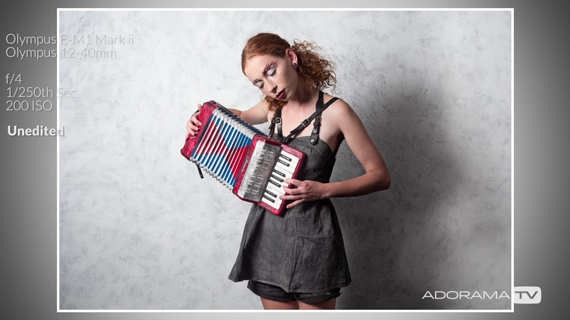
Since high key portraits work best with shadows, Hoey moves the light to the side of the model. But this might not work for you if you have a limited width in your working area. Placing the light to the side of the model will cause a shadow to be formed at the side of the model. And the farther you move the light around, the more the shadow will drift out.
Hoey meters the light again at f/4 and takes some photos. And as expected, you can see a shadow behind the model that is defined yet still soft.
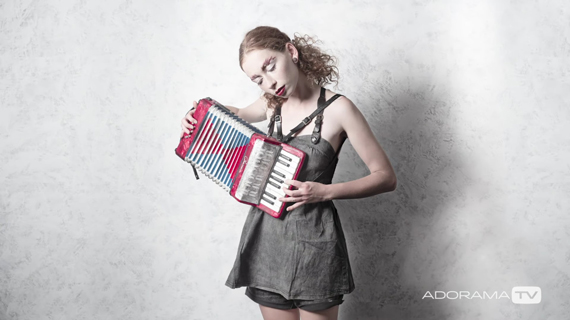
Post Processing for a High Key Look
As you might have noticed, the images have come out pretty well, but they don’t yet have the high key, washed-out look. To tackle the problem, Hoey gets some help from Photoshop. You can follow these steps to replicate the effect:
- Open the image in Photoshop and duplicate the layer.
- Go to Image > Adjustments > Desaturate to make the new layer black & white.
- In the Layers panel, change the blending mode from Normal to Screen. This will make the image brighter for a high key look. And since you’re blending in a color image with black & white, it adds in a washed-out look.
- If the effect is too much for you, simply decrease the opacity of the black & white layer.
- If you want to add in a little bit of contrast, go to Layer > New Adjustment Layer > Brightness and Contrast… and increase the contrast to your liking.
As you can see, you can still get fabulous results with limited space.
“Don’t let small space be the excuse for limiting your imagination.”
Like This Article?
Don't Miss The Next One!
Join over 100,000 photographers of all experience levels who receive our free photography tips and articles to stay current:


Is there a good reason that the accordion is upside down? The piano keyboard is played by the right hand!!!