Your camera is actually nothing more than a box with a hole in it. Yes, all that money you’ve spent and that is basically what you’ve got. The basics of a camera have changed very little since day one. You have a box with a hole in it and you control how much light is allowed into it.
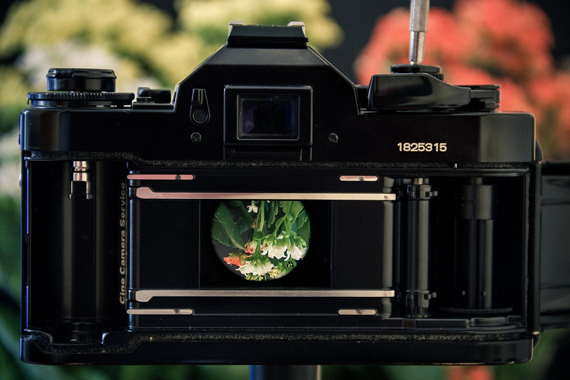
“The Moment It Clicks” captured by Flávio
The best part about newer cameras is that they can think for you. They meter a scene and adjust the settings. These settings are simply the shutter and the aperture. You simply have to compose the shot and push a button. This works well for the most part. But, you didn’t spend all of that money to allow the camera to do all of the work for you, did you?
Cameras have manual settings, as well. These settings allow for creativity and for you to override the auto settings. I’m going to let you in on a little known secret: your camera, as smart as it is, doesn’t always get it right! Sometimes, you will need to override its settings. Other times, you will choose to override its settings.
This article will show you how to do just that, as well as provide you with some examples and/or circumstances as to when it may be necessary. This article covers the very basics of exposure control. There is far more to learn about this subject but this will help get you started.
ISO
ISO determines how sensitive your camera is to light. The higher the ISO, the more sensitive to light your camera will be. Remember, though, the higher the ISO, the more noise you will introduce into your image. Ideally, you should always shoot at ISO 100. This is the best setting. However, this is not always possible. Let us say that you are indoors, at an event, ISO 100 will probably not work very well. Meaning, it will not allow you to hand hold your camera at 1/160 or higher. We will cover more on that later.
So, what you have to do is start bumping up your ISO. Try 200, then 400, etc., until you achieve a shutter speed that you can hand hold. Most cameras today are much better with noise. Using an ISO of 800 or higher can still produce good quality, clean images. I recently did a shoot at The Kentucky Derby Festival Balloon Glow, where I was shooting at ISO 1600, and I was impressed with the results.
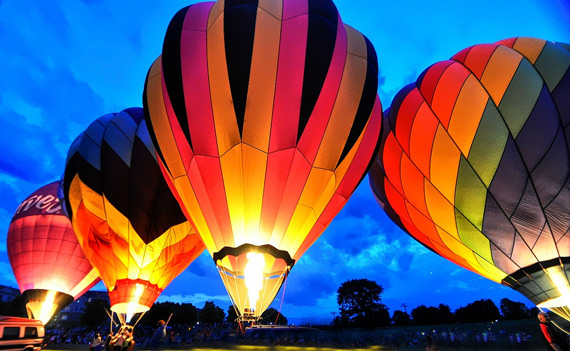
“Balloon Glow” captured by Forsaken Fotos at ISO 1250
Just remember, your goal is ISO 100. You should stray from that only when necessary. Why would you ever need to stray from that? Well, let’s say that you are indoors at a sporting event, and at ISO 100 your shutter speed is at 1/120 of a second. That is not going to work. Your images will be blurry. So, you bump up your ISO until you can achieve a shutter speed that will stop the action. We will cover shutter speed in more detail later. But, in general, you bump up your film speed, which makes your camera more sensitive to light, allows for a higher shutter speed, and smaller apertures. But, the downside to higher film speed is noise.
Shutter Speed
Shutter speed is calculated in seconds. A shutter speed of 1/160 means 1/160 of a second. A value of 1 means one second, while a value of 2 means two seconds, and 1/1000 means 1/1000 of a second. Yes, this is very fast! Most cameras will go up to 1/4000 to 1/8000 of a second. Most of your photography will not need to utilize these speeds. In general, you will find that your average needs will be met using anywhere from 1/60 to 1/500 of a second.
Now, what exactly is shutter speed? Shutter speed is the amount of time that the shutter remains open. In other words, it controls how long the flap to the hole remains up. Longer time equals more light. A byproduct of this longer exposure is blurred images. Sometimes, this is a desirable effect. For example, when photographing a running stream and you want the water to look silky smooth.
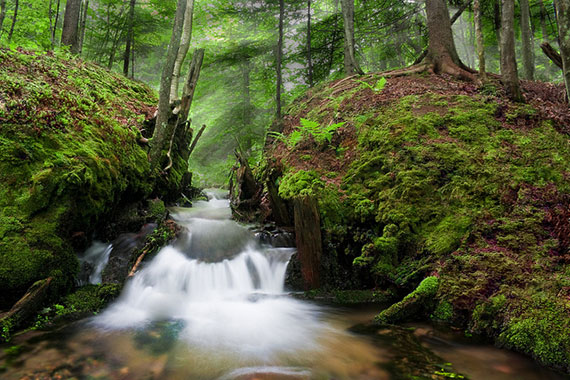
Photo by Billy Wilson; ISO 100, f/11.0, 2-second exposure.
However, this is not what you want when shooting sports or action shots. You want a faster shutter speed to stop that action. Generally, a good action stopping shutter speed is around 1/200 of a second and up. You will find that 1/500 of a second is not uncommon to stop action at a football game. For this type of image, the faster the shutter, the better. This is where ISO comes into play.
Remember, you can bump up your ISO to make your camera more sensitive to light. This will allow for faster shutter speeds. You can also change your aperture to increase shutter speed. More on that later.
Generally speaking, for hand held photography, you want the shutter speed to equal your lens focal length, that is, the minimum shutter speed (secs) = 1/focal length (mm). So, if you are using a 55-200mm lens and your zoom setting is at the 100mm mark, you want a shutter speed of 1/100 of a second. This works well, except when you get below a 60th of a second. A 60th of a second, in general, is the minimum hand held setting you want to use.
On a side note, many new lenses now come with vibration reduction, or image stabilization, which will allow you to easily hand hold at 1/40 of a second, and possibly even slower shutter speeds. This all depends on how steady you are. In general, try to keep your shutter speeds at 1/60 or faster.
Slower shutter speed equals more time that light is being allowed in. Using shutter speeds under 1/60 equals blurry images. To capture silky smooth looking water flows, you have to slow things down to around one second or slower. Obviously, you cannot hand hold a camera at that speed so you will need a tripod.
Faster shutter speed equals less time that light is being allowed in. Fast shutter speeds stop action.
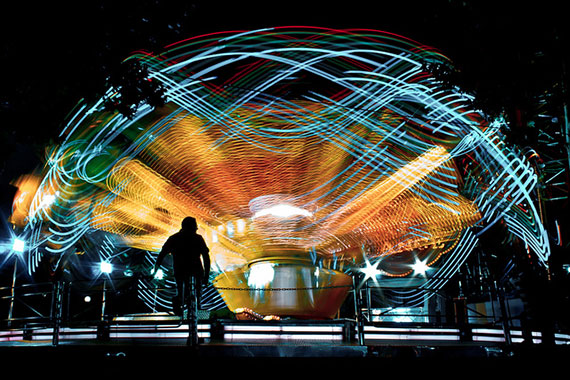
Photo by Hernán Piñera
Remember, the rule of thumb: shutter speed should equal the lens focal length. Still, in my experience, I try to double that, if possible, for sports. For portrait shots, the rule of thumb works fine.
Aperture
Aperture controls the size of the hole or iris that allows light into your camera. It is the doorway to your sensor. Smaller apertures mean less light, while larger apertures means more light.
There is an inverse relationship with this. Small apertures, like 1.8, mean the aperture (the hole) is larger. Higher values, like 5.6, and 8.0, mean the hole is closing up, getting smaller. So, a larger aperture number means less light is getting in. Remember, this determines the flow of light coming in, while shutter determines how long it is allowed in, or how long the flap is left open. Once open, the aperture is the size of the hole the light is passing through.
Other than the amount of light being let in, the aperture will also determine how in focus the objects around your main subject will be. This is called depth of field. A large aperture, such as f/1.8 or f/4.0, will tend to blur objects in front of and behind your main subject.
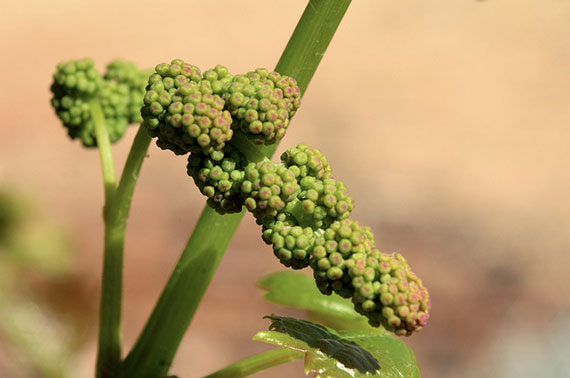
Photo by Dwayne Madden; ISO 1000, f/29.0, 1/1000-second exposure.
Let’s say that you are taking a portrait and you want to blur the background. You would choose a larger aperture, the largest your lens will allow. This could be 1.8 or 5.6—whichever it is, this is an ideal setting for a single portrait shot. This works very well with zoom lenses. With a zoom set at a 5.6 or lower setting, you can generally turn your background into a soft blur, this is called bokeh.
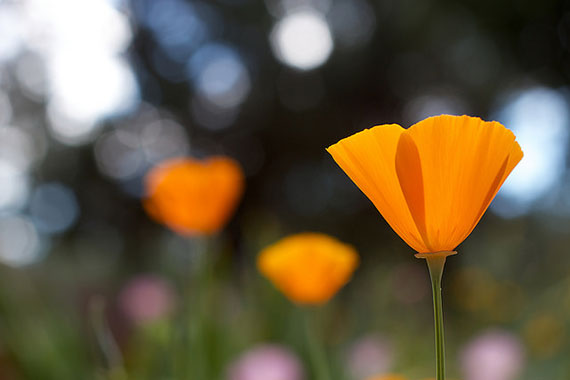
Photo by Alan Levine; ISO 100, f/4.0, 1/200-second exposure.
*Note that the further away the background is from your subject, the greater the blur will be.
Here is a simple test that will show you just how different apertures work in the real world:
Take your camera, along with several batteries. Stand the batteries up and place them on a table about 16 inches apart. Have at least 3 for this test. Now, take your camera and put it into AV mode, then set your ISO around 1600. You may even need to go higher since you are indoors. Remember, you want a shutter speed around 1/60 of a second, so if you have to bump up your ISO more, that’s fine. You will notice, as you move your aperture, your shutter speed will automatically adjust for you. Your goal here is to be able to hand hold your camera for this test. Bumping your ISO up will help you achieve a faster shutter by making your camera more sensitive to the light.
Now, focus on the middle battery and take pictures with different apertures. Start with the largest, that would be 1.8, 5.6 etc. and work your way up to F16. Notice what happens to the other batteries with the smaller apertures of f/8, 11 and 16. They begin to come into focus. At f/5.6, and below, they are somewhat blurred.
Portrait photography is all about making the subject stand out, and one way to do this is to blur the background by using a large aperture of f/5.6 or greater. Remember, larger equals smaller numbers. If you are shooting a large number of people, then you will not be able to do this, because you will need a smaller aperture, of around f/8 or so to bring the crowd into focus. Remember, you can only focus on one person but you will have many at different distances from the camera. A smaller aperture, i.e., a larger number, can compensate for this difference.
Small aperture = larger numbers: f/5.6, f/8.0, f/16, etc.
Large aperture = smaller numbers: f/1.8, f/2.8, f/4.0, etc.
Some Tips to Remember
- Remember, when hand holding a camera your goal is to have a shutter speed of 1/60 of a second or faster. Otherwise, you risk getting a blurred image. You can change your aperture to a lower number to help achieve a faster shutter speed, or bump up your ISO to make your camera more sensitive to light. Both of these will help you attain a faster shutter speed. If you are zooming out remember to bump up your shutter speed. Try to match or exceed your focal length. If you are zoomed out in the 200mm range, a shutter speed of 1/60 will most likely be blurry. You want at least 1/200 of a second or faster.
- Larger apertures means the opening to your sensor is large; while the numbers, themselves, will be low. F/1.8 is considered fast and this is a large hole into your camera. F/2.8 and f/4.0 are also still considered fast.
- Smaller apertures are designated by larger numbers, f/5.6, f/11, f/16, etc. Remember, also, the smaller the aperture, the more in focus objects will be around your main subject. Also note, when shooting something like a flower close up, you will want a smaller aperture. Something around f/8 will work very well. This will give you greater detail and bring the whole flower into focus.
- Do you like sun stars or sunbursts; those shots with the sun in them that look like a star? Then, try using an aperture of f/16 or f/22. Don’t look directly into the sun, of course. I have often photographed this type of image, using a tree to block the sun, while allowing the sun to just barely peek through. You can also achieve this effect by positioning the sun off to the left or to the right of the image.
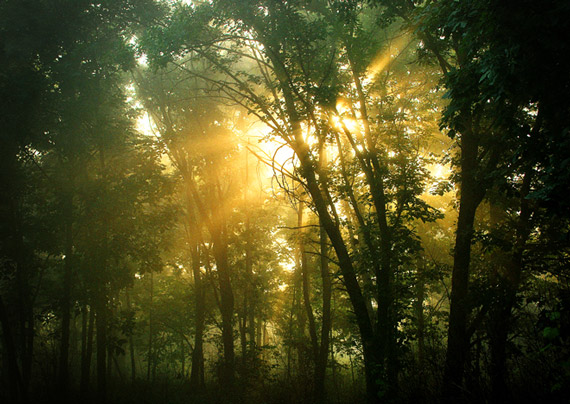
“Sunburst” captured by James Jordan
- Keep your ISO at 100, if possible. Generally, bump it up only when you need the speed, i.e. a faster shutter speed or a smaller aperture.
- Slow that shutter down and use a tripod to get silky smooth water flows. Try using settings around 1-3 seconds or slower.
- Remember, the further the background is from your subject, the more blurred it will become. This works especially well with a zoom lens and an aperture setting at f/5.6 or lower. Pro photographers utilize this technique a lot during portrait shoots.
Common Settings on Cameras
AV = Aperture Priority. You set the aperture and the camera will set the shutter for you.
TV = Shutter Priority (Time Value). You set the shutter and the camera will set the aperture for you.
P = Program/Auto. The camera will set both the shutter and the aperture for you; warning you if your shutter speed falls below 160th of a second. You still control the ISOFilm speed.
Green Mode = Full Auto. The camera will set both the shutter, aperture, and ISO, as well as fire the flash, if necessary.
About the Author:
Richard French has been a photographer for over 20 years. Many of his images can be seen on his smugmug site found here: http://frenchfx.smugmug.com He also shoots stock photography for Fotolia found here: http://us.fotolia.com/p/201857422. He has images in several galleries in the local area.
Like This Article?
Don't Miss The Next One!
Join over 100,000 photographers of all experience levels who receive our free photography tips and articles to stay current:


Great guide for beginners like me. Bookmarked!
As with all the articles on Picture Correct, this one gives an enormous amount of good information in everyday understandable language. Many thanks!