Photographers everywhere have embraced Adobe Lightroom as a godsend—a tool that saves countless hours, catering exactly to photographers’ needs in incredible detail. The problem is that most of those details are tucked away in unseen corners of the program. In the video below, Mark Wallace shows us five time-saving tricks for a more fluent editing experience:
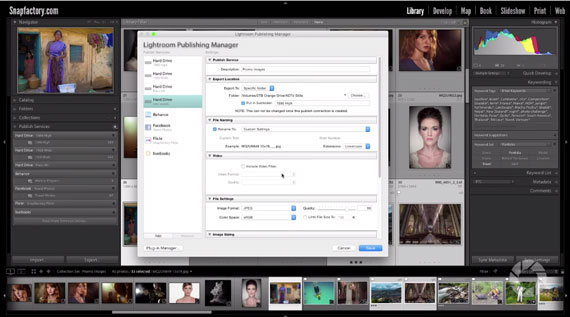
The last technique—a customized export structure using published folder sets—is way too complex to write out here; it’s probably best understood by watching the video. (Skip to 7:32 if you’re interested in that.) But the other four are pretty simple:
- Use keyboard shortcuts. Need to crop an image? Don’t click the little icon—just hit R. For white balance, tap W. To find a whole list of handy keyboard shortcuts, you can click Command (for Macs) or Control (for PCs) and /.
- Clean up your panels. You can toggle between which panels are visible by hitting Tab or Shift and Tab together. You can also right click on the leftmost ones to collapse them all or make them or work in Solo Mode, where only the selected panel is open.
- Use crop guide overlays. When cropping a photo, click Tools in the menu bar, then head to Tool Overlay and click “Always Show.” That will show a grid over your crop to help you size it out. You can change the grid to a diagonal, spiral or particular aspect ratio under Tools – Crop Guide Overlay, or simply click the hotkey O on the image to cycle through them.
- Make custom keyword sets. If you shoot similar photos—wedding shots, landscapes, etc.—and find yourself using the same keywords again and again, rather than type them in each time, you should use the built-in keyword option. When clicked on the right-hand panel, they’ll apply to every image selected. To create your own, go to Edit Set, delete the preexisting ones and save the new set as any title you want.
What are your favorite Lightroom time savers?
Like This Article?
Don't Miss The Next One!
Join over 100,000 photographers of all experience levels who receive our free photography tips and articles to stay current:


Hi Michael
Thank you – a great tutorial enlightening this poor boggled mind of mine trying to find its way around Light Room.
Just one question though – what key do you press to bring up those three icons allowing you to click right into your hard drive. I realise you are on Mac but I am on PC?
Because I have to minimise LR, got to Start then select my pictures library and then go to the file required?
I’d truly appreciate your help here and again, thank you :-)
Dinah
Dinah Beaton
You don’t have to minimize LR, got to Start then select your pictures.
The photos that you would like to edit, using LR, you can import copies of the photos into Lightroom (LR). I have no idea how old your post is because it appears that posts here aren’t dated.
There are many sellers of ebooks that tell you how to use LR as well as video teaching.
Phil Steele from Steele Training has a fantastic video series that takes you step by, very detailed, step through using LR. Right now (12/9/15) it is on sale for the holidays.