Nighttime photography can translate to a nightmare if you’re not well prepared. Limited light means that your camera struggles to capture the type of images you have in your mind. This video from B&H offers some useful techniques for nighttime portraits:
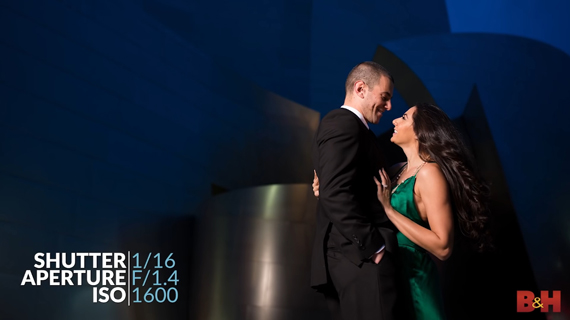
1. Softbox with a Speedlight
A speedlight placed inside a softbox can make the subject pop against a dark background and instantly draw the viewers’ attention.
To determine the power at which to use the speedlight, Jirsa suggests that you start from the inverse of your ISO at a wider aperture. For example, if you’re at ISO 1600, start at 1/16 power. However, note that this will depend on the aperture and the distance between the subject and the speedlight.
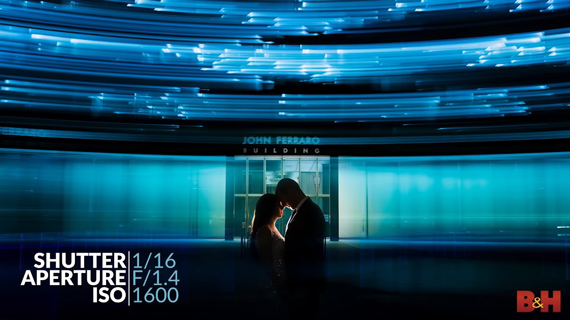
2. Whip Pan
Whip pan is a technique you can use to introduce light trails in your portraits. When used successfully, this technique can make your plain images more dynamic. Here’s how to use whip panning:
- Find a location with background lights at a distance.
- Place your subject at the darkest part of the scene.
- Set up a speedlight to light up your subjects at the end of the exposure.
- Slow down the shutter speed to about one and a half seconds, and swivel your camera left and right quickly after pressing the shutter button. You may need to test the settings a few times to get it right.
The result will be an image with light trails in the back while the subjects appear perfectly still.
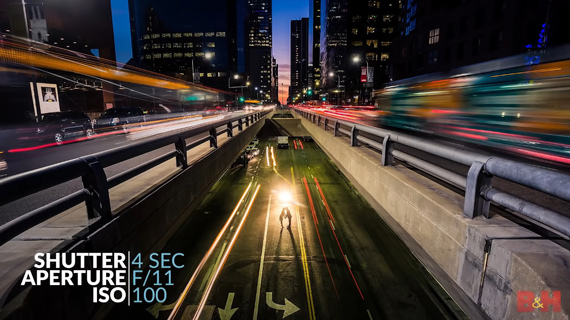
3. Shutter Drag
This technique is similar to the whip pan technique, but instead of swiveling the camera to create motion, you add in surrounding elements that are in motion.
For instance, in the image below, the subjects have been lit with flash for a silhouette effect while using a slow shutter speed. The long exposure has caused the cars to appear as motion blurs while the subjects appear perfectly still due to flash.
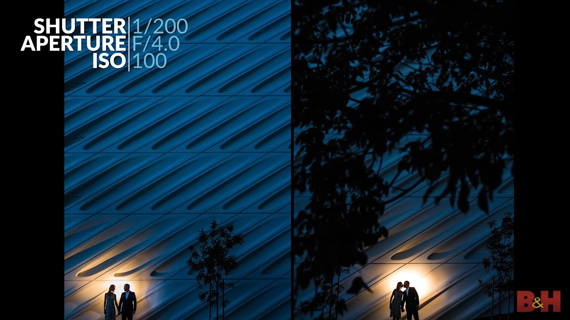
4. Silhouettes
“Rather than directly lighting your subjects, light the wall or surface behind them.”
To use this technique, place the flash behind the subjects and fire it onto the background behind them.
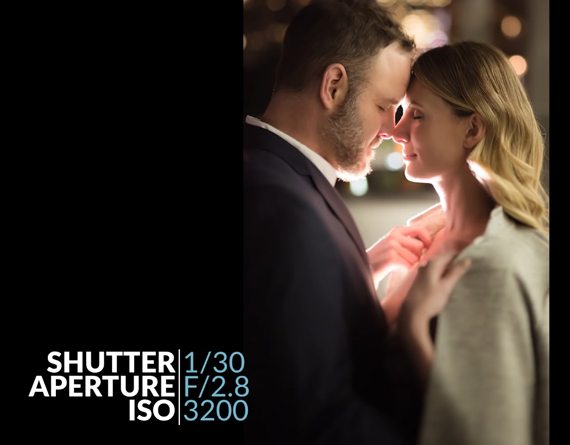
5. Blooming Backlight
This technique involves bringing the backlight right up to the subject. The idea is to cut the distance between the subject and the backlight and have it placed very close to the subject. You can then point the light at the subject who is wearing the brighter clothing. The light will bounce off and wrap around the subjects.
To avoid too many highlights, pose the subjects with their heads leaning together and their eyes closed. You may also want to add a grid to the light.
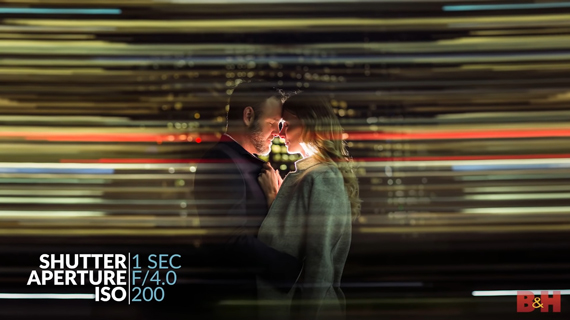
Keep in mind that these techniques are not mutually exclusive. Try blending them together to see how you can pull off great results. For instance, the following image was created using whip pan and the blooming backlight techniques together.
These are great examples of why darknes is no reason to pack up your gear and head home. Be sure to try out these amazing tips and take your nighttime portrait photography to the next level.
Like This Article?
Don't Miss The Next One!
Join over 100,000 photographers of all experience levels who receive our free photography tips and articles to stay current:


Leave a Reply