Photography is all about playing with light and shadows. The way you illuminate your subject will decide your results. Using the right photographic technique can certainly make a lot of difference in your photographs. Even if you’re not a professional photographer and you only use your camera on weekends, you still want to take best pictures. Here are some lighting techniques that will help you to improve the quality of your photographs.
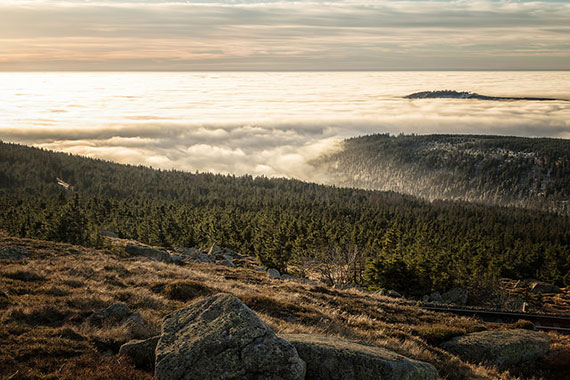
Photo by Olli Henze; ISO 100, f/16.0, 1/40-second exposure.
1. Use a broad light source
The broader the light source, the softer the light coming out of it. A broad light source casts fewer shadows and suppresses the texture of the subject. Narrow lighting accessories such as flashes and CFLs do the opposite. You must broaden these sources by bouncing their light through a reflector or diffuser such as a softbox or umbrella. Using a broad light source is especially flattering for shooting portraits.

Photo by Severin Sadjina; ISO 400, f/8.0, 1/60-second exposure.
2. Place your light source close to your subject
The farther the light source, the harder the light falling on your subject. This is because, when the source is closer to you, it seems to be broadened, whereas when it is moved away, the broadness decreases, thereby becoming narrower. Make your subject stand close to your broadened light source so that your light source illuminates your subject evenly and naturally.
3. Use front-lighting judiciously
Front-lighting is known to suppress the texture of your foreground, thereby de-emphasizing it. Therefore, front-lighting might be good for shooting portraits where it will help you to cover-up scars and blemishes on your subject’s face. However, for a landscape photography, instead of front-lighting, it is advisable to choose side-lighting that will emphasize the texture of the rocks, sand, bricks, tree bark, etc.
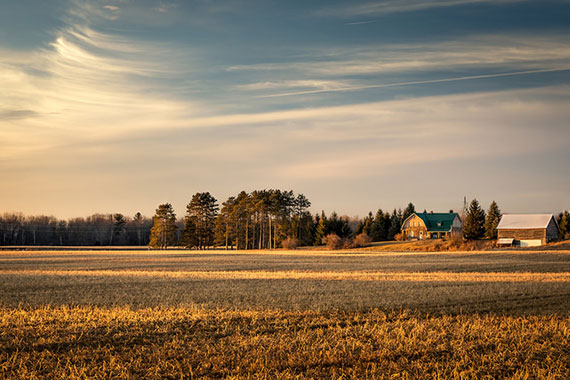
Photo by Christian Collins; ISO 100, f/6.3, 1/20-second exposure.
4. Include shadows for a three-dimensional look
Shadows are not always bad. When you use them judiciously, shadows can help you to give a voluminous look to your photographs, thereby projecting your subject to be in space and not on a flat surface. The three-dimensional look given by shadows makes your pictures look real.

Photo by Tuncay; ISO 400, f/8.0, 1/80-second exposure.
5. Keep color temperature in mind while shooting
Even though light looks white, it has color. This is not detected by our eyes but by the sensors in our cameras, which record the color cast. While shooting, always keep this color cast in mind so that you don’t spoil any important opportunities. During the early morning and late afternoon, the sunlight has a warm tone, whereas during the midday, it is bluish.
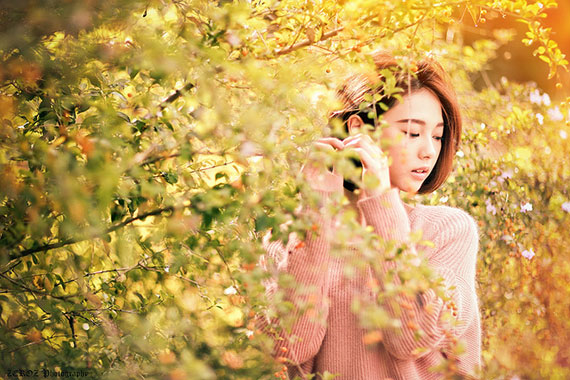
Photo by ZEROZLIN; ISO 100, f/1.2, 1/2500-second exposure.
Tungsten lighting casts yellow light, whereas fluorescent lighting puts out a bluish light. If you don’t want the color cast, use your camera’s white balance control to neutralize it.
Experimenting with your studio lighting equipment to discover more sweet secrets that will improve your photography.
About the Author:
This article was written by Tanny Jones from Photo Studio Supplies which provides lighting accessories. Equipment for photo studios.
Like This Article?
Don't Miss The Next One!
Join over 100,000 photographers of all experience levels who receive our free photography tips and articles to stay current:


Hey thanks for featuring my portrait “Cute Daisy” under tip No.1 “Use a Broad Light Source”. For this portrait I used a homemade diffuser constructed from a wooden frame and white shower curtain material to essentially create a large window. Glad you like the results.
It’s interesting to think about how playing with shadows can be a good way to make a photo more appealing. I’m thinking about hiring a photo studio soon in order to have a family portrait to commemorate the college graduation of my youngest child. Maybe I should also consider having a portrait with our pets as well.
hello friends!!! Photography’s most basic lighting option, the sun, is also one of the most versatile. It can be bright and hard or dim and soft. It can be warm and highly directional, casting long shadows. Or, behind clouds, its light can be blue, diffuse, and shadow-free. As it crosses the sky, the sun serves as a front-, side-, back-, and/or hair-light.