I think we can all agree that our goal is to make our photos as perfect as possible.
Some of that process occurs within the camera. However, in the era of digital photography, we are given far greater tools to work with than our previous brethren had with just film.
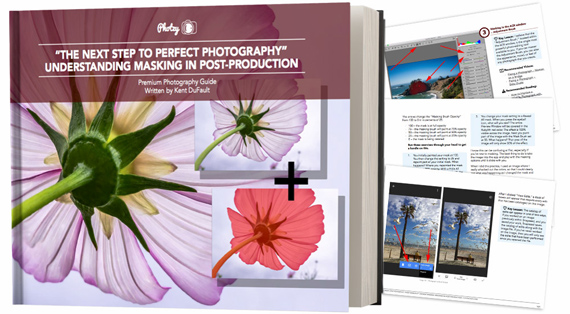
The key to perfection is post-processing.
And the key to perfection in post-processing comes with masking.
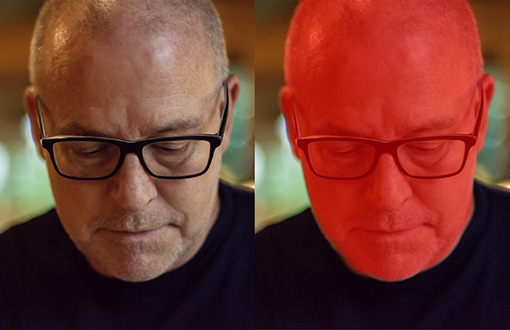
Photo by Kent DuFault
In this example photo above, the version on the left has no mask. The version on the right has the head masked from the rest of the picture.
All the possibilities for masking are too great to cover in a simple quick tip.
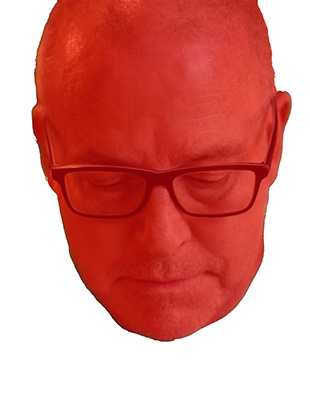
Photo by Kent DuFault
Today, I want to give you a firm foundation on what masking is and how you can learn to make it work for you in your photography.
With masking, you can take different parts of different photos and combine them into a new picture. This would be an advanced masking technique.
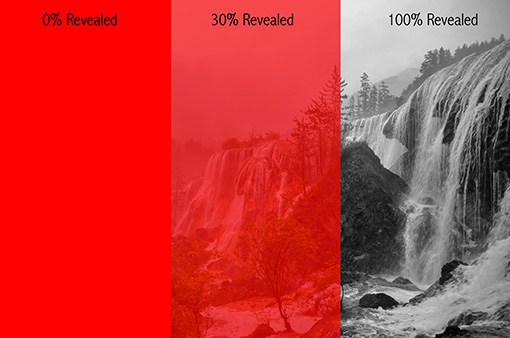
Photo by Free-Photos, editing by Kent DuFault
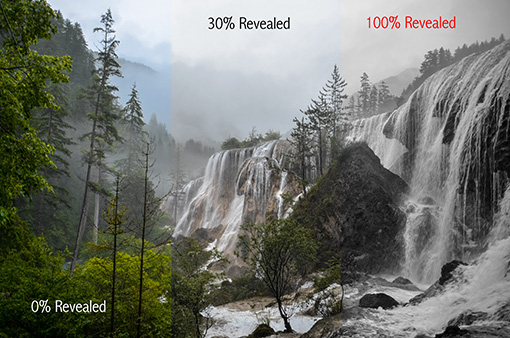
Most post-processing editing programs will allow a varying degree of transparency for a mask. This means that a mask can be applied at 100%, 0%, or anything in-between.
Transparency Percentage
Above is the example with a black-and-white preset applied:
- A 100% revealed mask is a black and white photo
- A 30% revealed mask has a subdued color effect
- A 0% revealed remains a full-color photograph
Quick Tip: You can vary the transparency of a mask from zero-to-100% in certain programs and with certain tools.
Masks are an essential tool to change a part of your photo while leaving the rest of the image alone.
Remember These Terms:
A global edit is one that affects the entire picture. A localized edit is one that affects only a portion of a photograph. The part of a photograph that a localized edit changes is determined by a mask.
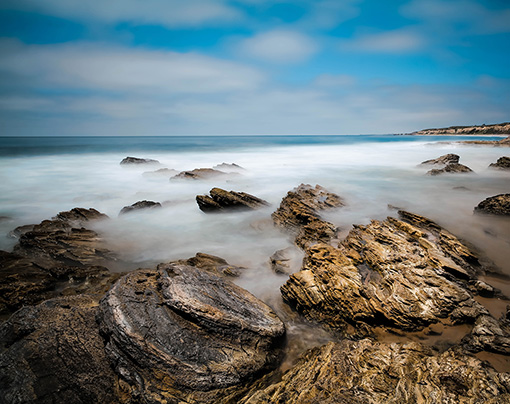
Photo by Jung Ho Park via Unsplash
For example, in the above photo, I want to slightly darken the lighter rocks in the foreground on the right, so that the circular stones in the center-left are more prominent within the composition.
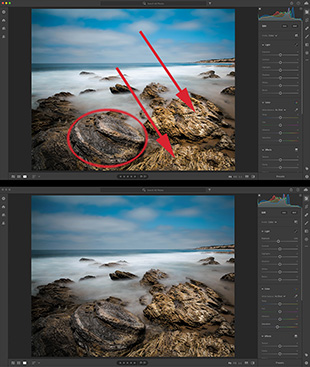
Masking a seascape
I want to darken the rocks at the red arrows while preserving the rest of the picture so that the stones in the red oval become more dominant.
On the bottom of the example photo above, I did a global adjustment using the Exposure slider in Lightroom CC.
It didn’t work out very well, as the entire picture became darker (global edit), and the round rocks don’t stand out at all.
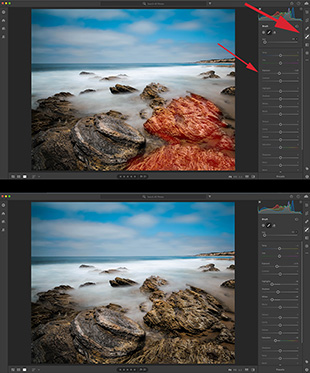
Masking tools
In the top half of the example photo above, I am using Lightroom CC to complete a localized edit.
I chose the Adjustment Brush, and I painted a mask over the rocks that I wish to change.
The larger red arrow points to the Adjustment Brush tool in Lightroom CC. The smaller red arrow points out my Exposure adjustment to the mask.
Quick Tip: In Lightroom, you can cycle the view of a mask on and off using the O key.
At the bottom half of the example photo above, you can see how my mask has darkened the rocks to the right, making the circular stones more visually prominent in the foreground.
Quick Tip: A mask can be created and applied in a distinct manner, such as by using the Adjustment Brush. However, at other times, masks are operating in the background, and you may not even realize they are there.
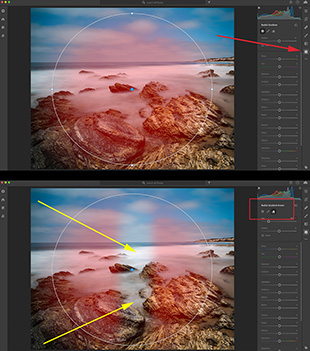
Masking brushes
Some tools, like the Linear Gradient Tool and the Radial Tool, automatically create a mask in the background.
You may not realize that it’s there unless you press the O key to turn it on. Any mask, even an auto-generated one, can be edited—and this is the real power behind masking!
Quick Tip: Cycle the mask view on while you create the mask. Then cycle the mask view off while you make your adjustments with the sliders. If the modification you’re making isn’t affecting a part of the picture, you can add to the mask with the Brush tool. If the mask is changing a part of the image you don’t want it to, erase part of the mask with the Eraser tool. You can see these tools in the red box in my image above. The yellow arrows indicate how I’ve changed the mask using the tools mentioned earlier.
Masking opens up your photography to limitless possibilities!
About the Author:
Kent DuFault is an author and photographer with over 35 years of experience. He’s currently the director of content at the online photography school, Photzy.com.
For Further Training:
Achieving perfect photography requires more than just in-camera skills in today’s environment. Yes, even the professionals now rely on post-production skills to PERFECT their images. One of the most important photo editing skills to learn is called “Masking” and an in-depth guide is now available to help photographers master it. It is still 68% off today if you want to check it out. Also try the discount code picturecorrect at checkout for extra savings.
Masking: A Critical Skill for Photo Editing
After you read this new masking guide you’ll realize that you are no longer tied to what you find. You can clean up the bugs in your shots. Fix those less than perfect rose petals. Take out that pesky truck that parked right in the middle of your landscape shot.
Deal ending soon: Understanding Masking for Photographers at 68% Off
Like This Article?
Don't Miss The Next One!
Join over 100,000 photographers of all experience levels who receive our free photography tips and articles to stay current:


Sorry, but as soon as I saw that horrible photo of blurry water looking more like cotton candy than WATER I stopped reading the article as we are miles apart in what we consider a good photograph. JMHO, but I HATE these “trendy” goofily fuzzy, artificial looking blurry water photos. I just do not understand why so many photographers these days try to make a photograph look like a video, with fake, blurry water. Hate it!