This step-by-step guide will teach you how to use the Select Sky tool in Adobe Lightroom.
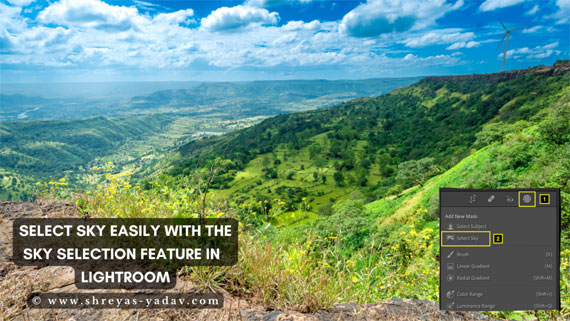
I think you will agree with me when I say it’s hard to quickly select the sky.
Well, it turns out you can select a sky Precisely and quickly using the latest Lightroom tools.
Let us dive right in –
Sky Selection tool in Lightroom
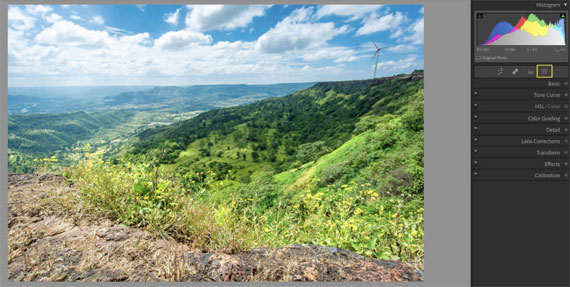
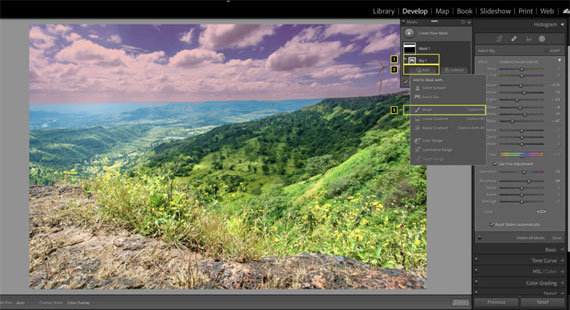
- Under the Lightroom develop module, select the masking option.
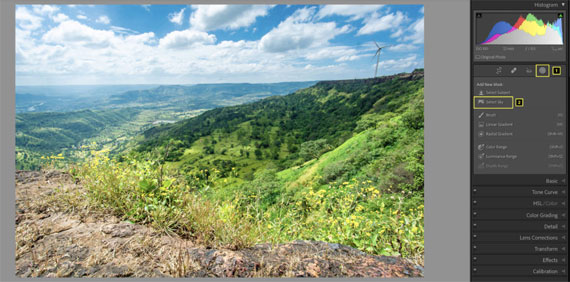
- Click on the Select Sky icon under the option Masking > Add New Mask
- Mask Panel will appear. You can see the Sky in the image selected. Check the Show Overlay checkbox to see which area of the Sky is selected.
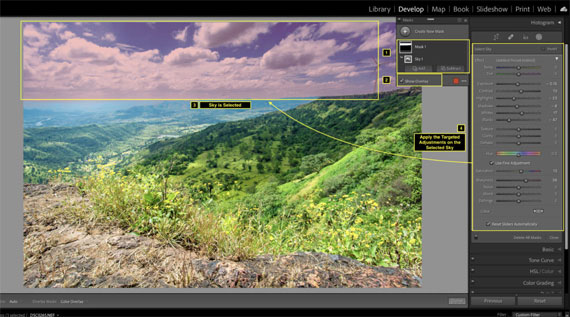
- You have made the initial Sky selection. You can use this Sky Selection as a good starting point. Apply the targeted adjustments for a selected Sky.
Optional steps to refine a sky selections
- Once you make the initial Sky selection, under the Mask panel click on the selected mask.
- Below the Mask, there are 2 options- Add and Subtract
- For adding more areas to the Sky selection, click on Add.
- There are multiple options to Add to the current selection.
- The brush option is helpful in extending the selections. Select the brush option and paint over the area you want to select.
- To subtract from the selection, select the Subtract option. Select the brush and paint over the area which you don’t want in the selection.
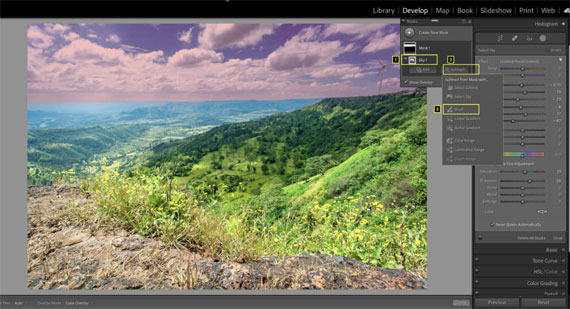
- Out of multiple selection options, I find Brush option to be helpful in adding or subtracting to the Sky selection.
- If your Sky selection demands for additional selection options feel free to give a try. It’s worth it.
Visualizing the overlay
- You can visualize the selected Sky using various overlay modes.
- To visualize the selection, under the Mask check the Show overlay box.
- You can see a default overlay as Color Overlay. Now you can choose a different color for overlay. Click on the color palette and select the color of the overlay.
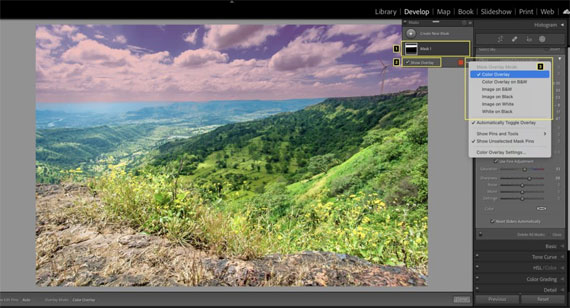
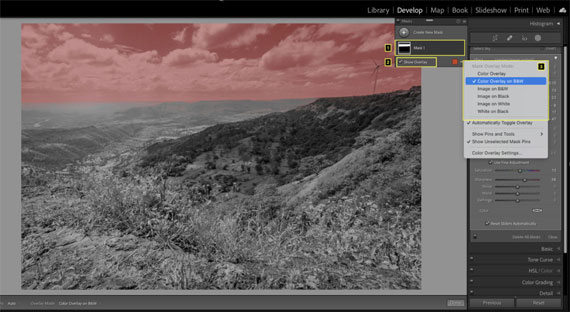
- Also, there are other overlay modes available. I Choose color overlay or Color Overlay on B & W as I find those overlays easy to refine the Skyselections. You can choose which you find useful for your images.
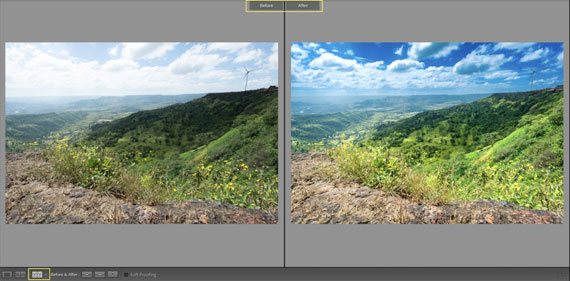
Bonus tip to quickly make the image beautiful:
- Select the Sky as mentioned in the above steps. Use the Select Sky feature for selecting the Sky.
- Make Targeted adjustments to the Sky. Specifically targeted adjustments I recommend are – Black and White point, Highlight/ Shadows, Vibrance and Saturation, Clarity, Texture, Sharpness, and White Balance. Every image is different hence you can apply targeted adjustments as per the image requirement.
- The Key Idea here is, to create a beautiful sky that compliments your main subject. Increase the impact of the Main subject by gently optimizing the sky.
Now it’s your turn
I hope this Lightroom tool will help you to select and edit the Sky faster and accurately.
About the Author:
Shreyas S. Yadav is an engineer and photographer of wildlife and nature. He is also a writer and lifelong adventure explorer. Through his writings, he teaches about digital post-processing and nature photography. Shreyas shares field techniques about nature photography, post-processing and wildlife photo stories on his website.
Like This Article?
Don't Miss The Next One!
Join over 100,000 photographers of all experience levels who receive our free photography tips and articles to stay current:


