If somebody asked me about some of the difficult scenarios to work in as a photographer, working at night time would definitely make it to the top of the list. But with the challenge in place, the results that you can get from night time photos are truly amazing. The world out there appears kind of different at night. This gives you an opportunity to create photographs with a unique look. And that’s exactly what makes night photography a challenge worth pursuing.
One of the biggest hurdles you will come across when photographing at night time is focusing. With a minimal amount of light around, the sensor in any camera will struggle to detect any contrast. This is why focusing gets so difficult. So, it becomes important that you’re aware of some techniques to help your camera focus better at night.
Related reminder: only a little while left for the Milky Way Photography Guide at 70% Off
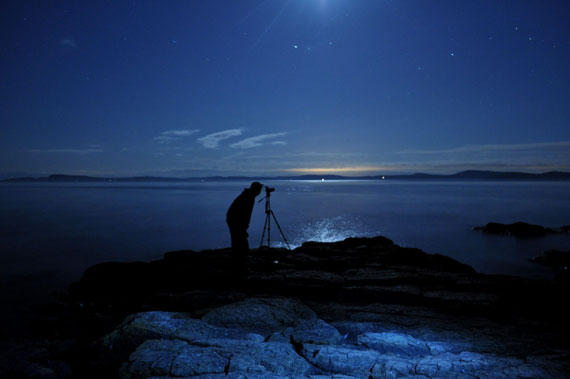
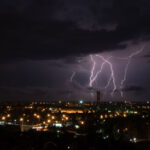
Captured by Bryan Hanson
Use Center Focusing Point with Single Servo
If you are not comfortable getting out of autofocus mode, try changing the autofocus area to single, and use the center autofocus point. Since the center autofocus point is more precise and sensitive than other focusing points, this can increase your chances of grabbing focus. And to prevent the lens from hunting around, set the drive the single servo. This way, once the camera locks focus, it won’t hunt further.
Manual Focus Works Best
If autofocus fails continuously, it is best to take matters into your own hands by turning the focusing mode to manual. Switch the focusing mode to manual either with a switch on the lens or through the camera menu. Then, using the focus ring on the lens, you can control where the lens needs to focus.
Use the Rear LCD
With the camera set to focus manually, switch your camera over to live view instead of using the viewfinder. This will allow you to use the digital zoom feature and ensure that you nail your focus.
Focus Peaking
Many modern cameras come with a focus peaking option that overlays the area that’s in focus with some color. This makes it much easier to judge whether the image is in focus or not. To get the most out of this feature, use it in conjunction with manual focus and live view.
Use Artificial Lighting Before the Shot
If the scene or your subject is close by, use some artificial source of light like a flashlight to light up a small portion. Then, you can either focus on that portion manually or by using the autofocus feature. If there’s enough contrast, autofocus should work seamlessly.
Take It Further: Core Season Sale — 70% Off
If you want to go beyond just getting focus right and start consistently capturing sharp, detailed Milky Way images, this is exactly what the Milky Way Photography Field Guide was built for.
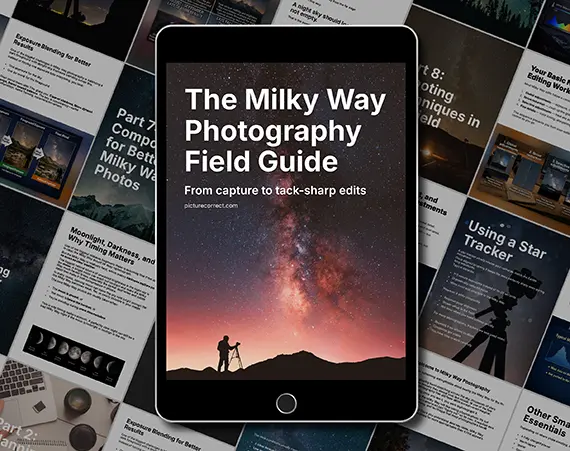
It walks through:
- Exact camera settings that work in real conditions
- How to avoid star trails, including the 500 Rule and beyond
- Planning when and where the Milky Way will appear
- Step-by-step shooting workflows in the field
- Editing techniques to bring out detail without overprocessing
Right now, the Core Season Sale is ending soon with 70% off, which makes it a great time to pick it up if you’re planning to shoot in the coming weeks and months.
Like This Article?
Don't Miss The Next One!
Join over 100,000 photographers of all experience levels who receive our free photography tips and articles to stay current:


Leave a Reply