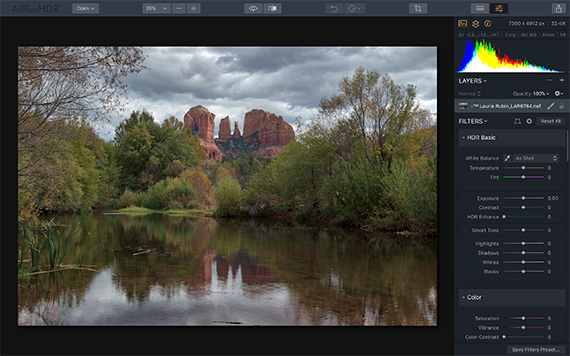
We’re all busy people, and sometimes, you just don’t have time to mess around with sliders and adjustments on your HDR images. They need to be done, but they need to look good, too.
Enter Aurora HDR 1.2.0 and preset filters. Aurora HDR has a large number of presets that have been specially developed for HDR. The presets have been separated into categories, such as Architecture and Natural. Under each category you will find several different presets to give your images a fresh look. There are even presets by well-known HDR photographers such as Trey Ratcliff and Serge Ramelli for you to apply to your own images.
First, open your image in Aurora HDR. You’ll need to have merged your exposures to create a single HDR image to use with the presets for best results.
Next, to bring the presets up, click on the viewing strip icon in the top right hand corner of the screen:
Viewing Strip Icon
When the viewing strip appears at the bottom of the screen, click the ‘categories’ menu at the top of the viewing strip. This will bring up all the available preset categories:
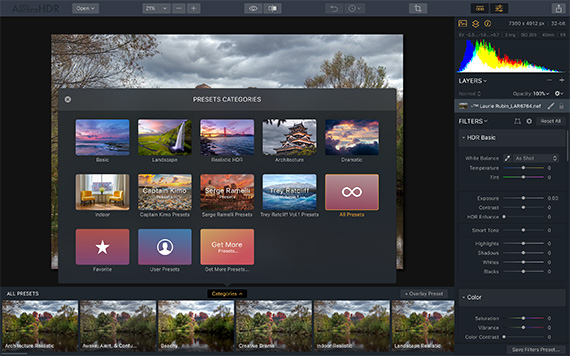
Let’s look at the various categories, and which images will work best with them. To apply a preset, click on it in the viewing strip, to change it simply click another one. All the presets are fully customizable using the develop menu at the right-hand side.
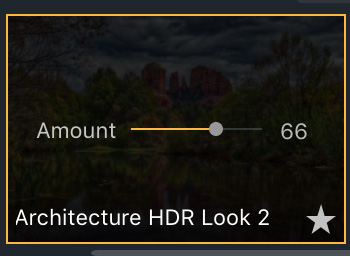
To reduce the strength of a preset, drop the slider from 100 down to your desired level, like in the image below:
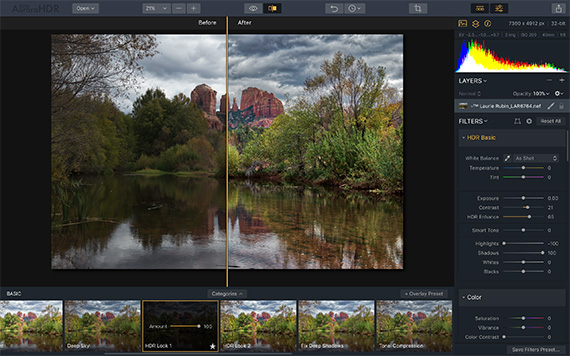
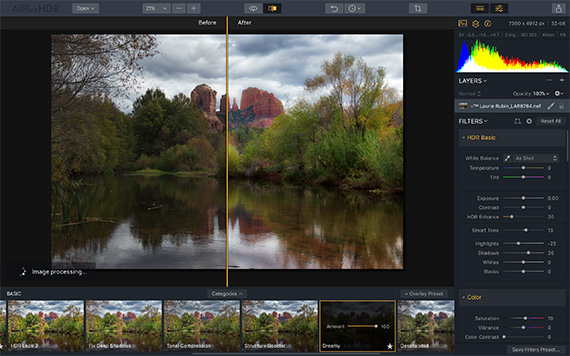
Basic: This is a category of presets that are suitable for most types of images. They include issue fixers like ‘Fix Deep Shadows’ and ‘Increase Contrast’ too. Here’s a before/after split from the Basic presets of ‘HDR Look 1’:
This is the Basic ‘Dreamy’ preset before/after split:
Architecture: These presets work best on buildings, cities and urban landscapes, although they can be used in other types of images. Experiment until you find the right one for you.
The image below isn’t architecture, but the ‘Warm Sunset’ architecture preset works well with it:

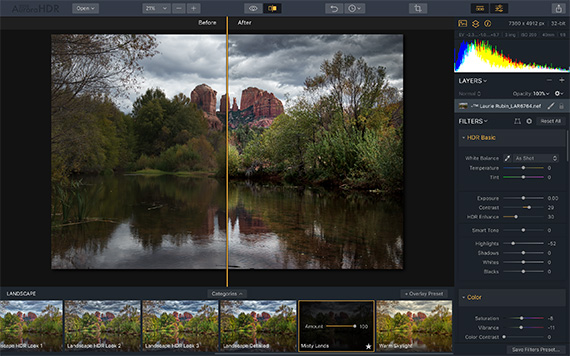
Landscape: This preset category is pretty much self-explanatory, but it’s great for landscape and nature images.
Here’s Landscape preset ‘Misty Lands’ in a before/after split.
And for a more realistic look, here’s ‘Landscape Realistic’:

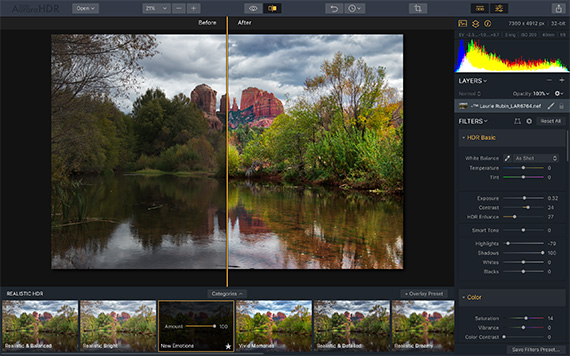
Realistic: These presets are the ones you want if you want more natural, realistic looking HDR images.
This is the before/after of Realistic preset ‘New Emotions’:
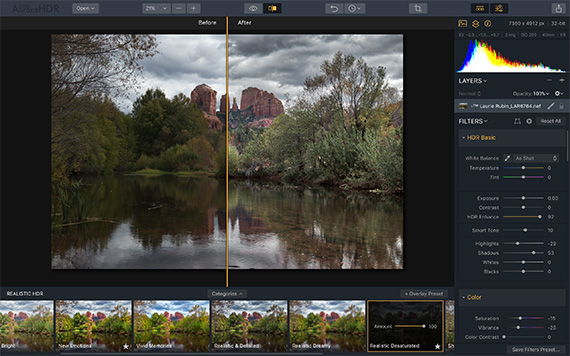
Realistic preset ‘Realistic Desaturated’ is good if vivid color isn’t what you are looking for:
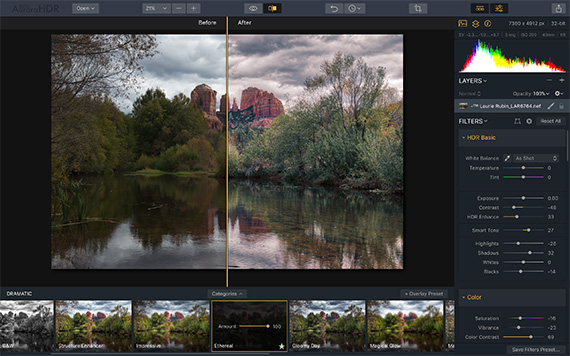
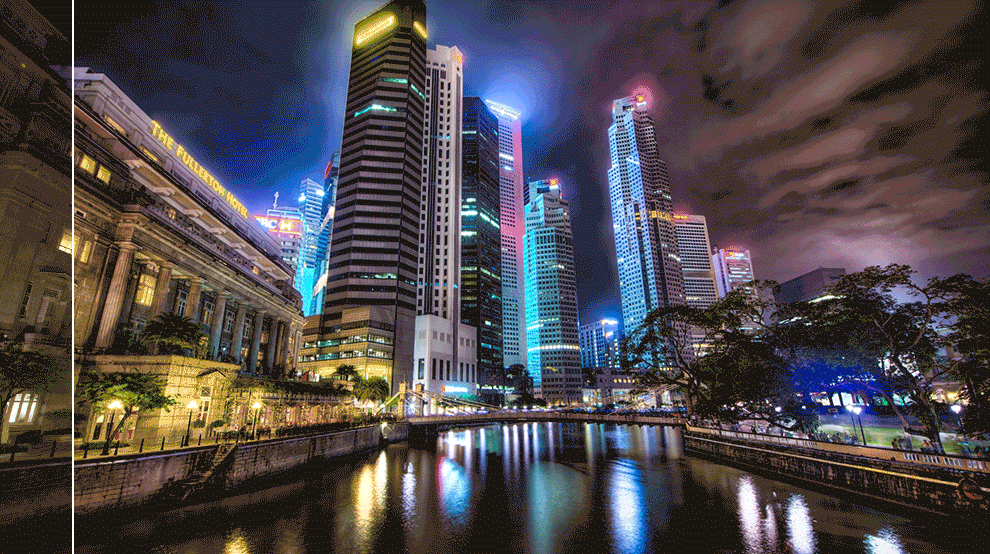
Dramatic: Have some fun with these dramatic style presets when you want to really make things pop. The image below shows the before/after split of Dramatic preset ‘Ethereal’:
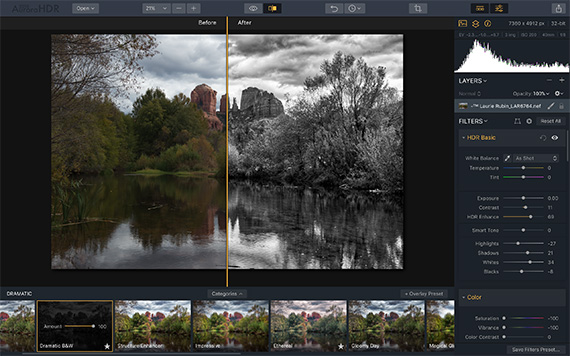
Want to try converting your images into a black and white HDR? Try the Dramatic ‘Dramatic B & W’ preset:
Indoor: Use these presets to enhance indoor HDR images – also good for objects. Presets include ‘Indoor Detailed & Sharp’, ‘Indoor Realistic’, ‘Indoor Luxury’ and ‘Indoor Vivid’.
Signature Presets
The next three categories are the signature categories, containing presets especially developed by well-known HDR photographers for Aurora HDR. You’re sure to find a preset for every image in amongst these!
Captain Kimo Presets: These presets are the signature presets developed for Aurora HDR by Kim Seng (Captain Kimo).
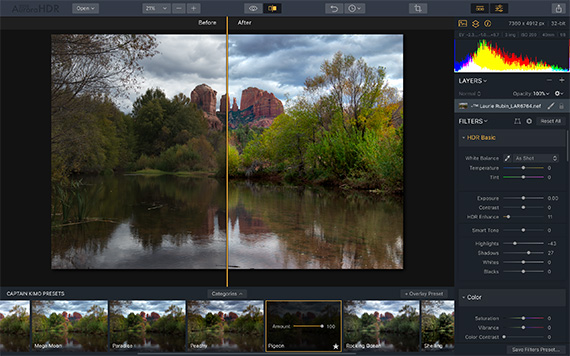
Here’s his ‘Pigeon’ preset:
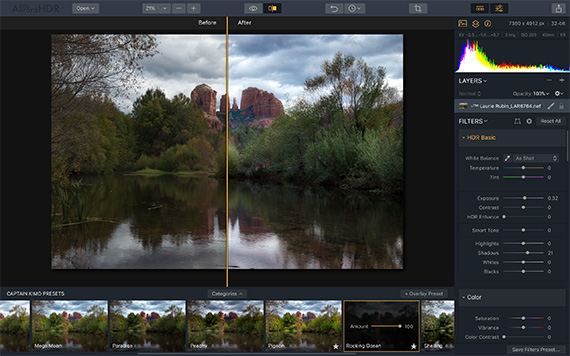
And his ‘Rocking Ocean’ preset:
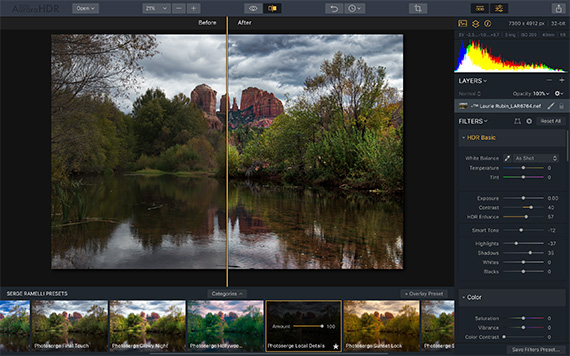
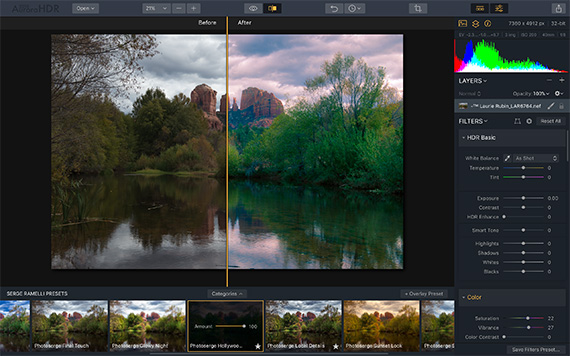
Serge Ramelli Presets: These are Serge Ramelli’s signature presets. This is the before/after split from his
‘Photoserge Local Details’ preset:
This is the ‘Photoserge Hollywood Look’ preset:
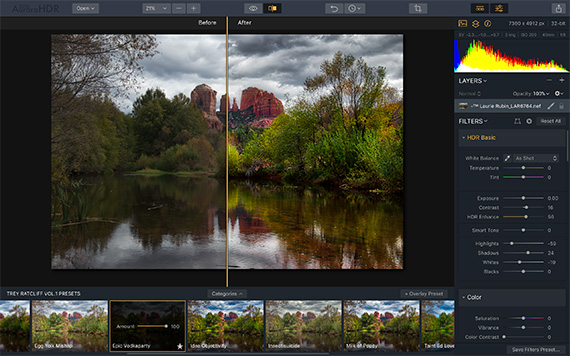
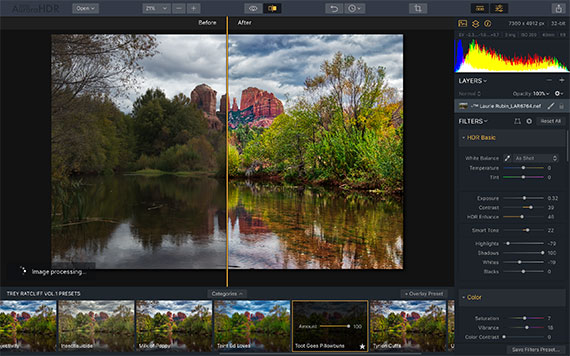
Trey Ratcliff Vol. 1 Presets: Last, but certainly by no means least, is the Trey Ratcliff Vol. 1 Presets collection, which are his signature presets created for Aurora HDR. Trey has worked closely with Skylum throughout the development of Aurora HDR, and has brought his expertise to bear with these wildly-named but effective presets.
This is his ‘Epic Vodkaparty’ preset in a before/after spilt:
And the ‘Toot Goes Pillowbuns’ preset:
Customize Presets
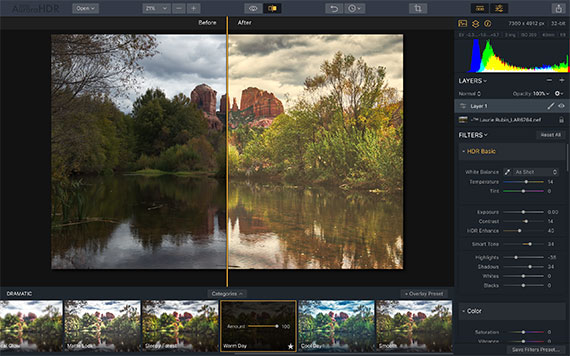
If you are looking for something different, don’t forget that the presets are just a starting point. Once you choose a preset, you can make adjustments using filters to modify it for your needs. You can also combine presets by adding an adjustment layer and choosing another preset to merge with the first one. This image was done by combining two Dramatic presets on two different layers – ‘Warm Day’ and ‘Matte Look’:
When you start experimenting like this, you will find that your creative options are limitless.
To save your newly-created custom preset, click the Save Filters Preset button at the bottom-right of the Filters controls. A dialog box will appear asking you to name your preset. Choose a name that will describe it and the photos it will work best on for ease of remembering. Click Create New Preset button to store it. Once saved, it will appear in the User Presets group.
Final Thoughts
Aurora HDR’s one-click presets are so easily customized and adjusted, that if you have the time you can easily create stunning new HDR presets. If you just want the ease of a click and go solution, the presets categories are sure to contain something to suit your HDR image.
How to Get Aurora:
New: Aurora HDR 1.2.0 (Click to See How it Works)
New tools, improved performance and more. Aurora HDR is now up to 2x and 4x faster on MacOS and Windows computers, respectively, and is now compatible with the brand-new Loupedeck+ photo editing console.
Found here: Aurora HDR
Like This Article?
Don't Miss The Next One!
Join over 100,000 photographers of all experience levels who receive our free photography tips and articles to stay current:


Leave a Reply