As you learn digital photography you’ll find terms that leave you wondering what on earth they mean. One of them is exposure compensation, sometimes known as aperture compensation or Ev. A technical term, but if you understand it, it will help make some of those good images great.
I always had a problem when taking images that had a lot of white in them or where they were quite dark. They came out grey or with the dark images, too light. What I hadn’t realized was that my camera was doing its own thing. That is, the light meter was being fooled by the conditions and making its own decisions. Most times they are great but there are times when they just don’t get it right.
The camera’s light meter is not super intelligent so it’s always trying to average all the colors in a scene to an 18% grey. It doesn’t work with you but has its own agenda. This works fine most of the time, as long as there isn’t too much white–then it gets fooled and does its own thing.
On your camera you will find a setting or a button denoted by Ev or a little icon with a +/- sign. This is where you will change the exposure settings. So what do you need to need to change, and how does it work to improve your photos?
1. When the light meter of your camera sees all the white in an image it thinks that there is too much white and the image will be overexposed so it compensates for this and underexposes the photo. Just what you don’t want to happen.
2. The setting it chooses for the aperture size is therefore incorrect, as it allows less light to hit the camera’s sensor.
3. This results in a muddy or grey image because not enough light is allowed in through the lens.
4. In order for you to improve your image you have to compensate for the camera’s light meter reading using the Ev setting.
5. Depending on your camera, the compensation measurements or stops as they are known are measured in thirds or halves.
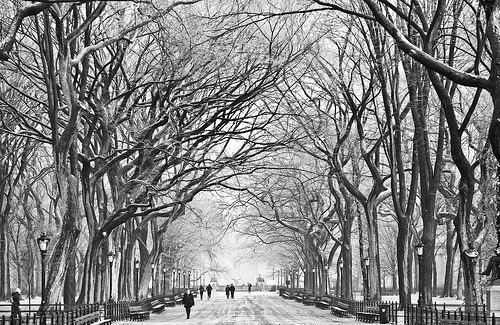
6. If your scene is very white as in snow, you’ll need to add a stop or a fraction of a stop so that enough light reaches the sensor.
7. By doing this you manually open the lens aperture overriding what the camera’s light meter thinks it should be.
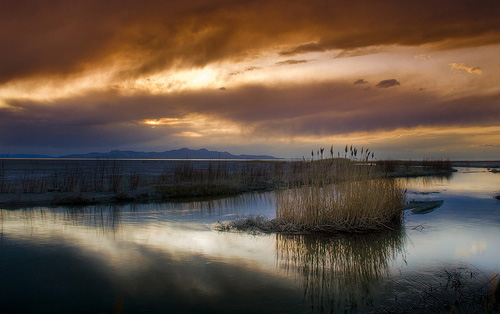
The same goes for a dark or black image. You just do the opposite by stopping down a third, half or full aperture stop. Here the camera thinks there is too much dark and opens up the aperture.
The proof of this is in the pudding as they say. You may get it right first time or it may be necessary to vary this setting until your photo is acceptable. When I learned how to use my exposure compensation setting my photos improved dramatically. It was my discovery of the year. As you learn digital photography and experiment with these settings you too will improve.
There is another feature on your camera which help you get this right virtually every time. It means taking extra images every time you press the shutter. It’s called AEB or automatic exposure bracketing. What it does is this. You preselect the amount of compensation you want, say one third of a stop, and the camera brackets this by choosing one normal image, one a third of a stop over and one a third of a stop under. So when you press your shutter button it takes three shots, one for each of your chosen exposure settings. It’s like insurance and you get the shot every time. Again you need to experiment to see if a third, half or full aperture stop will work.
By taking just a little extra time as you learn digital photography your images under these circumstances will improve considerably. Take a look at your camera’s manual to see exactly how exposure compensation and exposure bracketing works on your particular camera. Happy shooting!
About the Author:
Wayne Turner has been teaching photography for 25 years and has written three books on photography. He has produced 21 Steps to Perfect Photos; a program of learner-based training using outcomes based education.
Like This Article?
Don't Miss The Next One!
Join over 100,000 photographers of all experience levels who receive our free photography tips and articles to stay current:


Leave a Reply