Photographing food is a lot more difficult than it seems. Not only do we have to work to get the right composition but we have to use light in a very specific way. We then need to style the look of the food in order to make it appealing. In this article I’ll give you some handy tips for creating tasty and mouthwatering images.

“Homemade Hamburger with Bacon” captured by Daniel Carlbom
Helpful Tips for Lighting Your Food
Food photography looks good if the food shows textures. Texture is a vital factor to making food sell. Enhancing texture is done through side lighting. Side lighting reveals texture, as it brings out the brighter areas and shadows on the food to make it more appealing to the viewer.
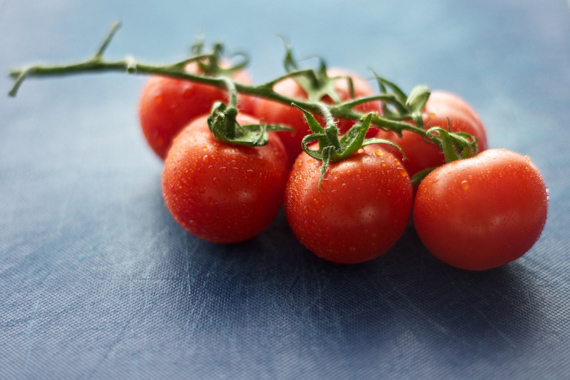
“Fresh Tomatoes” captured by Jens Cramer
A lot of food photos are taken using the soft, diffused light from a window. Window light is subtle light that works to emphasize contrast without really having to do anything overly specialized. Many food photographers use a softbox to create that “clean and white” look, but they never light the front of the food.
Don’t Light Food from the Front
Beautiful food photography relies upon the angle of light for contrast to create texture. Even the most even surfaced foods, like cheese, need side lighting to generate some appeal. If the food is lit front-on we lose the texture that side lighting offers. Flat light can make food to appear boring and tasteless.
Control Light With a Gobo
Side lighting, using diffused window or softbox light is a common way to light food; yet sometimes we don’t want light on one part of the food. In this situation we need something to reduce the light on that area. This is where your trusty gobo comes in handy. A gobo is a go-between. It’s a portion of black material or cardboard that reduces the lighting in one section of the image. I use a range of gobos to cut light out of a food image. I have large and small ones that help me do this. These pieces of black cardboard cost me under ten dollars from an office supply shop.
Cutting light from food shots using a gobo is commonly used in a rustic type of food image. Food images of country kitchens, wooden benches, and old cutlery are things that come to mind when thinking of darker, dimly lit food photos. Many wholesome food products are photographed this way. Foods such as brown bread on wooden boards, homemade vegetable soups, and pasta and rice are examples of foods used in a country shoot.
Add Another Diffused Light Source for Bright Images
On the other hand you can use the “bright light, white” technique of shooting, as well. You may have seen brightly lit photos of breakfast cereal like puffed rice, sweet cakes, and biscuits. This approach simply uses side lighting and another light to illuminate the background. Softboxes, white shoot-through umbrellas, and reflectors are utilized in this style of food photography.
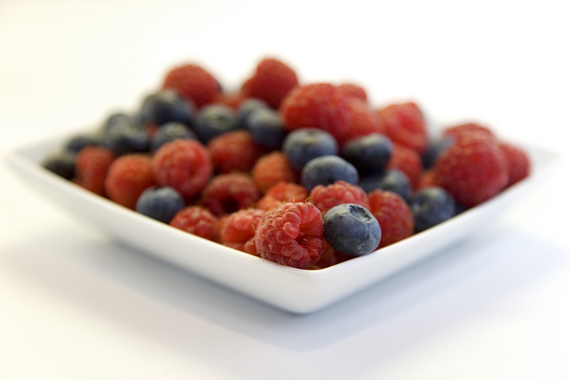
“Plate of Raspberries and Blueberries” captured by Craig
Food photography is a lot of fun but very demanding work. It’s incredibly meticulous and fastidious at the best of times. If you like still life and paying attention to finer details, food photography might be right for you.
About the Author:
Amy Renfrey writes for DigitalPhotographySuccess. She’s photographed many things from famous musicians (Drummers for Prince and Anastasia) to weddings and portraits of babies. Amy also teaches photography online to her students.
Like This Article?
Don't Miss The Next One!
Join over 100,000 photographers of all experience levels who receive our free photography tips and articles to stay current:


These are OK from an art standpoint but for someone that wants to display their food on the wall in a restaurant the depth of field is way too shallow. I have had to redo food photos with shallow depth of field because restaurant owners want their food in sharp focus.
Just make sure there is nothing distracting in the background and make sure the color is correct by setting custom white balance with a gray card.