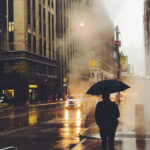
Silhouettes are great fun and simple to do at sunset and sunrise when the sun is low, but what if the only chance you get to shoot them is during the hours when the sun is at its highest? Fear not, this step-by-step tutorial by Gavin Hoey shows you exactly how to take midday silhouettes and also how to make the most of your image in post-processing:
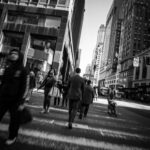
First find a model, then find some shade! If you want your model to use props, Hoey says, make sure they’re a strong, easily recognizable shape, like the bicycle used in the video. The model also needs to wear dark clothes.
Hoey starts the shoot in Aperture Priority mode at f/5.6 and ISO 200. With the model standing in deep shade and the brightly sunlit background behind her, he takes some test shots. His camera attempts to even the exposure out over all parts of the scene, so the model isn’t silhouetted.
Hoey suggests using exposure compensation to change exposure by two stops. This makes the whole image darker, but the model is now a true silhouette.
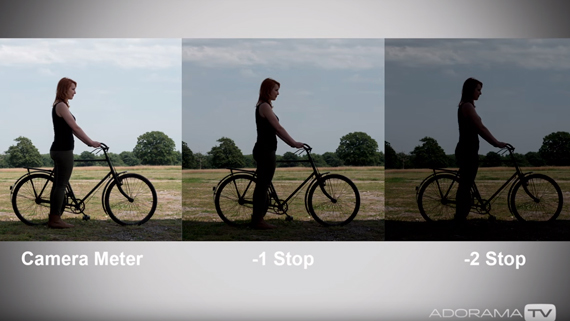
Exposure Compensation
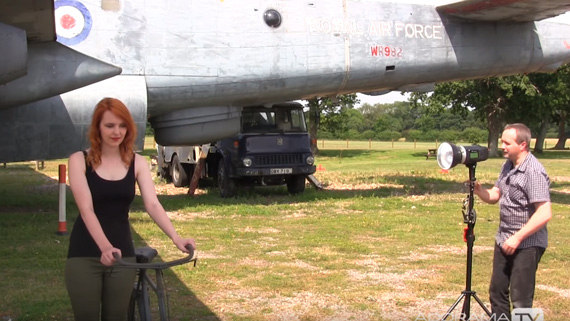
Hoey decides to add some smoke to the image to give more drama and an early-morning feel. He also adds a flash at the back of his model, facing where he’s shooting from. The flash is triggered by a Flashpoint Zoom Mini O trigger, as it allows for high-speed sync.
He changes the camera mode to manual and dials in the settings to give 2 stops under ambient exposure. The new settings are 1/4000 of a second second at f/4.
One key point that Hoey mentions with smoke shoots is to keep shooting as the smoke drifts, so you have a large selection of images to work with after the shoot.
Hoey also shows us how to post-process the images to get the best final image. He combines the five final smoke images together in Photoshop using the “Load files into stack” command. This makes a new image with five layers.
Hoey also demonstrates how to paint more smoke into the shot using a layer mask and brush to get a thicker, more even smoke coverage.
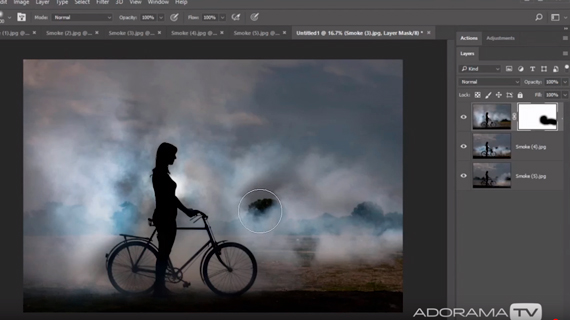
As a final addition, Hoey adds mist to the shot by going into Camera Raw and using the Dehaze slider. If you drag it to the left, it adds more smoke/mist.
Hoey does a great job of demonstrating and explaining his techniques.
“That’s all part of the fun of photography!”
Like This Article?
Don't Miss The Next One!
Join over 100,000 photographers of all experience levels who receive our free photography tips and articles to stay current:


Leave a Reply