The great thing about photographing garden birds is that it’s much easier than going out to a reserve or park, and therefore much simpler for beginners. When starting out with bird photography, you want to minimize expensive equipment until you know that you enjoy it and are capable enough to pursue it.
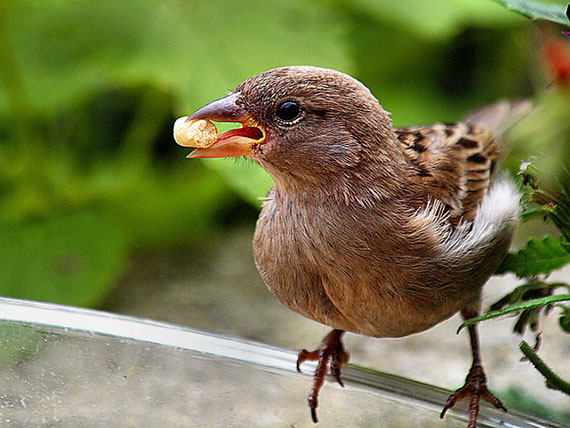
Photo by Jim Roberts Gallery
Bird photography at home can be as simple as sitting in a lounge chair and firing away until you get your shot. But really, you will get as much out of your photography as you put into it. So careful planning is going to go a long way in getting those beautiful shots, even if it is in your own garden. Here are the basics of getting into garden bird photography.
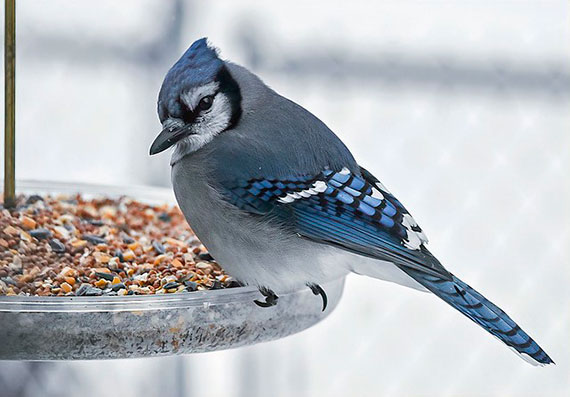
Photo by ☼☼ Jo Zimny Photos☼☼; ISO 3200, f/5.6, 1/400-second exposure.
1. Attract the Birds
If there is one task you need to perform successfully with this genre of photography, it’s attracting birds. If you have a garden that is bird-friendly, then you are ready to start. This is where good research begins. Either buy a local guide to garden photography, find someone else doing it from a local bird club, or use the Internet to locate some of the great websites dedicated to this genre. You need to understand what type of food the birds like and where they like to hang out together. This means going further than putting out their favorite food by planting the vegetation they like and even growing the food they seek out. Another tip here is to grow the vegetation near to where you will be shooting from. Create a dedicated area in your garden or outside a window.
2. Establish Your Location
This can be as simple as shooting from a window in your home, or it could mean building a hide somewhere in your garden near all the best perches and food. It’s up to you as to how much effort you put into it. I have found that for people starting out, a simple location is a bedroom or living room window looking onto a garden with plenty of foliage and vegetation. This is a place where there is good potential with great lighting and places to perch.
3. Create the Setting
This step is vital because you want the place where the birds will perch to be as close to the window or hide as possible. Ensure that there are places high enough for the bird perch and survey its surroundings for danger. Add an intermediate perch before the food source and have the food source at a reasonable height in order to shoot your images. Light is important. The better the lighting, the less artificial light you’ll need, and, of course, using a flash will disturb the birds. Be very aware of your backgrounds, as these will make or break your final image. Getting the setup right is a large part of the final image.
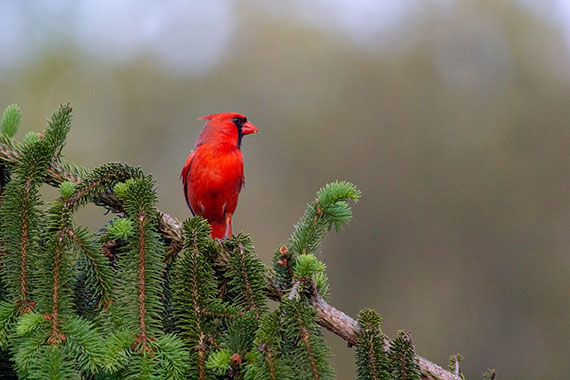
Photo by Dennis Church; ISO 3200, f/6.3, 1/640-second exposure.
4. Create the Hide
As I said, this is as simple as a bedroom or lounge or as complex as a purpose-built hide. To begin with, I suggest using a room in the house. The glass forms a natural barrier and allows you to shoot freely most times, as the reflection hides you from the birds. Just make sure that the glass has been cleaned on both sides so that you don’t have dirty or blurry images. Inside the hide, make sure that you have a comfy chair, because you will probably have to wait a while until you know what the feeding and perching patterns are. Whatever happens, you’ll need a fair amount of patience. Remember that when you move around inside to do so slowly; the birds might not see you clearly but will react to flashes of movement. Turn any lights off and close any other curtains to limit the light inside the room.
5. Set Up Your Equipment
Of course in this situation you aren’t really limited by your equipment because most cameras will shoot reasonable images when you are close to the birds. What I mean by this is that the lenses won’t necessarily need to have huge focal lengths. Even most bridge or prosumer cameras will have sufficient focal length. Compacts may be a little wanting in this situation. Whatever your equipment, a tripod is essential and, if possible, a cable release or your shutter set to timed release of two to ten seconds in order to minimize camera shake. Another vital action to ensure success is to pre-focus your camera, using the manual focus setting, on a well-used perch or branch, the bird feeder, or feeding platform you have set up. This increases the chance of getting your shot instead of focusing wherever a bird lands and hoping for the best. Again, planning is a big part of a successful bird images.
6. Keep Shooting
Don’t wait for the perfect shot. Just shoot as much as you can. The key at this stage is to get as many good shots as possible. You can always crop the image later, because you want good clear photos of the birds. If you focus on perfect composition, the chance of getting good images will be reduced. Remember that this is the beginning of you bird photography journey and there is lots of time to improve. There’s an old saying that says “nothing breeds success like success”. You need to be getting the shots to keep you motivated.
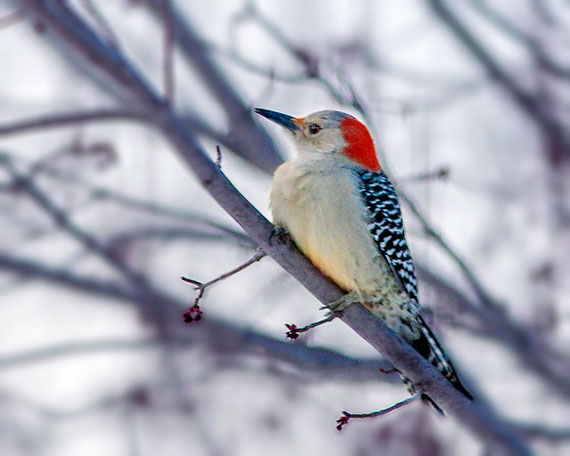
Photo by George Thomas; ISO 400, f/5.6, 1/500-second exposure.
These are some simple steps to get you going with bird photography in the easiest and simplest possible way. The bottom line is to have fun and continue having fun. I can assure you that when you start getting those great images you will not stop, so make sure your bank balance is full; the expense starts here. Happy shooting!
About the Author
Wayne Turner has been teaching photography for 25 years and has written three books on photography. He has produced 21 Steps to Perfect Photos, a program of learner-based training using outcomes based education.
Like This Article?
Don't Miss The Next One!
Join over 100,000 photographers of all experience levels who receive our free photography tips and articles to stay current:


Leave a Reply