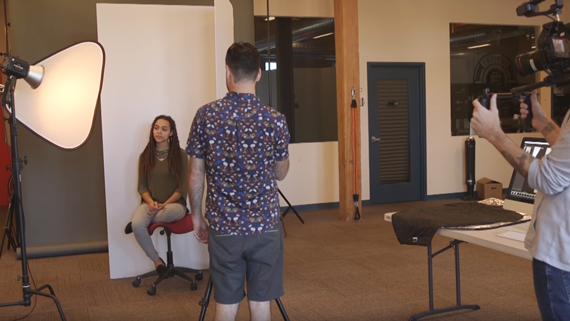
Do you think that reflectors are useful, but just for reflecting light in one way? Reflectors are actually versatile pieces of kit and can be used in several ways to create different looks. Aaron Nace from Phlearn shows us how to use reflectors in six different ways. He’s also thrown in a bonus use for a diffuser at the end of the video:
A 5-in-1 reflector generally has a diffuser disc in the middle, which is covered with a gauzy white fabric. The reflector has gold, silver, black, and often white covers that slip on over the disc and zip up. This type of reflector is inexpensive to buy and usually folds down to a small, light circle which fits in a bag for easy portability.
Reflectors are used to fill dark shadows, and the diffuser part to, well, diffuse harsh light! But it’s the way they are used that makes a lot of difference.
Reflectors don’t just come in the 5-in-1 variety; you can reflect light with a piece of white poster board, a bed sheet, or white foam core, to name a few. If you can shine light through it or bounce light off it, it will do the job.
When using reflectors/diffusers, these rules hold true: the closer the reflector is to your subject, the more light it will bounce back into the shadows. The closer the diffuser is to the model with a light shining through it, the softer the light will be. This is also a great trick to use when shooting portraits outdoors in bright sunlight.
Ask your subject if s/he can see the light reflected in the reflector. With sunlight it’s easy to tell, but if you’re using a studio strobe, turn on the modeling light and ask the model if they can see it in the reflector. If they can see the light reflected, it means that it will hit them in the right place to fill the shadows.
6 Uses for Reflectors/Diffusers
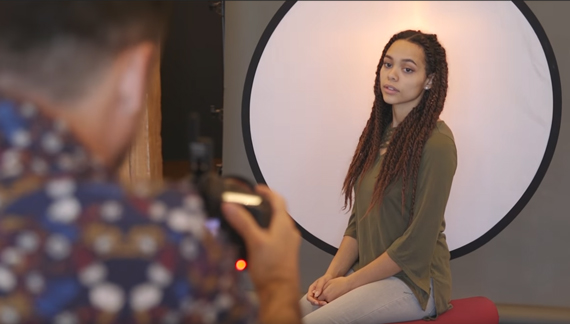
- Use a softbox on camera left. The model’s right side is in shadows. Add a reflector to the right-hand side to fill in the shadows.
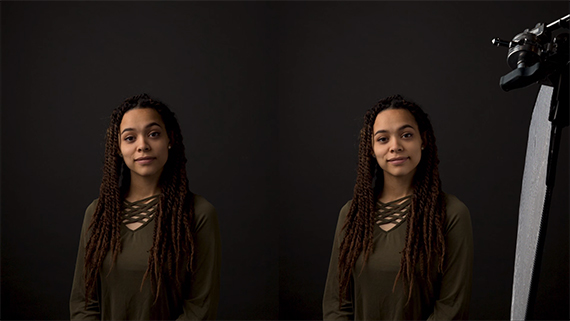
Fill in Shadows
- Bring in a second reflector to the setup above, and have the model hold it under their chin to fill in the shadows from below.
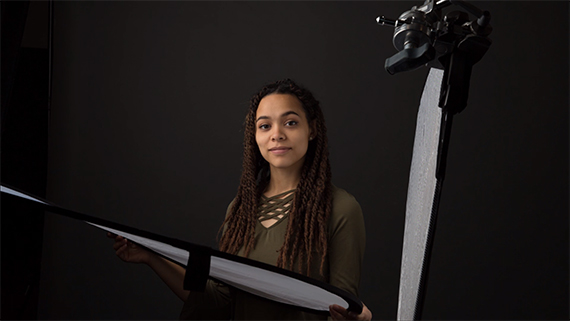
Second Reflector Held By Model
- Use a strobe with no softbox. This is normally a very harsh light, but with the diffusion panel put between the light and the subject, it produces a much softer light.
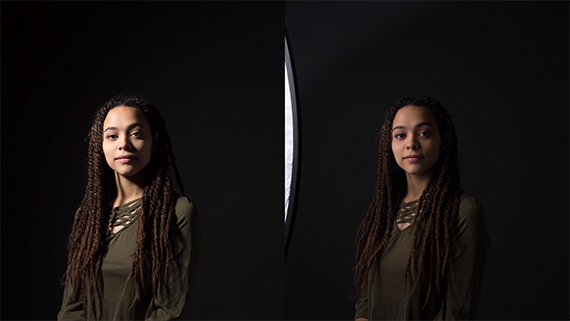
Diffusion Disc Between Light and Model
- Create a V-flat by taping two giant pieces of white foam core together to form a large V. Have your model sit or stand within the V. Both sides of the foam core will reflect light back.
V-Flat Behind Model
- Point your strobe into the V-flat. Firing the strobe into it will bounce the light onto the subject. This technique can make it look like you used a much larger light source than just a bare strobe, and it will soften the light.
- Light your model from three different directions using a strobe, diffuser, reflector, and V-flat. This surprisingly simple setup makes it look like your model was lit from front and behind, but you’re only using one studio light.
The bonus setup Nace shows us is a creative setup with what he calls ‘angel’ or ‘halo’ lighting. He puts a diffusion panel directly behind the model, then he shines a strobe through it from behind. This backlighting will give a soft glow around your model if you overexpose a bit.
Halo Lighting
You don’t need to spend a fortune on studio lights if you have a few reflectors handy. Try it out for yourself and see the difference one humble reflector/diffuser combo can make!
Like This Article?
Don't Miss The Next One!
Join over 100,000 photographers of all experience levels who receive our free photography tips and articles to stay current:


Leave a Reply