If you want to give yourself a “light education” in the context of photo editing, experimenting with black and white photography is a fun and effective way to do it.
By removing color from an image, you are left with only the light and the shapes of the objects it bounces off. Studying this can help you better understand how light is affecting a scene and how to manipulate it to achieve a certain look and feel to your photo.

A benefit of doing this even if you never normally create black and white photos, is that it allows you to focus solely on the tonal values of an image.
When an image is in color, our eyes tend to be drawn to the colors and can distract us from the overall composition and lighting of the image. By removing the colors, we can focus on the different shades of grey, and this can help us better understand how the light is affecting the scene.
Even when you are mid-edit on a color image, a quick black and white conversion can help you better visualize the contrast and drama in the scene, as well as the overall balance of the light and even composition.
A quote I remember hearing someone say on YouTube once (forgive me, I forget who, it was a long time ago) is that:
“If an image doesn’t look good in black and white, it won’t look good in color.”
There are always exceptions to every rule, but I think this is pretty spot on.
It’s always important to pay attention to the lines, shapes, and light in any image you photograph, but these elements become even more important once color is removed, as they are become the main visual elements in the image.
Something you might not have noticed in a color version might become glaringly obvious once the color is removed.
Or perhaps the black and white version reveals something subtle that improves the color version but you’d have never picked up on it without removing color first.
One slightly less obvious bonus of experimenting and having fun with black and white editing is that the more time you spend doing it, working only with lines, shapes, and light, the more you’ll start to just get a bit of a knack for spotting great compositions and light when out in the field with your camera because you’ll be able to “think” in black and white. And the upshot of that means even more “keepers” from every shoot!
A quick process for when you want to check how the light looks with a B&W conversion while you’re editing a photo in your regular workflow is:
- Add a Hue/Saturation adjustment layer
- Reduce saturation to 0%
- Important: Set the adjustment layers blend mode to “color”
The third step is important because simply removing saturation does not tell the full story. (You’ll notice a slight shift when toggling between “color” and “normal” blend modes – try it and see)
If you’re like me, once you start to go down the black and white rabbit hole (even if just for fun at first) then you’ll start to enjoy some of the results…
And dare I say you may even prefer the black and white versions of some of your images!
While going deeper down this rabbit hole myself a while back, I started enjoying the results of my “quick” B&W conversions and I started experimenting more and more.
One thing led to another and before I knew it, I’d accumulated a whole collection of techniques and ideas for producing some pretty awesome-looking black and white images.
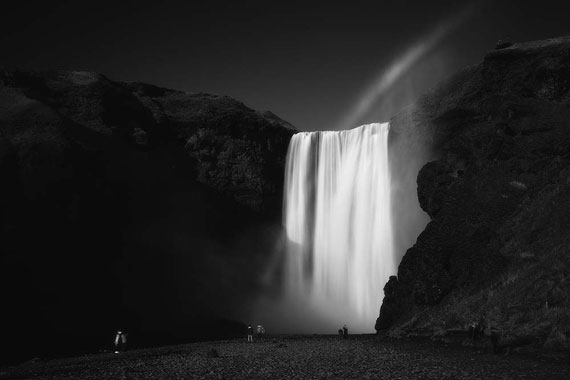
Like the following:
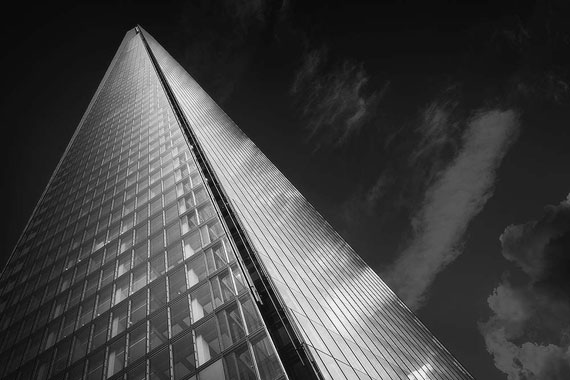
These techniques work great on landscapes for a distinctive look and feel, they work wonders on architectural / city photos too.
Like This Article?
Don't Miss The Next One!
Join over 100,000 photographers of all experience levels who receive our free photography tips and articles to stay current: