Making a timelapse of the Milky Way moving across the sky isn’t just about pointing a camera at the sky and taking a series of photos. There is a method that requires some serious preparation and dedication. Jay P. Morgan from The Slanted Lens shows you exactly how you can take a timelapse of the Milky Way:
1. Finding the Milky Way
“The Milky Way is in the northern hemisphere only in the summer time. In the winter time, it’s in the southern hemisphere.”
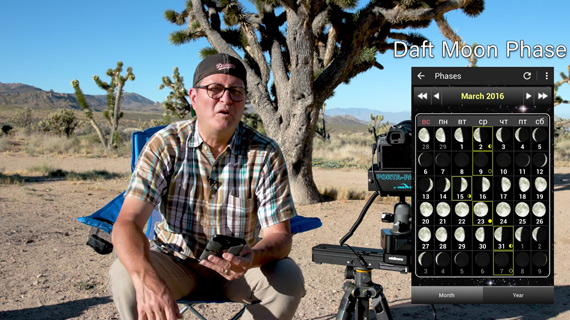
From the northern hemisphere, the Milky Way is best visible from mid-June to July. In July, the Milky Way core is at its peak. And from November through January, only the outer band is visible. To locate where exactly to look for the Milky Way, you can use apps such as Star Tracker, Stellarium, or Sky Guide.

Another important factor to consider is the moon. Don’t plan to shoot during a full moon, as it will overpower the light from the stars. Instead, plan for when there is no moon or when there’s only a small crescent.
2. Camera Settings for a Milky Way Timelapse
Here’s the setting that Morgan used to shoot his Milky Way timelapse:
- Manual mode
- Raw image quality
- Aperture f/2.8
- Each exposure is of 20 seconds
- ISO 2000
- Daylight white balance (can be changed in post when using raw)
With these settings, if you do the math, here’s what comes out:
- Roughly 3 images per minute with the 20-second exposure. That’s 180 images per hour.
- For a 24 frames per second video, the 180 images will make for roughly 7.5 seconds of video time.
So, an hour of shooting with those settings will land you with 7.5 seconds of timelapse video. If you’re looking for a 30-second timelapse video, you’ll need to shoot at least four hours.
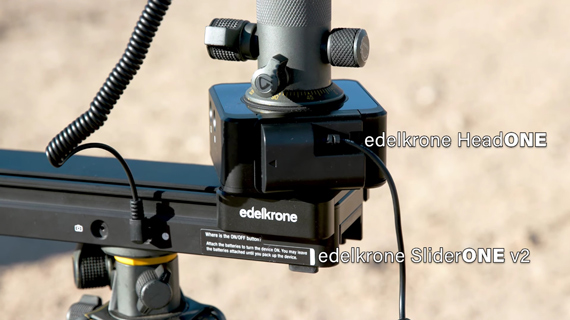
During the four hours, the Milky Way will appear as if it is moving due to the earth’s movement. Morgan uses the edelkrone SliderONE v2 to slide during the course of the shoot to track of the Milky Way and create a panning effect.
3. Focus
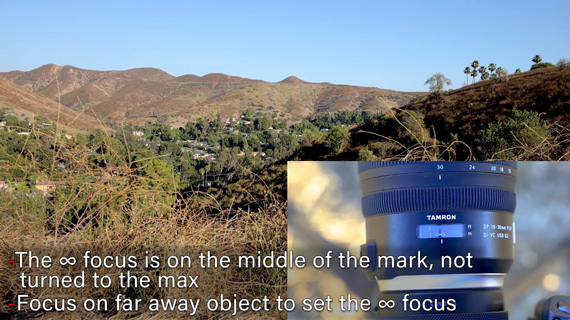
Manual focus is the way to go for astrophotography. Turn auto-focus off; you don’t want the camera to hunt for focus after every shot. Also, as a side note, make sure that you turn off any kind of stabilization, as the camera will have to be mounted on a tripod anyway.
With the lens on manual focus, turn the focus ring until the distance marker is at the middle of the infinity mark. Make sure not to touch it once set.
4. Battery Power
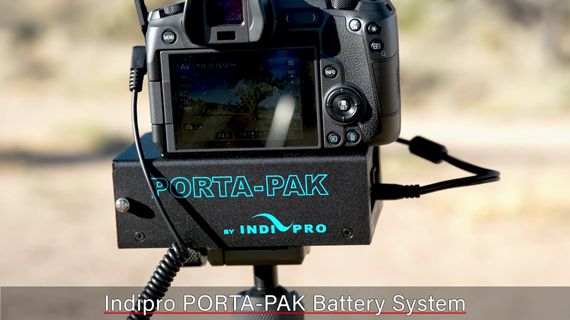
As you will be shooting for an extended period of time, the battery can be an issue. To overcome the issue, it’s wise to use some sort of external battery source. In his case, Morgan uses the IndiPro Porta-Pak.
These are the basic considerations that you need to make for your next amazing Milky Way timelapse. What would you add to this guide?
Like This Article?
Don't Miss The Next One!
Join over 100,000 photographers of all experience levels who receive our free photography tips and articles to stay current:


Leave a Reply