If you fancy yourself the next Tarantino or Spielberg, you need to hone your visual style. Most of us, however, are a little impatient and don’t want to spend years learning colour grading in a colouring house. This is where a lookup table—or LUT—can help speed up your video and image editing process and help you develop your unique style to make your content stand out from the crowd.
What is a LUT? There are many articles out there that explain what a LUT is and what they can do, so I will keep the explanation brief for the sake of this article, and you can jump into Photoshop and start playing around sooner.
Simply put, a LUT is a way to transform an image or video from your camera into selected output values to create a final product that has its own visual identity.
It’s important to know that LUTs won’t help with exposure or white-balance issues. To get the optimum results from LUTs, you still need to take a properly exposed image or video.
As well, to use LUTs in Photoshop, you will need Photoshop CS6 or above.
Installing LUTs in Photoshop
There are two main ways of using LUTs in Photoshop. The first method is a little simpler and should be the method of choice if you are only going to use LUTs sparingly. The second method is more suitable to someone who uses LUTs on a daily basis on multiple projects.
The simple method of using LUTs in Photoshop
To get started, you need to get your hands on some LUTs. You can download free and paid LUTs online, so browse around and see which ones you like. For the sake of this post, any 3D LUTs will work.
Once you have your LUTs downloaded, unzip them to a folder on your computer and remember where you have placed them—this will be important in the next few steps. Windows and Mac operating systems come with software to unzip the LUTs, but if you don’t have them installed for some reason, do a search for a “free zip file extractor” and download one.
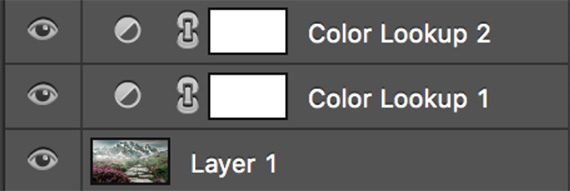
Open up your desired image in Photoshop, then create a Colour Lookup in the Adjustments tab. This can be seen in the Layers window. If you don’t see this tab, you will need to make sure that the Layers tab is visible. You can do this by navigating to Window > Layers and seeing if there is a check mark next to it.
With the Layers panel now visible, navigate to the bottom of the panel and select the option create a new fill or adjustment layer, then select Color Lookup—this icon is a half-filled circle.
Colour Lookup in the Adjustments tab
When you select Color Lookup, another screen will pop up with a few options. You should select the option to load a 3D LUT from a file and then navigate to where you saved your LUTs earlier.
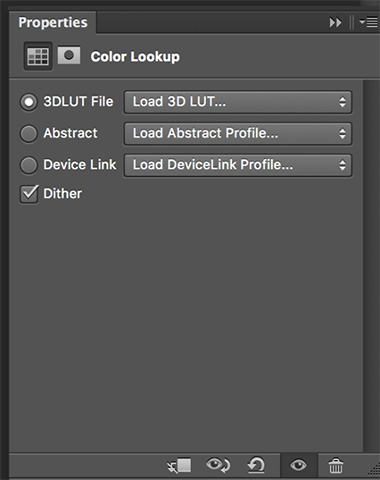
Color Lookup Options
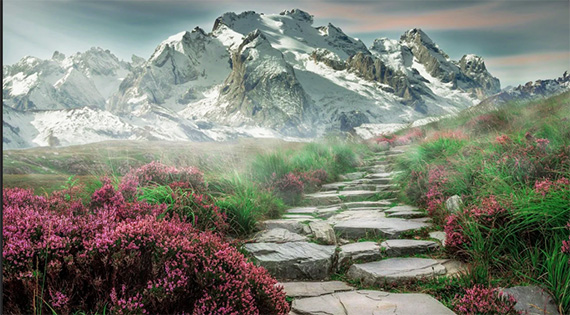
When you select the 3D LUT option, you will also notice that Photoshop comes with some standard presets you can try on your projects. Take a look at this landscape image below, and notice how adding LUTs with one click can make a huge difference in the end result:
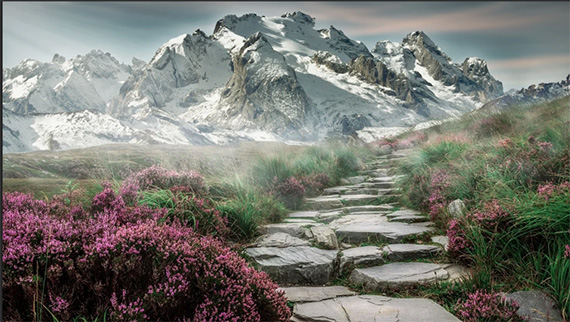
Editing with LUTs 1
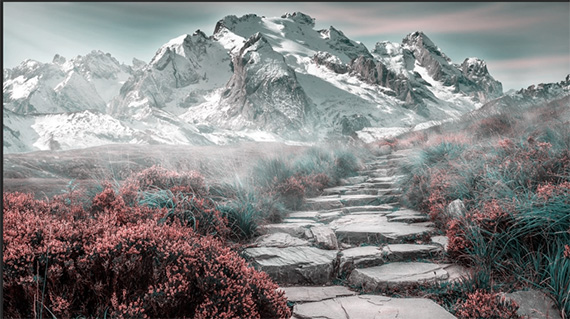
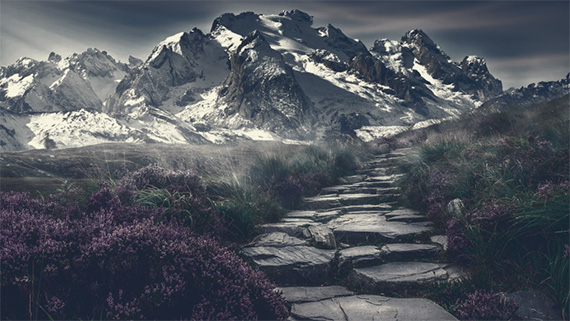
Editing with LUTs 2
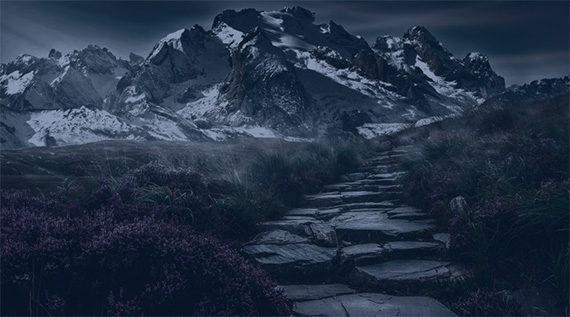
Editing with LUTs 3
Editing with LUTs 4
I haven’t made any other adjustments—I only changed the LUTs. As you can see, each iteration has a different look and feel. Using LUTs can have a huge effect on your creative process.
If you don’t download any additional LUTs, even the standard ones that come with Photoshop can save you time and give you a great starting place.
A more complex method to add LUTs
For anyone familiar with Photoshop, the above method may seem simple. The only problem is you have to load your LUTs every time, and if you use them every day, this process can become annoying and time-consuming.
The second way of adding LUTs to images in Photoshop is a little more complicated, as you have to unzip your LUTs into certain Photoshop directories on your machine. Here is a quick guide to explain that process.
To add LUTs using the second method, close Photoshop and find the LUTs you want to use. Select all of these LUTs and then copy them into the following folders:
Windows users: C:\Program Files\Adobe\Adobe Photoshop *version*\Presets\3DLUTS
Mac users: Applications/Adobe Photoshop *version*/Presets/3DLUTS
Now load up Photoshop. When you create a new Colour Lookup adjustment layer, as descrobed above, you will see all of your LUTs there.
Working with LUTs in Photoshop
By now, you can see the benefits of using LUTs in Photoshop. They can give you a preset style in seconds. With that said, they should be used as a starting point—from here you can let your creativity take over. Combine LUTs by adding a new adjustment layer.
Combining LUTs with Adjustment Layers
Combining LUTs
You can change opacity, saturation, hues and so much more. Playing around with these values is going to give you the flexibility to create your own unique looks while saving you time in the process.
About the Author:
James Mathews writes for Bounce Color, a website that creates LUTs for photographers and videographers to help them speed up their editing process.
Like This Article?
Don't Miss The Next One!
Join over 100,000 photographers of all experience levels who receive our free photography tips and articles to stay current:


Leave a Reply