This article is a general workflow overview of the tonal slider lessons from the Lightroom for Landscapes Course (currently 70% off), if you’d like to learn more on how to master the fantastic world of Lightroom.
Your tonal sliders in Lightroom (exposure, blacks, whites, shadows and highlights) directly influence the foundation of your photograph—specifically, how much detail is pulled from the raw file by making meaningful shifts in the lightness value of those pixels.
The result of working these sliders can be amazing, but unfortunately I see many photographers not using them to the fullest potential.
Trying to process a photograph in Lightroom without adjusting your tonal sliders properly is a lot like driving with the emergency brake on. Yes, you may move forward—but you’ll go so much faster if you take your foot off the brake.
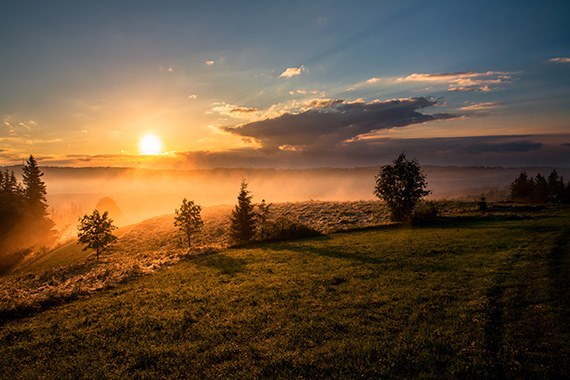
Photo by Dawid Zawiła
Once you know the exact changes each slider makes to your image, and the proper order to change them in, you will eliminate any guesswork in your workflow and be able to process your images in the highest-quality environment.
I prefer to adjust my global tonal sliders in the following order:
Exposure
The exposure slider should be adjusted first, as it targets your midtones, which are usually where most of your pixels are in terms of value. This “hump” in the histogram will set the baseline for your image.
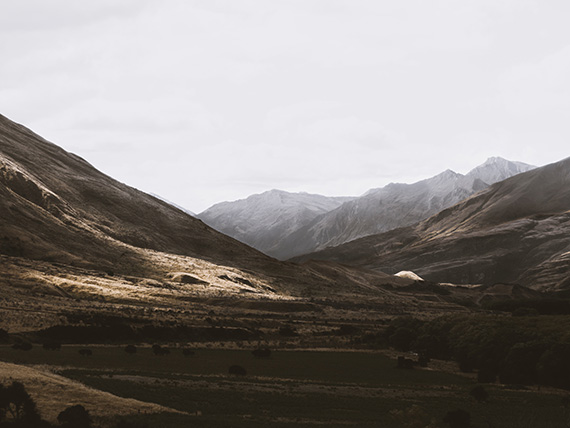
Photo by T L
For the highest quality detail, you would ideally adjust the exposure so that the majority of your midtones are just above middle grey, unless you have a particular plan for your tonal processing (i.e. high-key or low-key).
Blacks and Whites
The blacks and whites sliders control the “bookends” of your tonal range, and should be set so there is a small gap between your first/last tones and the edges of your histogram. Hold the ALT key as you adjust these sliders to make sure you do not clip any detail.
If you have a very high dynamic range with little midtone detail (a U-shaped histogram), you sometimes may need to adjust your blacks brighter and/or whites darker in order to “feed” your midtones. This allows the exposure slider to pick up more pixels and do its magic.
Highlights and Shadows
The highlights and shadows sliders target the tones between your midtones and your black/white points (your “darker highlights” and “brighter shadows”). Use these sliders sparingly as dramatic shifts can result in pixelation and an overall blotchy appearance. This is why I prefer to adjust these sliders last (if at all), and only after the majority of my tones have been shifted with the exposure, whites and blacks sliders.
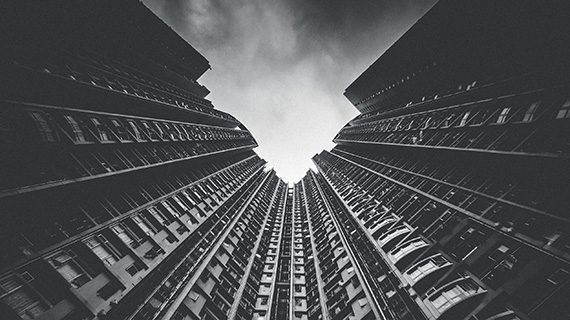
Photo by JC Gellidon
Each image will require different tonal adjustments, but remember the overall goal: to infuse your image with as much detail as possible from the RAW file. This is not the proper time to introduce contrast or otherwise create a compelling image through light and shadow balancing. Instead, a “flat” image is perfectly acceptable as that will give you the highest amount of detail to process later.
For Further Training:
This article is a general overview of how to enhance detail with your tonal sliders in Lightroom, but barely scratches the surface as to what is possible. The full in-depth program will walk you through all of the extraordinary tools and techniques that Lightroom Classic has to offer.
Lightroom for Landscapes (see inside)
Lightroom for Landscapes is currently 70% off today if you want to take a look. Learn a proven system for creating extraordinary, artistic photographs with complete confidence in Lightroom.
Deal ending soon: Lightroom for Landscapes at 70% Off
Like This Article?
Don't Miss The Next One!
Join over 100,000 photographers of all experience levels who receive our free photography tips and articles to stay current:


Leave a Reply