Holiday lights brighten the mood no matter where they are. They might be in a downtown area, at a mall, or even at your own home. For those who love taking pictures, those lights can represent an opportunity to capture beautiful, out of the ordinary images.
Taking pictures of holiday lights can be fun and exciting as well as a little tricky at times. So in this article, we will cover the most important things to know about photographing holiday lights.
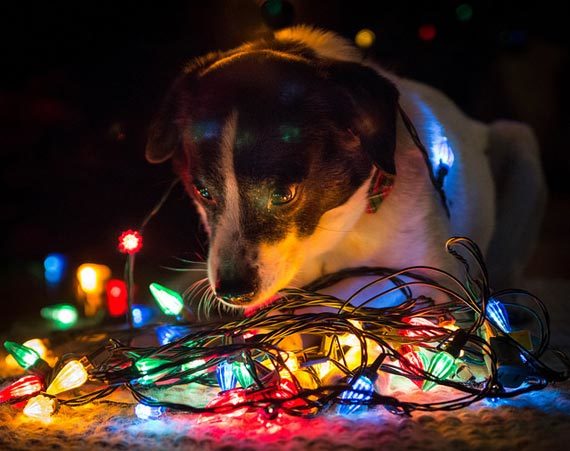
Photo by mgstanton; ISO 1600, f/2.8, 1/125-second exposure.
The best time to photograph outdoor holiday lights is after the sun goes down but before it is totally dark. When you take pictures of holiday lights when it is very dark, you will be able to see the lights, but the remainder of the scene will probably be too dark and lack detail in the shadow areas.
The solution to this would be to take the pictures earlier in the evening. Pictures that are taken right after sunset and before total darkness will show the holiday lights as well as details in the shadow areas of the rest of the scene.
That is because during that time period, there is still a touch of ambient light in the atmosphere. Yet it is dark enough so that the lights will not look dull or become overpowered by daylight. That time period is usually less than ½ hour, probably more like 15-20 minutes.
Realistically, unless you plan it out, you might not be able to get to where you want to take your pictures of holiday lights during that time period. However, you can still get some good shots later in the evening. It will depend on your subject.
For instance, if you want to take pictures of a brightly lit Christmas tree late in the evening, and that is your main focus, then your pictures should come out fine. If the tree also happens to be in an area that is somewhat lit, the details of the surrounding area should be visible in your image.
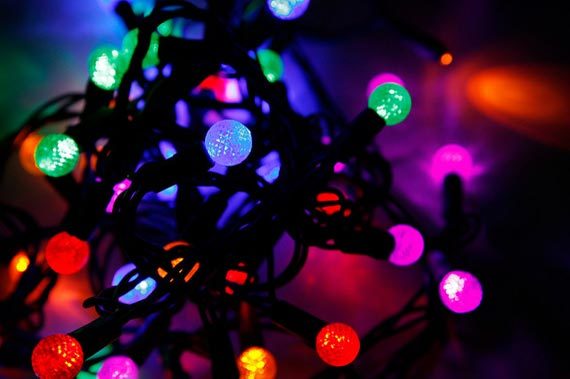
Photo by Alby Headrick.
Lastly, taking pictures of very bright lights that may be in trees or hung between buildings late in the evening should not be a problem. Especially if there are interesting patterns that look good by themselves. In fact a very dark sky might enhance the lighting itself.
The next item of concern when photographing holiday lights is the camera’s shutter speed. Since it will be practically dark when you are taking the pictures, a slower shutter speed, often ¼ second to 2 seconds or more will be required.
Pictures will come out blurred due to camera shake when the camera is hand held at those shutter speeds. The best solution to avoiding blur in your images due to camera shake is to use a tripod.
If there is no tripod available, try placing the camera on a steady surface when taking the pictures of holiday lights. It’s also a good idea use the camera’s self-timer feature to avoid camera shake that could occur just from pressing the camera’s shutter release.
If neither of those alternatives will work for you, another solution would be to increase your camera’s ISO setting. This will make the camera’s image sensor more sensitive to light, which will allow you to choose a faster camera shutter speed. Hopefully it will be a shutter speed that is fast enough to allow you to hand hold the camera without the camera shake.

Photo by Hernan Pinera.
Although increasing the ISO setting allows you to use higher shutter speeds, it is preferable to use lower ISO settings around ISO 100 or 200 for better picture quality. Many cameras will begin to show digital “noise” and a decrease in color brightness once ISO settings above ISO 400 are used. However, if using a very high ISO setting is the only way to get the shot, then go for it.
Turn your flash off when taking pictures of outdoor lights. If you’re very close to the lights you’re photographing, it will tend to wash them out. If you’re far away from the subject it will just be ineffective.
When taking pictures of holiday lights indoors, try turning the house lights down so that the holiday lights can stand out more and the effect will be more dramatic. Don’t forget to use a tripod or steady the camera when taking the pictures.
On the other hand, using a flash to take indoor pictures of, let’s say, a Christmas tree with lights won’t necessarily ruin the shot. You will still have a beautiful shot of a nicely decorated tree, but the lights won’t be as dominant in the image.
Also, quite often you might want to include someone in the picture with the lights as the background. Using a flash in that situation is probably the best way to avoid blur from subject movement, particularly with children or pets.
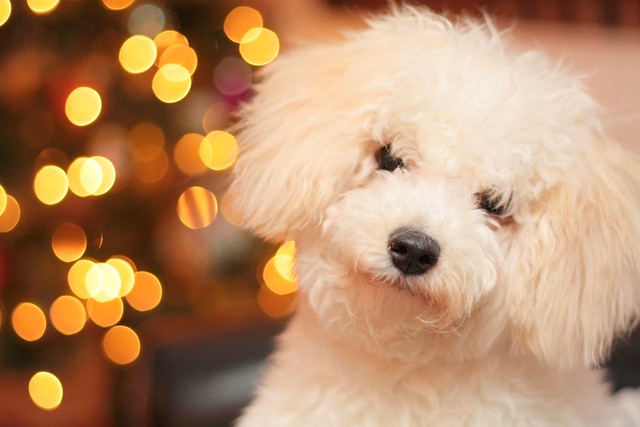
“Munch-kin” captured by Amanda Y.
Neither way of taking those inside pictures is better than the other. You will just have different looks.
As far as exposure settings for taking pictures of holiday lights, there is not a one size fits all solution since light intensities can vary from one scene to another. It is best to take a test shot first and make adjustments after you see the results.
If you’re using a basic compact camera outdoors, try using one of the camera’s scene modes such as Night Landscape. That type of setting will keep the shutter open long enough for a good exposure. Once again, remember to use a tripod or steady surface when taking the picture.
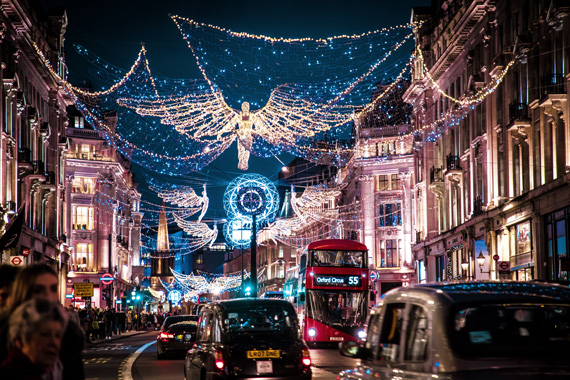
Photo by Jamie Davies; 105mm; ISO 4000, f/4.0, 1/60-second exposure.
If you’re using a DSLR or some other type of camera in which you can control the exposure settings, take a test shot in one of the semi-automatic modes or in the manual mode. Check the image in your viewfinder and then tweak your aperture and/or shutter speed settings to find an exposure you are satisfied with.
Overall, getting a good shot of holiday lights can sometimes be a challenge, but it can also be fun and rewarding. Just like everything else in photography, being prepared and practicing will get you to your best shot.
About the Author:
For more information on photography related subjects, Keith Jones writes for https://www.easybasicphotography.com/. There are plenty of other photography tips and topics at the site to help you better understand the basics of photography.
Like This Article?
Don't Miss The Next One!
Join over 100,000 photographers of all experience levels who receive our free photography tips and articles to stay current:

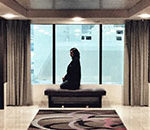


Photo by mgstanton; ISO 1600, f/2.8, 1/125-second exposure.Question? on this image before i saw what I copied and pasted I new that it was full of noise and degrading the image.I shot my Christmas Lights at ISO 100 in manual mode,with of course on a tripod images look far better and more realistic.