The best family photos aren’t always taken with expensive cameras. Today’s iPhones are capable of producing beautiful portraits, candid moments, and group shots. But even with all that technology, a few common mistakes can leave you with blurry faces, awkward proportions, or disappointing results.
Whether you’re photographing a holiday gathering, a family vacation, or just an afternoon with the kids, avoiding these seven mistakes can make a noticeable difference.
Relevant: get a head start on Black Friday savings with the Smartphone Photography Guide – 🎁 Early Black Friday Special!
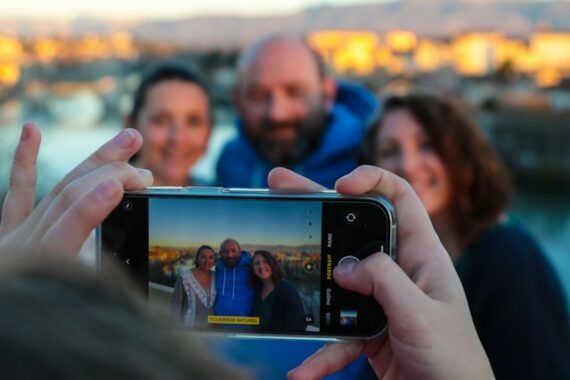
Captured by Jametlene Reskp
1. Using Portrait Mode for Every Group Photo
Portrait mode is one of the iPhone’s most impressive camera features, but it isn’t always ideal for family groups.
The artificial background blur works best when the camera can clearly distinguish subjects from their surroundings. With multiple people standing at different distances, the software can sometimes blur parts of someone’s face, hair, or clothing. Overlapping shoulders and arms can also confuse the depth detection.
Better approach: For larger groups, start with regular Photo mode. This generally gives you more predictable results, especially when people are arranged in multiple rows. Save Portrait mode for smaller groups or situations where everyone is approximately the same distance from the camera.
2. Using the Ultra-Wide Lens Too Close to People
The 0.5x ultra-wide camera is convenient when you’re trying to squeeze everyone into the frame. Unfortunately, it can also produce unflattering results.
Faces near the edges may appear stretched, while people closest to the camera can look disproportionately large. This is particularly noticeable when photographing groups in tight spaces.
Better approach: Use the standard 1x camera whenever possible and step backward to fit everyone into the shot. If you must use 0.5x, keep people away from the edges of the frame and avoid positioning faces too close to the lens.
3. Trusting Night Mode When Kids Are Moving
Night mode can make dimly lit rooms look surprisingly bright, but there’s a catch: it often relies on capturing and combining images over a longer period.
That’s fine for stationary subjects, but children rarely stay perfectly still. The result can be a nicely exposed room with blurry faces and hands.
Better approach: Increase the available light rather than relying entirely on Night mode. Move closer to a window during the day, turn on additional lights indoors, or photograph near a brighter area. For moving subjects, a shorter exposure is usually more important than making the entire scene look bright.
4. Photographing Everyone From the Wrong Height
Camera position has a surprisingly large influence on how people look.
Photographing children from an adult’s standing height often means looking down at them, making their heads appear larger and their bodies smaller. Similarly, photographing a family group from too low an angle can emphasize chins and create awkward proportions.
Better approach: Lower the camera to a child’s eye level for individual portraits and candid moments. For family groups, position the phone around the eye level of the people in the front row, adjusting slightly to ensure everyone is visible.
A small change in camera height can make the photograph feel much more natural and personal.
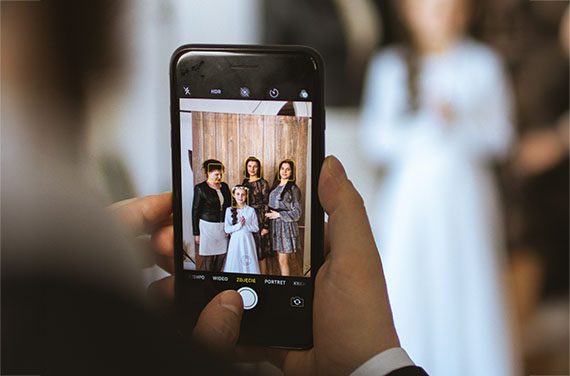
Captured by karolina skiscim
5. Ignoring the Background
It’s easy to concentrate so much on getting everyone to smile that you forget what’s happening behind them.
A tree appearing to grow out of someone’s head, a cluttered kitchen counter, or a bright window competing for attention can ruin an otherwise wonderful family photo.
Better approach: Before pressing the shutter, take two seconds to scan the entire frame. Look for distracting objects, bright patches, and awkward lines intersecting people’s heads. Often, moving just a few feet to one side creates a much cleaner composition.
You don’t necessarily need Portrait mode to separate people from their surroundings. A simple, uncluttered background can be just as effective.
6. Taking Only One or Two Photos
Even when everyone seems ready, someone will inevitably blink, look away, or make an unexpected expression.
This becomes increasingly likely as the group gets larger. Getting five or six people to look good simultaneously is much harder than photographing one person.
Better approach: Take several photos in quick succession. On an iPhone, you can use Burst mode to capture a rapid sequence, then select the frame with the best expressions.
For most recent iPhones, you can activate Burst mode by dragging the shutter button to the left and holding it. You can also configure the Volume Up button for Burst in Camera settings on supported models.
Don’t forget to capture candid moments between the posed shots. Sometimes the laughter immediately afterward produces the best photograph.
7. Putting Everyone in Direct Midday Sunlight
Bright sunlight might seem ideal for photography, but harsh overhead light often creates deep shadows under people’s eyes, noses, and chins.
It also makes people squint, which isn’t particularly flattering in family portraits.
Better approach: Look for open shade, such as the shaded side of a building or an area beneath a large tree with even lighting. Alternatively, photograph during the early morning or late afternoon when sunlight is softer and lower in the sky.
If you’re shooting indoors, position your family near a large window and have them face toward the light or turn slightly to the side.
Good lighting will often improve a family photo more than any camera setting or editing adjustment.
One Final Tip: Don’t Forget to Be in the Photo
One of the biggest mistakes family photographers make has nothing to do with camera settings: they’re always the person behind the camera.
Use your iPhone’s timer, a small tripod, or a compatible remote shutter to include yourself in some of the photographs. The composition doesn’t have to be perfect, and everyone doesn’t need to be smiling at exactly the same moment.
Years from now, those imperfect family photos may be the ones that matter most.
The takeaway: Better iPhone family photography is less about mastering complicated settings and more about understanding light, perspective, movement, and composition. Avoid these seven mistakes, and you’ll be much more likely to capture photographs worth keeping.
For Further Training:
The Early Black Friday Special 🎁 on the Smartphone Photography Guide is here! Get a head start on Black Friday savings and finally unlock what your phone camera can really do.
The guide walks through real, usable techniques—manual controls, motion blur, low-light shooting, and creative effects—so you’re not just relying on auto mode and luck. If this post helped, the guide goes much deeper.
Limited-time offer: Smartphone Photography Early Black Friday Special
Like This Article?
Don't Miss The Next One!
Join over 100,000 photographers of all experience levels who receive our free photography tips and articles to stay current:






Leave a Reply