There are many ways to do things in Photoshop, which is great because it’s so flexible.
But not all are created equal.
Sometimes, the simpler and quicker way will work just as well as a more complicated alternative.
But a lot of the time you might just need to go all-in if you want to get the best result possible.
Take exposure blending for example.
Merging two or more differently-exposed images (from dark to bright) to capture the entire dynamic range of a scene.
The way I see it, there are basically three levels of difficulty when it comes to exposure blending.
And there is a direct correlation between difficulty and how good the end result will be.
Technique 1: the automated plugin
It’s convenient because you just let the plugin do all the work, but the downside is that you lose a lot of the control over how it turns out (and it’s hard to repeat or replicate the same result time after time).
Technique 2: basic manual layer blending
Loading each exposure into it’s own layer and using a brush in the layer mask to blend them by hand.
It works great for simple transitions between the bits you’re blending… Like along a straight flat horizon.
But come up against some jagged rocks and trees that you need to brush around and you could be in trouble…
And the result might end up looking something like this:
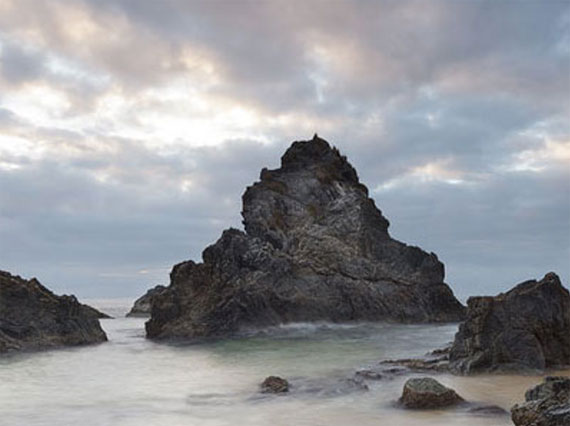
Note the “burned” edges around the top of the rock.
It’s caused by the inability to get perfectly up to the edges with a normal brush in the layer mask when blending in the brighter exposure.
(In fact, if you’re trying to isolate any kind of adjustment to a specific complicated part of an image, you’re gonna need a more complicated layer mask.)
And that’s where luminosity selections come into play at Level 3.
Technique 3: Luminosity Masking
Having a luminosity selection active when brushing into a layer mask lets you constrain your brush strokes to within an exact tonal range.
Or in English… It lets you brush into the dark bits without touching the bright bits – and vice versa.
In the above image, this would mean I could brush inside the dark rock all the way up to the edges with 100% accuracy and without touching the brighter sky.
Even if my brush strayed over the edges.
Like I said at the top, there are many paths in Photoshop that lead to the same destination. So sometimes it makes no odds which technique you choose to get a certain effect or result.
But when it comes to layer masking and exposure blending…
You really do get out what you put in.
So if you’re not already using luminosity selections in your workflow then my Luminosity Masking panel is a great way to get started.
Luminosity Masking Panel for Photoshop:
I created the Luminosity Masking Panel to make the complicated process of learning and using luminosity masking techniques quicker and easier than ever before!
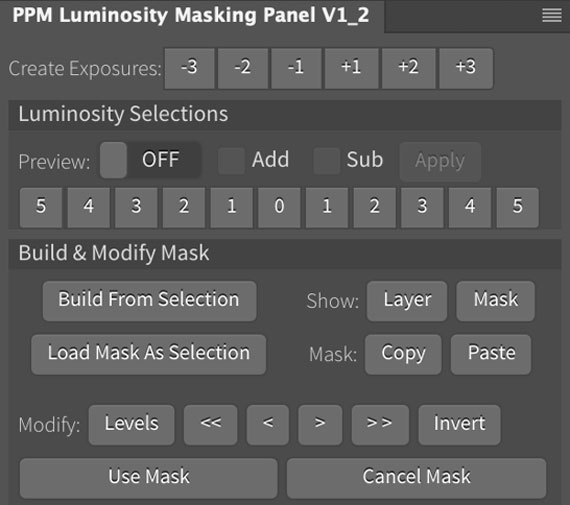
Luminosity Masking Panel
With the panel, luminosity masking is as easy as just a couple of clicks of a button, meaning you can spend less time trying to remember HOW to use the techniques, and more time just making it work for you.
Deal ending soon: The Luminosity Masking Panel at 50% Off
Like This Article?
Don't Miss The Next One!
Join over 100,000 photographers of all experience levels who receive our free photography tips and articles to stay current:


Leave a Reply