Winter photos can be difficult to shoot but they can be just as difficult to post-process. These Lightroom tips for winter photography from Mark Denney can help:
1. Change your background
This is a simple trick to get started and interestingly, it has nothing to do with actual post-processing. It involves changing the border of your photos to pure white. This is the first step in Lightroom when you sit down to post-process your winter photos.
By default, your background is probably gray.
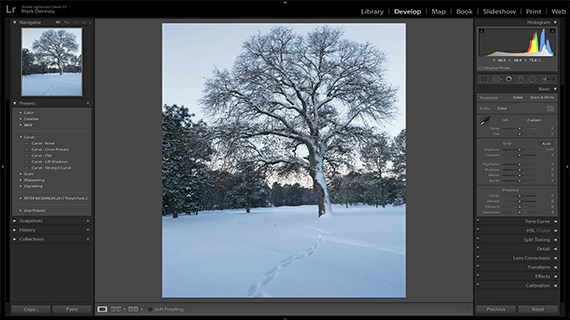
Default Lightroom Develop module
Right-click and change the background color to white.
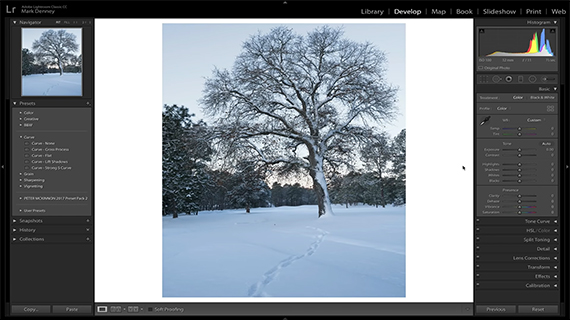
This step doesn’t do anything to the photo itself but helps create a reference point for pure white.
2. Adjust White Balance
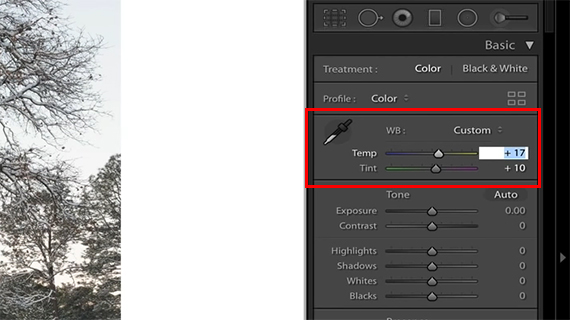
Grabbing the eye-dropper tool and putting it on a neutral reference point makes for a quick White Balance adjustment. But it doesn’t always work. It often warms up a winter image too much. The trick is in taking the auto white balance number/eye-dropper tool value and cutting it in half. That should be a good starting point to further fine tune the White Balance adjustment.
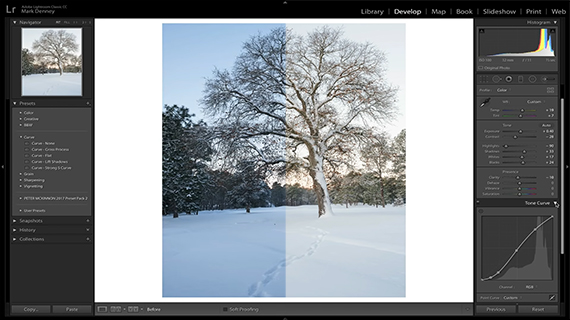
3. Adjust the exposure
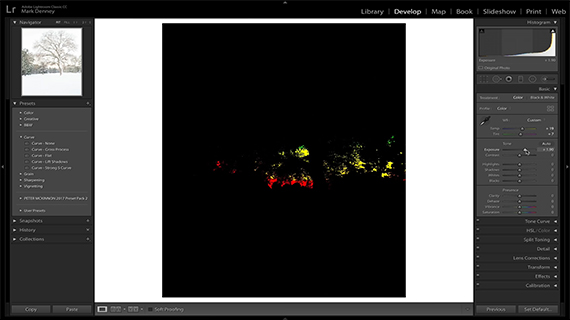
Winter scenes need to be deliberately overexposed. That means overriding what your camera’s built-in meter says. Alternatively, you can adjust your exposure in post. Just hold the Option (Alt) key and slide the Exposure slider to fine tune the exposure. When you see the pixels bleed through on the black palette, you know you’re blowing out the highlights.
4. Choose your white and black points
White and black points are subjective. Some photographers prefer to have the deepest black and the whitest white in their images. Others prefer less contrast. Whatever your preference, Denney suggests that you look to set your black and white points.
5. Work your contrast
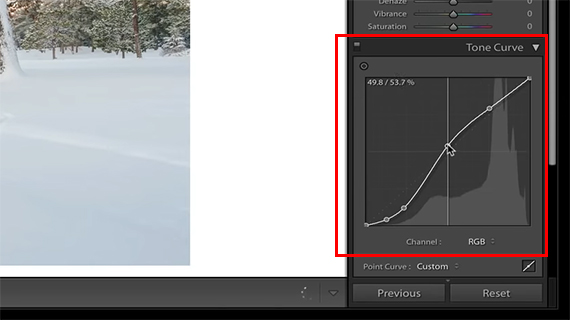
Denney recommends working your contrast not from the Contrast slider but from the Tone Curve.
6. Get creative with colors
Add some color to the shadows using split toning. This adds a bit of change which subtle yet very interesting in the final scheme of things. Denney prefers using split toning with only the shadow areas, as working with the highlights tends to impact the whole image.
7. Walk away
After you’re done processing your image, walk away. After having spent a while editing your photo, your eyes get used to it. Give your eyes a rest and come back after a while and you may find something amiss or overdone.
Do you have other tips for post-processing winter photos?
Like This Article?
Don't Miss The Next One!
Join over 100,000 photographers of all experience levels who receive our free photography tips and articles to stay current:


Leave a Reply