When you start out in photography the first thing you need to know is how to set the exposure and f-stops on your camera. If you don’t learn this, then all your shots will be the same. Exposure and f-stops on your camera are the key to great photographs. They can make or break a picture.
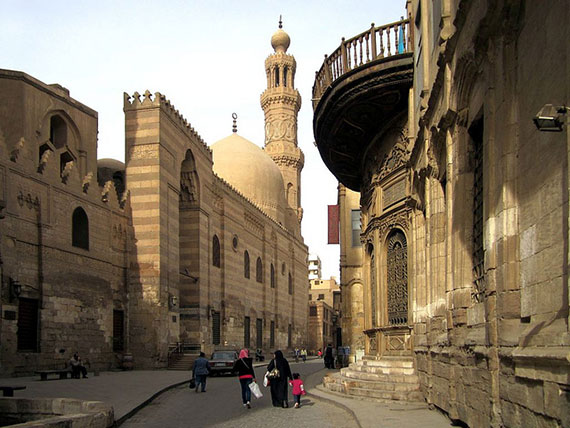
Photo by David Stanley; ISO 200, f/8.0, 1/400-second exposure.
If you don’t get the exposure right, then your photo will be essentially ruined. It can’t be fixed in Photoshop or any other graphics program. Well, that’s not quite correct. It can, but it will look like it has been fixed. Sometimes you only get one chance for a shot. If you don’t get the exposure right, then the shot will be mediocre or downright ugly. All cameras have exposure settings that are easy to figure out.
Exposure is composed of three different settings on a camera. Having a digital camera makes is easier because you can preview the shot before you take it. However, sometimes there’s just not enough time to preview, so you have to know how to adjust your exposure settings fast.
Making the perfect exposure consists of the f-stop (aperture setting), the length of exposure (shutter speed), and ISO (sensor sensitivity or film speed). If shooting film, you first set your ISO to the type of film you have. Some will tell you to set it first on a digital camera, too. The higher the setting (i.e., 1000 ISO/ASA) the less light you need. But again, digital cameras don’t use film, so the choice is up to you for this setting. If you’re using film, then this is something you need to set first. Not setting this to the right film speed can and will over and under expose your shots.
The f-stop gives you the depth of field. A good way to remember how the f-stops work is—the smaller the hole (larger f-stop numbers) the longer the depth of field. That means the background will be in focus as well as the foreground. Using a larger hole, such as f/2.8, will give you a shorter depth of field. The foreground will be in focus but the background will not be in focus.
Now, the exposure setting depends on the f-stop. The smaller the hole, the more light you will need to set the right exposure. The larger the hole, the less light needed, so you will need a faster shutter speed or exposure length. Sometimes it can be a complicated series of settings to find the right exposure. When you use a digital camera with a preview, it makes it pretty easy to find the right exposure. Of course, if you have the time to fool around with the settings, that’s great. However, if you’re at a baseball or football game, there won’t be enough time. You’ll have to set your camera up before the action begins and take lots of shots.
Learning how to combine all three settings is not hard if you know how to use your camera, and if you understand what the exposure or shutter speed does in combination with the f-stop. There are a few other things that are used to get the exposure right on any shot. You also have the lens to bring into consideration. Some of them may not go below f/4; in that case you’ll have to combine a slow shutter speed with the high ISO to get the correct exposure. Lenses are called a fast lens or a slow lens; that pertains to the lowest aperture setting.
The best way to learn the exposure on your digital camera is to set up a still shot and start a series of shots with the settings on different combinations. That way you’ll be able to tell exactly what your camera can or can’t do for your photography.
Start with the lowest settings for the f-stops, the shutter speed, and the ISO. Change the f-stop increments by each aperture setting. Continue until you’ve gone through the whole range of f-stops, then step through the shutter speeds and the different ISO settings.
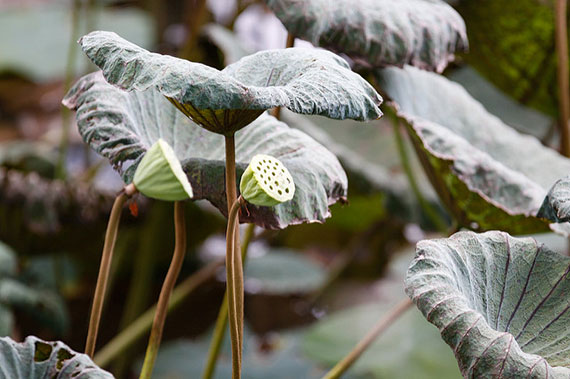
Photo by Marcel Holyoak; ISO 400, f/2.8, 1/250-second exposure.
Compare each photograph to see how the changes affected each one. Use different settings such as a still life, a running dog, kids playing, and other types of shot you think you might be taking. The more you practice and test different settings, the easier it will be to set them when you’re out in the field. Don’t forget to keep detailed records, so you can see the differences in the combinations of settings.
This is very expensive if you’re testing a film camera. It’s best to use a digital camera for these tests, and then try them with your film camera. That’s one of the beauties of a digital camera. It costs nothing to run a ton of tests.
A little more detail about ISO on a digital camera. ISO stands for International Standards Organization. They set the standards for different types of equipment, not just photographic equipment. That means when they set a standard, every manufacture, brand, model, style, and type of camera will adhere to that standard. Every camera will have the same settings for ISO. ISO on a digital camera is the sensitivity of the digital chip that records the image. A low ISO, such as ISO 25, means it’s not very sensitive to light. A high number, such as ISO 3200, means it’s very sensitive to light. Here’s the thing about using higher ISO settings.
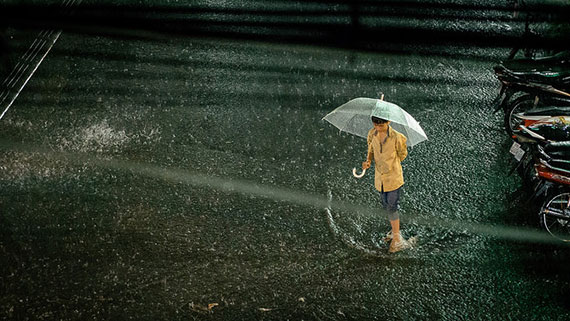
Photo by arileu; ISO 5000, f/1.8, 1/90-second exposure.
The higher the setting, the faster shutter speed you can use because it will need less light. Right? Yes, but no. If you used high ISO settings, it tends to degrade your images. That means the detail will not be as sharp as it could be, so using a lower ISO setting is better if you want sharper, more detailed images. Changing the ISO setting on a digital camera can be helpful for some types of shots, such as low light shooting, but for the most part you want to keep to the lower ISO settings for the sharpest images.
About the Author
Zelda Martin (http://www.studioshotz.co.uk) is a professional photographer based in Dorset.
Like This Article?
Don't Miss The Next One!
Join over 100,000 photographers of all experience levels who receive our free photography tips and articles to stay current:


Given the first line “When you start out in photography the first thing you need to know is” – this good basic introduction. Sure, this could have spoken about focal length etc. But the it would not have been an introduction. It so easy be critical on the web. DOF calculator!! Why to bore people.
She doesn’t understand DOF. It is only partly a function of aperture size but just as important are the focal length of the lens and distance to the subject. Download a DOF calculator and examine the magnitude of changes in each of the factors. The rest of the article is what I teach 7-10 year old children in the first hour of Grandparents University.
Unlike Christine, as a relative novice, I found the article interesting and valuable. I find that repetition helps the point stick in my rather slow brain!
Thank you, i enjoy all of your articles.
poorly written.too many unnecessary repetition.no actual information.