Photographers are obsessed with light. The type of lighting that is available determines the mood and look of their photographs. While studio photographers have the flexibility of modifying light according to their needs, landscape photographers don’t have that luxury. Landscape photographers tend to be patient with light and wait for the right light before taking their shots. But should they always wait? National Geographic photographer Frans Lanting with CreativeLive gives his tips on how to use light for landscape photography:
Don’t wait for the perfect light for your landscape photos. Lanting shares his ideas on how you can make the most of whatever kind of light is available. Every type of light has its own unique characteristics, and you can use that to your advantage for your photos.
Indirect Light
A thick layer of fog or clouds creates indirect light, which is soft and dispersed. Such lighting conditions don’t have much contrast. You need not be scared of losing details on the harsh highlights or deep shadows. Indirect light gives you a lot of flexibility.
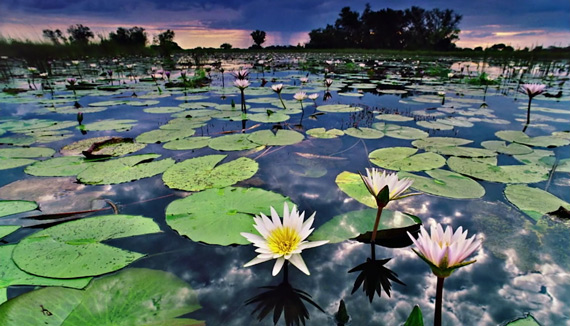
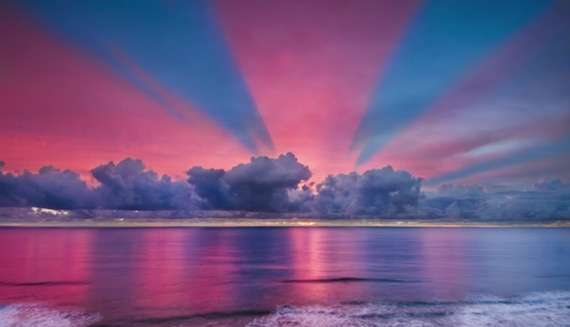
Magic Light
Also known as the golden hour, this is also a type of indirect light that occurs before sunrise and right after sunset. Magic light presents you with gorgeous and dramatic skies which are also reflected onto the scene.
Direct Light
When the sun hits your subject directly, it is referred to as direct light. Many photographers are not fans of direct light, because it creates difficulties with hot spots and loss of highlight details. Lanting shares how you can make the most of direct light depending on where it is coming from.
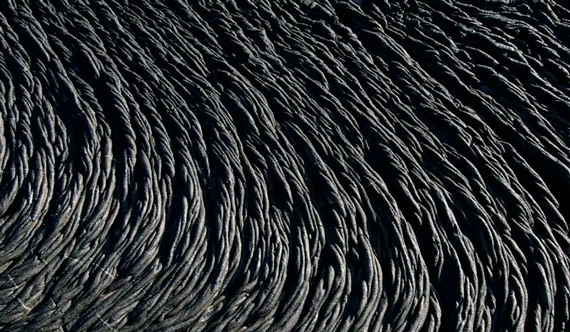
Use side lighting to emphasize texture.
Position of the Sun
When the light is in front of you, remain aware of how the light changes. During sunrise, pay attention to where the light mostly occurs; look into the sun. During the first 10-15 minutes of sunrise, you get a warm glow. So look where the sun hits the subject. When the sun gets high and you start losing the warm colors orient yourself for some side lighting. When the sun is really high and the scene gets dull, use back-light. You can also try shooting silhouettes.

To summarize, keep the sun at your back to emphasize color, orient yourself at a 90-degree angle to the sun for an emphasis on texture, and look straight into the sun to emphasize shape.
Next time you’re out on a photo shoot, keep this in mind and change your position relative to the sun depending on what you want to emphasize.
Like This Article?
Don't Miss The Next One!
Join over 100,000 photographers of all experience levels who receive our free photography tips and articles to stay current:


Leave a Reply