Today’s portrait photography photo tip begins our discussion of specialty lights — specifically, the hair light. We will explore what it is, how to use it, and some precautions.
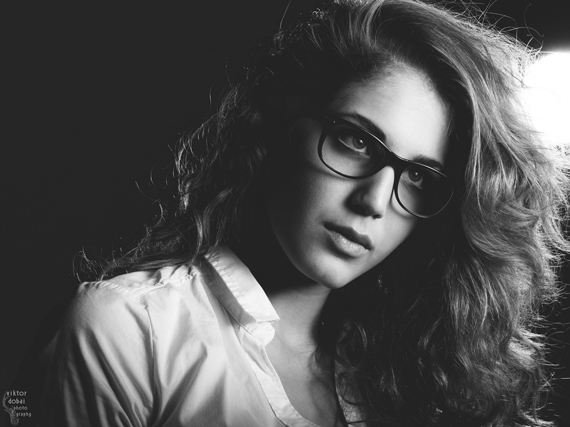
“Diana b&w” captured by Viktor Dobai
So far, in our study of portrait photography lighting, we’ve learned that the majority of the time, we will use a three-light setup: the main light, the fill light, and the separation light. This will do for the vast majority of our portraits. In fact, many professional photographers go their entire career never using more than the basic three.
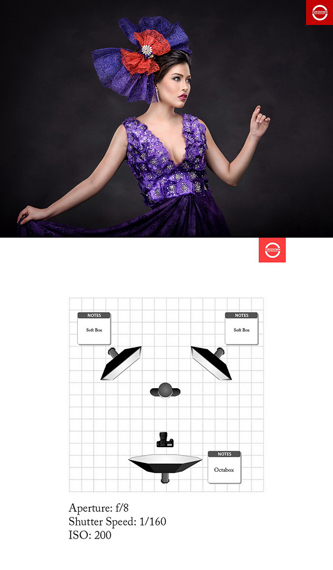
“Lighting for Portaits” captured by Sidious Sid
But, at times, there is a need for additional lighting. That said…
Caution: It’s easy to get into the “more is better” mindset. Fight to avoid it! Just because you have more lights doesn’t mean you should use them! Every light you add to the mix exponentially adds to the possibility of messing up your portrait.
On the other hand, when properly used, specialty lights can add a lot to a photo.
A hair light is just what it says it is — a light that is used to light the hair.
How to Position a Hair Light
A hair light is positioned above and behind the subject. It can either be off to the side or directly behind your model, depending on your creative outlook.
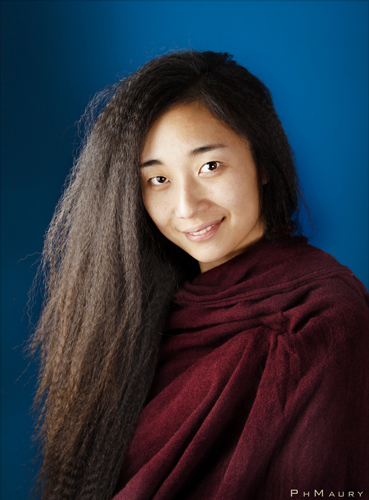
“Pashmina Style” captured by Maurizio, Francesco Mazzola
As it shines down, it will create light on both the hair and upper shoulders (the hair light is frequently confused with and used as a separation light, because a hair light does actually separate the subject from the backdrop).
Often, photographers will use a hair light to do double duty — particularly in a situation where a model has dark hair and is in front of a dark backdrop.

“Alyssa Low, Interaction Designer” captured by Aurimas
There are a couple of cautions you need to take when using a hair light.
Exposure Value
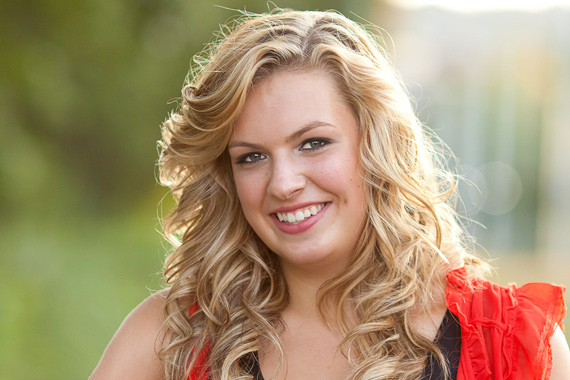
First, exposure value. This is where the vast majority of photographers mess up on the hair light. They make it too bright. This is particularly a problem with blondes.
A hair light is meant to light up the hair, not blow it out. If your light is too bright, you just end up with a massive highlight and no individual hair detail. That’s not what you want.
“Stranger Portrait No. 28” captured by Chris Zerbes
What you want is to be able to see the hair — not just a blob of light.
Set your light to be about the same exposure value as (or a bit less than) the key light. Various hair colors absorb more or less light, so you can’t just use the same settings for everyone. You have to adjust.
It’s these little tweaks that will make all the difference. And it’s where shooting digital photography really shines! All you have to do is take a quick shot, review it, and keep adjusting the lights until you get what you want.
“Aimee’s Famous Pose” captured by Adam D.
Back in the olden days of film, we had to get everything set up and then take a shot with Polaroid film to see if all the lights were correct. If we didn’t have a Polaroid camera (or a Polaroid film back for our camera), we just set everything up and prayed.
Lens Flare
Our next potential problem with the hair light is that since it is behind and above the subject, the light is pointed at the camera. The potential exists that stray light will make it to the camera and cause lens flare.
Lens flare will ruin the shot. Be sure to watch for it. To avoid the problem, just tape a piece of cardboard over the front edge of the light to block any extraneous light. You want to focus all the light onto the subject.
To block the light, professionals often use a “snoot” or “barn doors” on the light. These are just fancy photo gadgets that do the same thing as the cardboard. I recommend you not buy them until you have a distinct need. The cardboard is cheaper and can do the job.
Consider using a hair light in your portrait photography. This photo tip can easily set you apart from the run-of-the-mill photographers and possibly start bringing in the photo contest prizes!
About the Author:
Dan Eitreim writes for ontargetphototraining.com. He has been a professional photographer in Southern California for over 20 years. His philosophy is that learning photography is easy if you know a few tried and true strategies.
Like This Article?
Don't Miss The Next One!
Join over 100,000 photographers of all experience levels who receive our free photography tips and articles to stay current:


Hair Light, backlight, separation light, rim light ….. they are all the same thing!
Hair Light, backlight, separation light ….. they are all the same thing!
“To avoid the problem, just tape a piece of cardboard over the front edge of the light to block any extraneous light. ”
So what would that look like?