Macro lenses open up a whole new world of photography opportunities. Even the most mundane subjects appear interesting through macro lenses. But a real challenge when using macro lenses is with the depth of field. It’s so shallow that even the slightest movement can cause the subject to be out of focus. In this video, photographer Jamie Windsor shares an interesting hack to take macro shots with a wide depth of field using a non-macro lens:
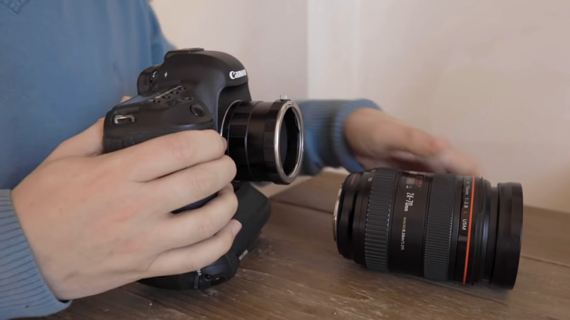
All you need are a tripod, a lens, and an extension tube. The extension tube attaches between your camera and lens and allows the lens to focus on subjects that are much closer.
How to Use Extention Tubes for Macro Photography
Windsor uses the following technique to take macro photographs with a greater depth of field:
- With the camera turned on, he sets the lens to the smallest aperture setting (f/22 in his case). A small aperture setting allows for greater depth of field.
- While keeping the depth of field preview button pressed, he detaches the lens from the camera body. This causes the lens’s aperture to remain at the smallest setting.
- He then attaches the extension tube to the camera body and the lens to the other end of the extension tube.
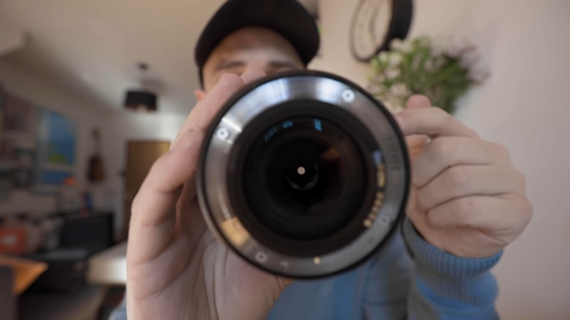
- With the camera mounted on a tripod and the subject lit with a light source, he takes multiple images of a flower. With every shot, he shifts the plane of focus slightly backward using the focus ring on the lens.
- He uses a two-second timer to take the images to avoid any camera shake.
- Once done taking the images, he uses Photoshop to stack them for a single sharp image.
Post-Processing to Stack Focus
Since Windsor has taken multiple images with varied focal planes, it’s essential to stack them up to get a single image with a greater depth of field. Here’s how:
- Go to File > Automate > Photomerge… and browse to the files. Select all of the relevant files and click Open.
- Uncheck Blend Images Together and click Ok.
- Select all the layers and go to Edit > Auto Blend Layers… With Stack Image” selected, click OK. This will instruct Photoshop to identify the sharpest areas in each layer and mask out the areas that aren’t in focus. The resulting image will be a blend of the sharpest areas of each layer, creating sharpness from front to back.
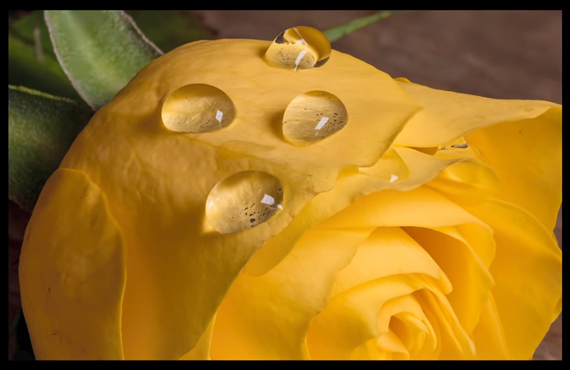
This is a convenient and budget-friendly hack that you can use to take macro photographs with a greater depth of field. If you want to give macro photography a try but don’t want to invest in a macro lens, this is the technique for you!
Like This Article?
Don't Miss The Next One!
Join over 100,000 photographers of all experience levels who receive our free photography tips and articles to stay current:


Leave a Reply