We’ve all been there. Sitting in a dark, corner table of a fantastic restaurant, wishing that we had more light, so we didn’t have to use that terrible built-in flash. Perhaps the meal was one of the best we’ve ever eaten and the one thing that would have made it better is gorgeous photos to post to our website, Facebook page, or blog.
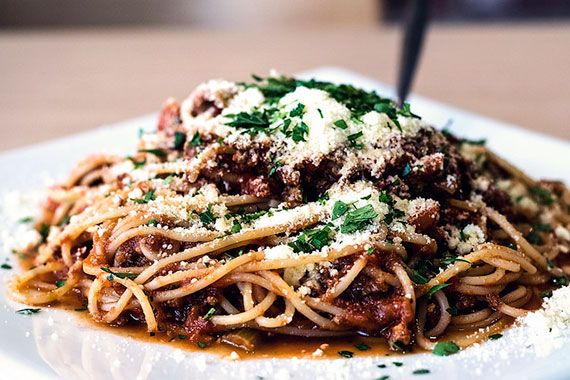
Photo by Daniel Lee; ISO 800, f/3.5, 1/80-second exposure.
When we get home the results are less than spectacular. Usually, the flash creates hot-spots on anything reflective on the table. Including, stemware, cutlery and crockery. The grain from the high ISO used also is a very annoying factor in low-light, restaurant photography. There are some easy solutions to this.
How to capture great photos in any setting:
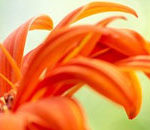
1. Diffused sunlight – The quickest and easiest way to get great photos is to shoot with available, indirect sunlight. This could be choosing a table outside, under an umbrella, where the sunlight would be diffused by the umbrella. This method is by far the best for achieving excellent photos.
2. Get a table by the window – If there are no outdoor tables available, or it’s too cold, rainy, etc. there are other methods. One trick is to ask the reservations desk if you can have a table by the window when booking. If they say no, than ask when the next available seating is when a window is available. Don’t be embarrassed to push it and insist. They are there to serve you.
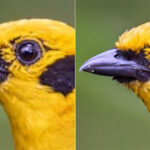
3. Use fast lenses – Outdoor and window tables work during the daylight, but what about dining in the evening, when the sun is down and there’s nothing but the available light in the restaurant? This is where it gets tricky. For those with point-and-shoot cameras you don’t have many options. To achieve really brilliant results indoors, using dim light, you need to get yourself a DSLR (digital single lens reflex) camera or mirrorless camera, which has the ability to swap lenses. That is, one that doesn’t just have a single fixed lens. The lens is really what matters. You want a fast lens. Meaning, a lens which lets in a lot of light. One that has a large aperture, (amount of light let in reflects aperture size) f1.8, or f2.8 lets in lots of light and are called large apertures, or fast lenses. Despite their small numbers. Anything smaller (f4.0 and above) and you’re going to have trouble. Unless you have IS (image stabilization) on your lens.
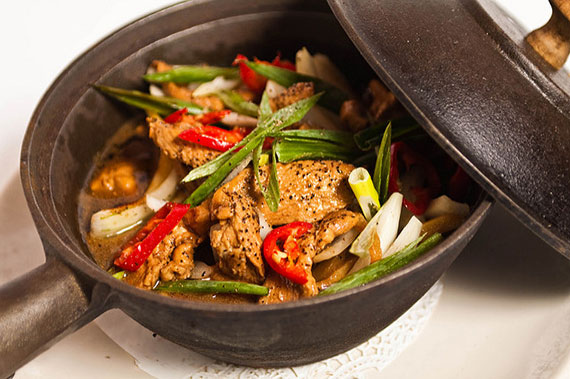
Photo by Nick Nguyen; ISO 100, f/4.0, 1/125-second exposure.
4. Use image preview – I have found that having image preview on my camera works very well for restaurant photography. This is built-in to almost all point-and-shot cameras, but is still very limited on DSLRs. The reason I find it so helpful is because I don’t have to hold the camera up to my face to shoot. This can be very distracting when taking photos in nice restaurants especially. With image preview, you look at the LCD screen on the back of the camera and focus your photograph without having to bring the camera above your food.
5. Shoot at table level, not eye level – When shooting food you want to always strive to photograph at an angle which is 10-40 degrees from the table. Meaning, don’t take food shots at eye level. We humans always see our food at eye level and it’s more intriguing when we see it at the actual level the food is at. About 10 degrees above the plate is perfect.
6. Get in close – I see way too many food bloggers shooting with wide-angle lenses and as a result the photographs aren’t attractive. There is way too much going on in the foreground and background, when really, all we want to see is the food. So unless you want to highlight some specific areas of the table, or the restaurant, get in close.
7. Don’t use your built-in flash – Built-in flash tends to flatten an image and make it dull. Try to utilize one of the methods above first and if all else fails, flip that flash, but only in an emergency.
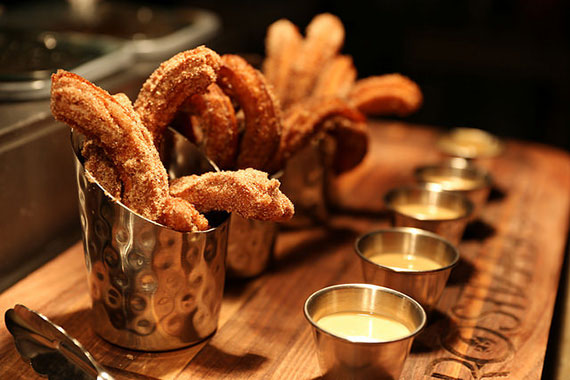
Photo by Mack Male; ISO 100, f/3.2, 1/60-second exposure.
And finally, don’t discount your photo editing software. Even bland, flat images can be saved using the curves function.
Today you can find top quality, used equipment for a fraction of the price new. Get yourself a good DSLR and 50mm f1.8 lens and your restaurant and food photography will really start to shine.
About the Author:
This article was written by Taylor Young Photography. “Whether I am shooting weddings, portraits, landscapes, architecture, interiors, or food for a restaurant, I constantly strive for perfection in order to ensure that my clients stand out and look their very best.”
Like This Article?
Don't Miss The Next One!
Join over 100,000 photographers of all experience levels who receive our free photography tips and articles to stay current:


OMG WHERE IS THE GOOD LOOKING FOOD!!!!!!!!!!!!!!! :(
“Shoot at table level, not eye level” – yet, the picture shown right before this tip is shot at 90 degrees, not 10-40 as explained…
don’t shoot at eye level, but here’s a nice picture shot at eye level… it’s confusing
Some good tips, especially the one about outdoors. I disagree about avoiding shooting at 90 Degrees or table level – it can work well. The person viewing it can imagine sitting at a table being served the food.
Thanks for this content ! All the best !
Great tips. Thank you for the article.
This is very interesting. These are great tips for anyone who want to take photo of the dinner they ate. However, food photography “for” a restaurant is totally different. There is much more into it.
The planning and thought process is completely different when photographing your dinner “in” restaurant versus “for” restaurant.
Great tips for “in” restaurant photography.
– Neel