Making a beautiful timelapse sequence involves quite a bit of work. It takes a methodical approach, extensive research, careful calculations, and of course planning. You need the right equipment, too. This video by DigitalRev TV covers some of the essential points to successfully making your first timelapse:
Gear
There are a lot of cameras out there with built-in timelapse features. Ideally, get one of those. But don’t fret if your camera does not have a built-in feature. You can pick up an intervalometer like the Syrp Genie to control the interval shooting.
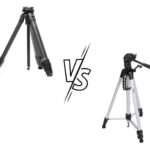
In any case, camera stability is vital to shooting timelapses. You don’t want to press the shutter release button with your finger, as that will create camera shake.

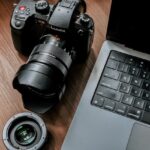
You need the right gear to shoot timelapse.
Camera Settings
Switch everything to manual: shutter speed, focus, white balance—everything. You want all of the shots to be consistent. Absolutely no wobbling, no auto-focus adjustment, and no auto change of exposure.
Numeris Complexis
Now for the complex bit. You need to figure out how many shots you need. That will depend on two things:
- how long you need the timelapse sequence to last, and
- the frame rate.
Let’s say you need a 2 second clip at 25 frames per second. That means you need 50 photos.

Multiply the timelapse video duration (in seconds) with the frame rate to arrive at the total number of exposures.
Shutter Speed
Shutter speed controls the smoothness of the timelapse. Too fast a shutter speed and the movements will look jarred. Especially for subjects like water or people you need a slow shutter speed. Dragging the shutter speed makes for smoother movements. You may want to use a neutral density filter in brighter conditions to allow for slower shutter speeds.
Assembling the Video
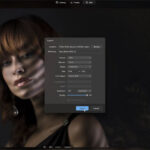
There are many free and paid applications to assemble the images you shoot into a timelapse sequence. But before you can assemble the images you need to tweak the exposures in Lightroom or another post-processing application. The main thing is to balance the exposures. Simply adjust one of the frames and copy the settings to the other frames.

Assembling the timelapse shots into a video clip
The next step is to export the JPEGs and then import them to your video editing tool. Select the frame rate and export the video. That’s it! You have successfully created your first timelapse video.
Like This Article?
Don't Miss The Next One!
Join over 100,000 photographers of all experience levels who receive our free photography tips and articles to stay current:


Leave a Reply