Light saber style strip lights are not new. There are some good choices available on the market right now. But none of these are quite that effective when it comes to absolute shooting convenience. Joe Edelman decides to build one himself:
The main issue with many strip lights, aside from cost, is that they don’t work with different speedlights and they don’t allow access to the speedlight controls.
Edelman’s design ensures that you’re able to access the speedlight controls without removing the speedlight.
How to Make a Speedlight Strip Light Modifier
To build the light saber, you will need the following:
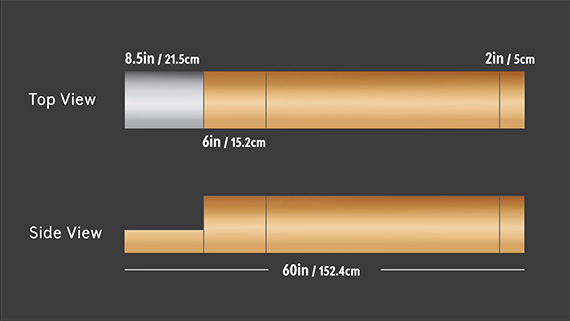
- 3″ x 60″ Kraft mailing tube with end caps ($4.81)
- two 1″ x 12″ hook and loop cable tie down straps ($1.09 each)
- 24″ x 48″ sheet of white translucent plastic film ($10.36)
- tripod screw holder adapter ($1.99)
- flash speedlight umbrella holder ($4.33)
- 1″ flat washer
- 1/4″-20 x 1″ screw
- black gaffer tape
- gloss white spray paint
- super glue
- sharp utility knife
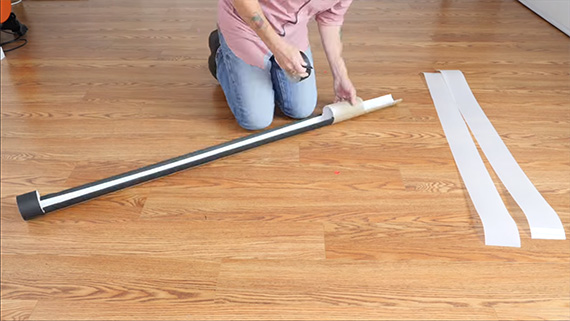
Cut into the mailing tube using the measurements described in the video.
Once the cuts are made, paint the inside of the tube white and use black gaffers tape on the outside.
Attach the speedlight using the hook and loop straps.
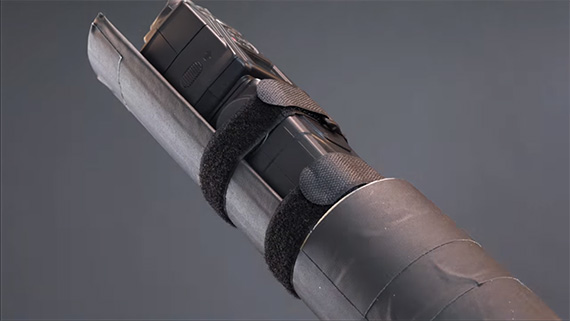
Attach the speedlight.
With the speedlight attached to the tube, find the balancing point using your fingers.
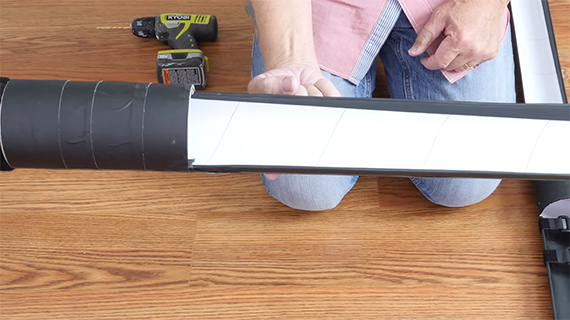
Find the balancing point.
This is exactly where you will insert the tripod mounting screw adapter, so take your time finding the right spot.
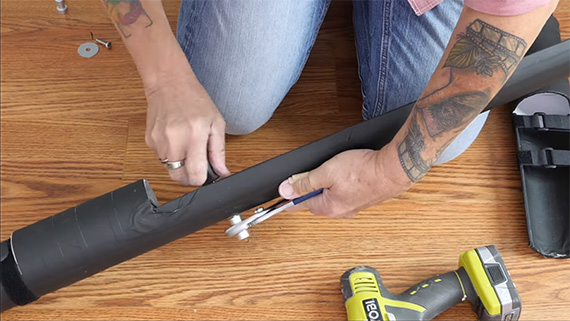
Drill a hole at the balancing point, and insert the tripod mounting screw adapter.
Cut out a piece of plastic film to match the size of the opening in the tube, then roll it and insert it into the opening. Use super glue to secure it in place.
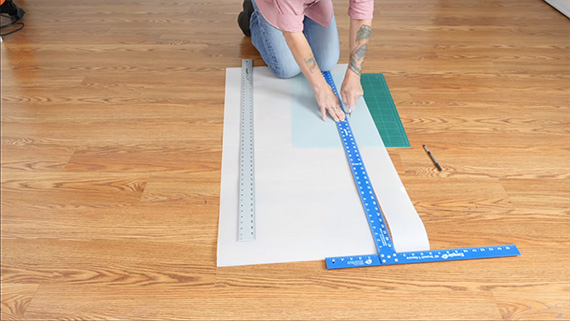
Cut the plastic film.
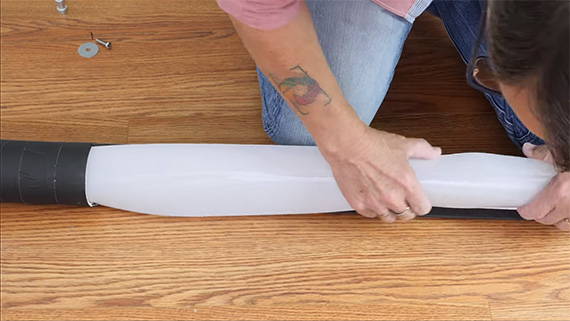
Insert the film into the opening.
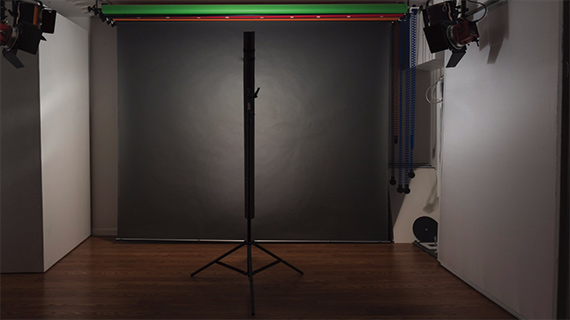
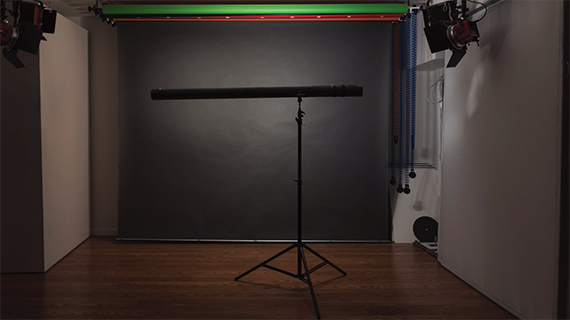
Finally, attach the tube’s end cap.
Your light saber speedlight modifier is ready to use!
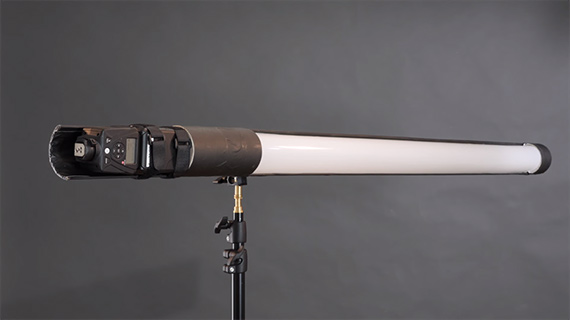
DIY Light Saber Strip Light
The light fall off varies depending on whether you’re using the strip light in a vertical or horizontal position:
Vertical
Horizontal
Here’s a quick one-light shot using the strip light.
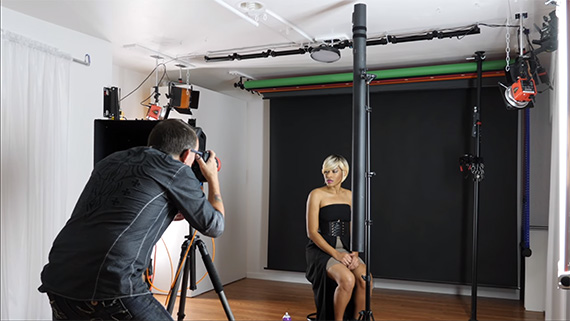
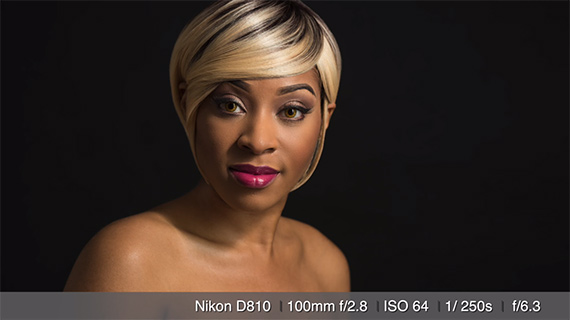
You can experiment with the position, mix it with a bare speedlight, use another strip light to create different effects, and even gel it to get different results.
Pretty amazing for $20 and about two hours of your time!
Like This Article?
Don't Miss The Next One!
Join over 100,000 photographers of all experience levels who receive our free photography tips and articles to stay current:


I sure would like to know where you bought a 3×60 mailing tube for less than $5. Best I could find is about $23.