When it comes to product photography, it’s not very different from photographing a person. The only difference is in geometry, and also that you’d want almost everything to be in focus. While focus can be handled comparatively easily by controlling the depth of field, the different geometries can make it tricky to light the products well. Jay P. Morgan from, The Slanted Lens, takes cues from a ball, a cube, and a cylinder to help you understand easy ways to light a product:
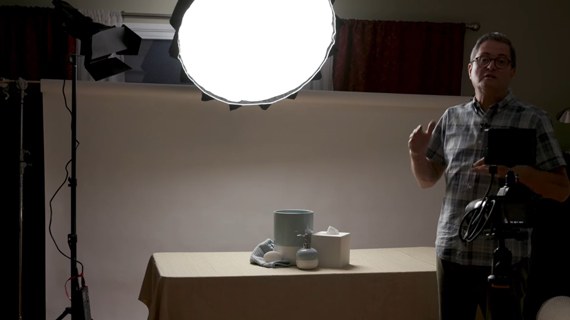
Product Lighting with Single Light Source
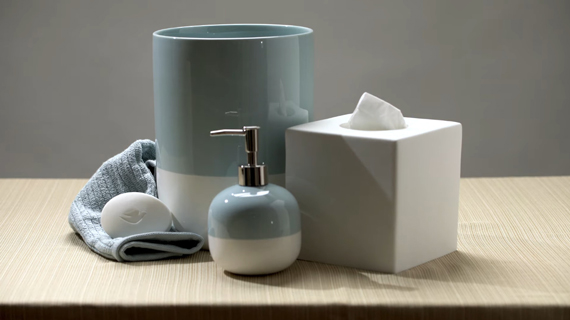
“Everything in life is a ball, a cube, or a cylinder. Sometimes objects are a combination of a ball, a cube, and a cylinder.”
To start, whenever you’re composing your shot, make sure to frame the objects so that you can view all of their distinct sides. For instance, if it is a cube, compose in a way you can see the highlights, shadows, and the top. This helps in creating depth in the image. You can do so by moving your camera a bit higher and angling it down a little. Also, you can turn the object around depending on whether you want more of the highlights or the shadows in frame.
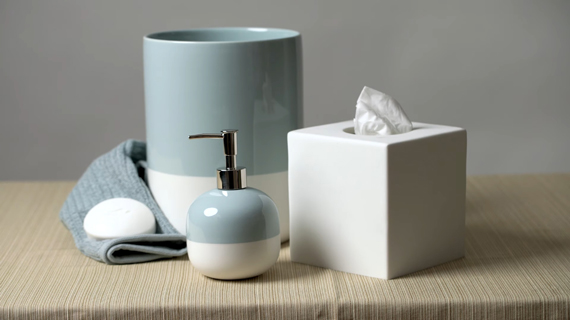
Similarly in case of cylindrical and spherical objects, you can see highlights, shadows, and a gradual transition from highlights to shadow. You can further emphasize depth in your image by placing the objects in a way that the shadow of one object falls on the highlighted portion of the other.
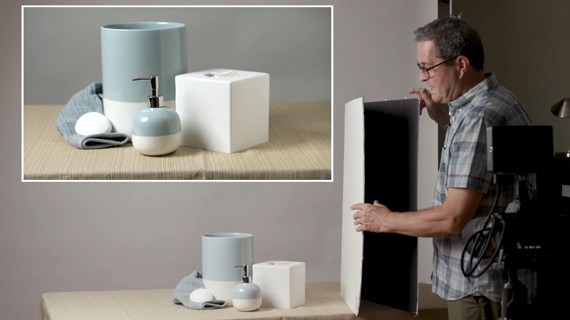
To control the intensity of the shadows, introduce a white board opposite the direction of the light source. This will bounce some light into the scene and let you have more control over how you want the shadows to appear.
To create a mood and add to the separation of the objects from the background, you can turn the light away from the background. This will make the background appear darker and the objects will separate from the background better. Conversely, if you want the background to appear brighter, and the objects to appear moody, turn the light more towards the background.
Product Lighting With Two Light Sources
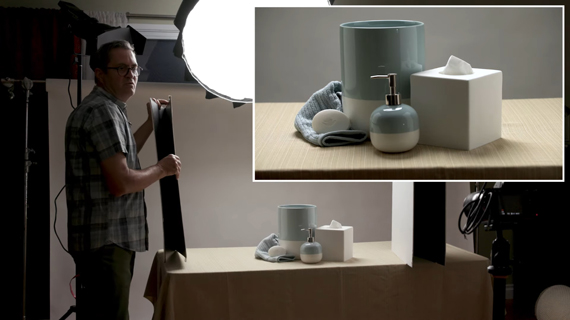
A single large source of light produces a diffused soft light that wraps around the subject beautifully. By adding a harder light source to the scene, you can introduce specular highlights, and also create a better separation between the objects and the background.
Another advantage of using a second light is that you get more control over lighting the objects and the background separately. You can turn the second light towards the background to create a beautiful separation between the objects and the background.

“This looks great if you have a textured wall back there that you can drop out of focus.”
Top Backlighting
This is another technique of lighting products in which the light source is placed above and behind the objects. When using this technique, you’ll notice that it lights the top of the cube, creates a nice rim light on the edges of the cylinder and a highlight on the top of a spherical object. The shadows fall from the top towards the ground unlike in previous examples.
And as always, you can introduce a white board to control the intensity of the shadows.
When using this lighting technique, you can also add a hard light source on the side to create definition to your subjects.
These lighting tips are great when you’re working with products, and even food. Try these out and explore how you can tweak them to get great results.
Like This Article?
Don't Miss The Next One!
Join over 100,000 photographers of all experience levels who receive our free photography tips and articles to stay current:


Leave a Reply