Using artificial lighting in your photography allows you to mold light as you want. This flexibility allows you as a creator to have better control over the results. Using off-camera lighting techniques, you can make your subjects stand out distinctively. Wedding photographer JB Sallee with B&H discusses lighting techniques that mimic the sun when natural light is just not enough along with other important tips:
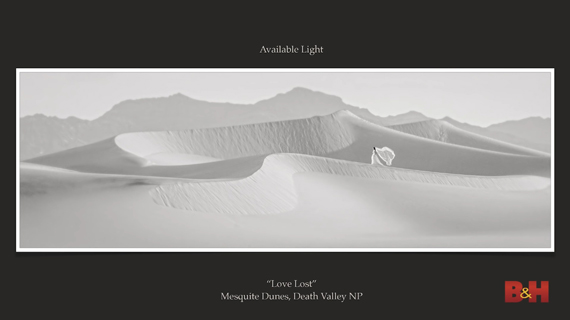
Don’t Muck Up a Great Shot With Strobes
Having a strobe with you doesn’t mean that you need to use it in every shot. If the frame and lighting are great, there’s no need to use strobes. Also, important events like a wedding ceremony don’t look good with strobes flashing repeatedly.
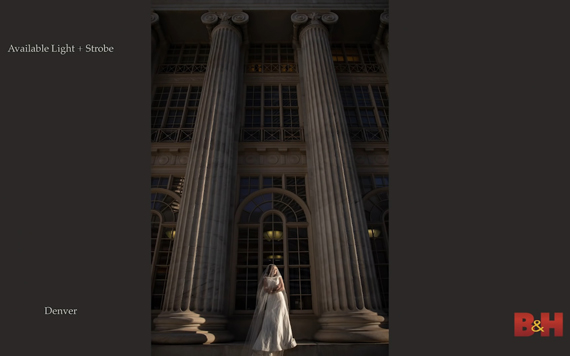
If Available Light Isn’t Great, Mimic the Sun
It may not always be possible to schedule a shoot during the golden hour. When the light isn’t great, you can find locations with shade to photograph your subject. However, since the subject will be standing in the shade, Sallee suggests that you place one strobe 45 degrees off to the right as the main light with a softbox and then one 135 degrees off camera to the left and cross light to mimic the pattern of the sun.
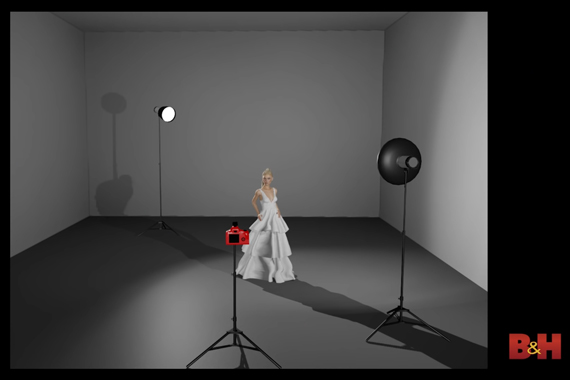

“It looks like the sun is touching the skin but its actually just strobe.”
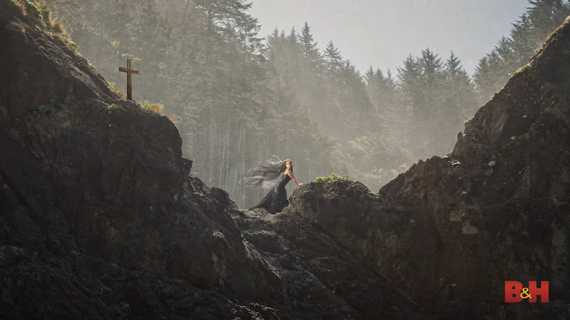
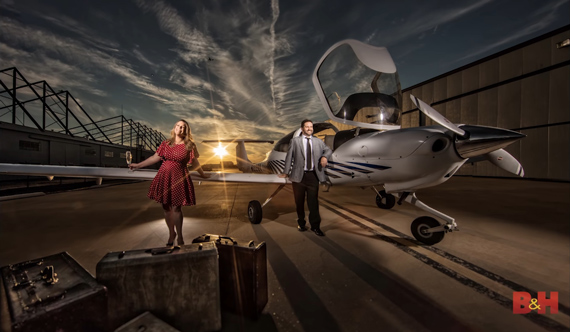
Use the Sun as the Kicker
Having the sun rays strike the subject from behind gives a beautiful edge lighting, making them stand out from the surroundings. But, since the subject is backlit, chances are that they will appear as a silhouette. Sallee uses a Profoto B10 at full power to illuminate the subject from the front. After the main shot is taken, he takes another shot, just of the surroundings to get the unnecessary elements out of the image later in Photoshop.
Get Dramatic with Your Angles of Light
The angle at which the light is falling on your subject is key to determining how dramatic your images come out. Sallee shares these tips on this matter:
- Even if you’re just using natural light, avoid having the light source behind the camera. This will result in a flat looking image.
- Instead, make sure that the sun is coming in from the side.
- For really dramatic images, place the lighting 90 degrees off-camera. Then have the subjects face 45 degrees in between the camera and the light source. This way, you get perfect Rembrandt light every single time.
Two Strobe Setup With Snoot
If you don’t want to kill the ambiance and yet make the subject stand out, this is a good technique to use. Point two strobes at the subject from either side at a 90-degree angle to the camera. Use snoots to keep the light from spilling over. This makes the image look more natural and dramatic.
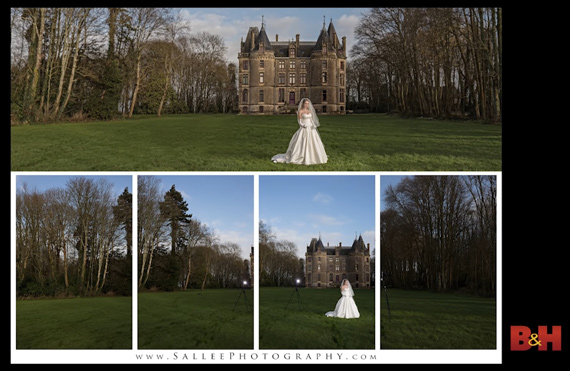
Use Strobes to Light Up the Scene and the Props
While there’s no doubt that lighting your subject is essential, look for ways to add dimension to the image by lighting the scene and props. You’ll need to make use of some extra strobes, but lighting the scene and the props the right way will add a lot more value to the image.
Use Reflections
Incorporating reflections immediately makes an image look a little magical. You can create reflections by shooting near shiny surfaces or water. In any case, you will need to direct some light onto the subject using flash.

Don’t Be Limited By Your Strobes
“If you need your strobes to be in the shot to light your subject, do it.”
You can always get rid of the light later in Photoshop. It’ll take some extra effort but it will be totally worth it.
Practice
Carry your camera and light wherever you can. Even if you’re just going out with your kids or pets, practice taking their portraits while having fun. Experiment by placing the strobes at different angles and see how you get different results.
Try out these tips using an off-camera flash. Keep trying and you’ll definitely see an improvement!
Like This Article?
Don't Miss The Next One!
Join over 100,000 photographers of all experience levels who receive our free photography tips and articles to stay current:


Leave a Reply