Most people would be surprised to see how far a single key light and a fill card can take a photographer. Although light is an absolute necessity for image makers of all disciplines, a little bit can go a long way. Jay P. Morgan explains just how this is possible by demonstrating five lighting setups every photographer should know:
Though each of the following setups requires just one light source, there are subtle differences between them. For some, these descriptions may be little more than a refresher. But for photographers of all levels, these basic setups often provide a foundation that can be, in time, augmented and tweaked to perfection.
1. Rembrandt
One of the most recognizable features present throughout Rembrandt’s paintings is the quality of light. Today, photographers often emulate the flattering angle mastered by the Dutch artist. Using a light positioned overhead and off to a 45 degree angle, the Rembrandt light setup should cast a triangular shadow off of the nose that connects to the shadow produced by the chin.
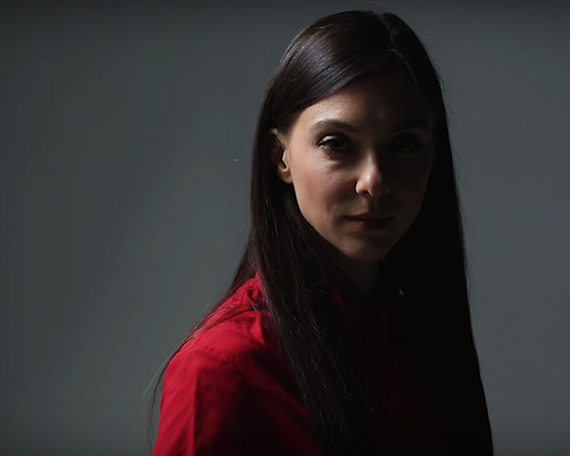
2. Split Light
As the name implies, the split light setup is pretty self explanatory. When a light source is positioned to the side of a subject, the face is naturally “split” down the middle. The light should be divided evenly into highlight and shadow, and there should be little to no bleed between the darkest and lightest areas of the image.
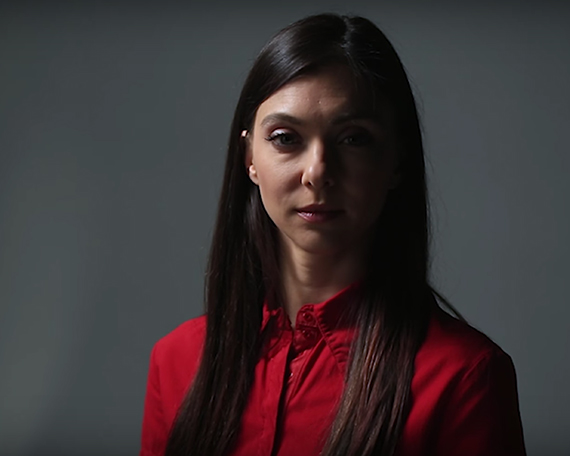
3. Broad Light
The broad light is one of the most commonly used lighting techniques around, and it’s easy to transition to from the split or Rembrandt setup. Once again, the light can remain overhead, but instead of lighting the front or side of a subject, the light source is positioned in a way such that the back is being illuminated at an angle.
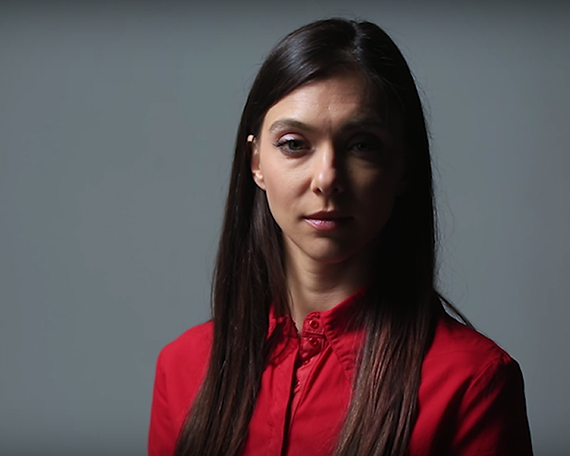
4. Paramount/Butterfly Light
There’s a reason why actresses once insisted on flattering Paramount-lit portraits. When an overhead light is pointed head-on toward the model’s front side, it forms a butterfly shaped shadow just underneath the nose. It also may form deep shadows underneath the chin, but this can easily be rectified by bringing in an additional reflector or softbox.
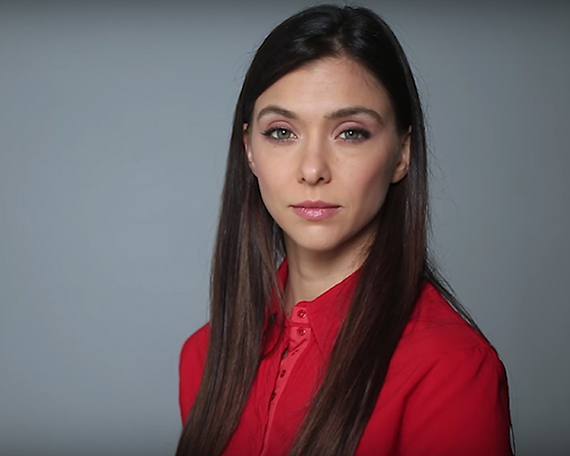
5. Loop Light
Last but not least, the loop light is very similar in appearance to the Rembrandt setup. It also requires that the light source be positioned at approximately a 45 degree angle. However, the loop light does not connect to create Rembrandt’s trademark triangular highlight on the cheekbone.
Once you’ve mastered those basic setups, you can make adjustments by bringing in additional lights or reflectors. Furthermore, you can change the quality of the light by switching up the size of your key light source as well as its distance from the subject. Smaller, further light sources will create a hard light with very severe shadows. Larger, closer sources, conversely, produce a soft light that transitions smoothly from highlight to shadow.
No two models have the same look, and you may find that some setups are more flattering to an individual than others. Because of this, it’s important to experiment and move your camera and accessories around. If something seems off, avoid getting discouraged. Instead, keep in mind that the solution may lie in something as simple as switching up the angle of a bulb or giving a light stand a slight push to the right or left.
Like This Article?
Don't Miss The Next One!
Join over 100,000 photographers of all experience levels who receive our free photography tips and articles to stay current:


Leave a Reply