Cold weather months are a wonderful time for taking photographs. Having a total switch to the natural environment, there are a lot of excellent photographic possibilities. Subject to the area, it could be slightly chilly or even freezing. The subsequent 15 winter photo tips handle planning for the cold temperatures and your hardware, discovering snow correctly, as well as other strategies.
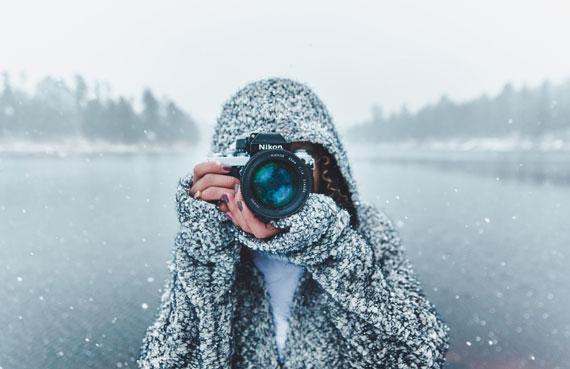
Photo captured by Jakob Owens; ISO 1250, f/2.8, 1/1250s, 24mm.
15 Tips for Successful Winter Photos:
1. Make sure you take into account the cold temperatures. It may sound obvious, but put on additional layers and water-resistant trousers, as well as footwear that will work in deep snowfall. Wearing correct winter apparel enables you to remain in an outdoor environment for an extended period.
2. It’s crucial if you are in cold temperatures to keep your digital camera cool. Don’t attempt to make it warm by putting it beneath your coat or in a heated place. Relocating the camera from the chilly to warmer heat range rapidly will result in condensation. Moisture build-up or condensation is a sure way to damage a digital camera.
3. To steer clear of this you should maintain your digital camera at an equivalent heat range to the open air. Additionally, don’t blow snow from your camera since this will result in moisture build-up or condensation.
4. Even though the digital camera must be used chilled, the batteries must not! Electric batteries held in cold temperatures shed their energy levels a lot quicker. Attempting to keep the batteries warmer can certainly help sustain energy. You could use hand warmers or maybe hold batteries in trouser pockets in close proximity to yourself to ensure that they’re heated.
5. If traveling around with the digital camera, it’s wise to not use your car heating. This will result in moisture build-up or condensation once you swap from the warm vehicle to the chilly surroundings. However, if dressed effectively, the chilly vehicle ought to be bearable!
6. If you need to transfer the digital camera out of varied temperature ranges make sure to ease the actual cross over. Don’t rapidly move from a chilly to warmer environment. Alternatively, try leaving the digital camera inside the cameras pouch for a few hours. Additionally you can position it inside a ziplock case to help reduce the heat change.
7. While you exhale, the mouth produces hot air which will typically become ice within normal winter conditions. Take care to not breathe out on your equipment in freezing weather. This will trigger moisture build-up or condensation. Also you can unintentionally conceal the viewfinder with ice. This may not be a straightforward remedy if you’re found in abnormally cold conditions.
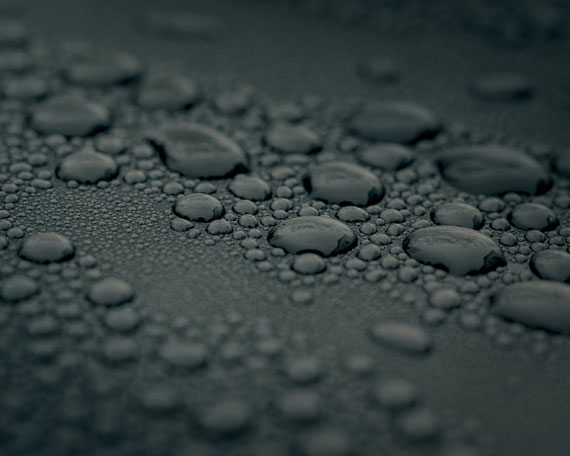
Photo captured by Clay Banks; ISO 400, f/3.2, 1/125s, 50mm.
8. On my first ever snow photo session I dropped the camera lens cover in the snow. When I put it back again on my camera. It triggered really bad moisture build-up, plus the camera lens couldn’t be purged until I finally went back home. Take care with the camera lens cap. If it gets water or snow on it, it’s going to trigger condensation on the camera lens.
9. Taking winter season pictures by way of snowfall, white balance can be improperly calibrated. Digital camera devices will regularly misinterpret the white balance in the snowfall. This could cause a greyish or blue look in the pictures. The perfect solution is always to overexpose the photo. You should also attempt setting the white balance to gloomy or even shadow.
10. Metering snowfall isn’t a straightforward point and read activity. The majority of light meters give an 18 percent grey exposure with regard to snow, transforming it from whitened to blue/grey. The remedy is always to increase the exposure one or two stops to help capture a snow shot.
11. Recent, clean snowfall is approximately 90 percent refractive. Spot metering fresh snowfall is an excellent method of getting a reading. Once you have a reading, including a couple of stops typically provides the correct result.
12. Snowfall with increased glare or side-lighting will be much less refractive and in most cases requires a maximum of 1- 1/2 stops of compensation. When the snow is in the shade, you won’t have to enhance the exposure. In cloudy shoots the exposure shouldn’t end up being increased greater than two points.
13. Winter pictures at night time are completed a lot easier by way of snowfall. A full moon can light up the whole scenery when it is coated with snow.
14. Throughout the winter season the hard storms as well as cold temperatures usually lessen the air pollution with the atmosphere. Consequently, the skies tend to be crisper. This will make for excellent aerial as well as scenic images.
15. Graduated filter systems enable you to shade wintertime skies which are grey and also without color.
About the Author:
Andrew K Horton is a writer and photographer who previously wrote for DigitalPhotographyTutorials4U.
Like This Article?
Don't Miss The Next One!
Join over 100,000 photographers of all experience levels who receive our free photography tips and articles to stay current:


Excellent article! Would not have thought of many of these tips, but they make a lot of sense. Thank you!!!
Taking the camera from warm to cold is rarely a problem, condensation only forms when the gear is as cold or colder than the ambient. So your only real concern is when you bring it back into the warm. Trust me, where I live it is subzero for 4 months of the year. When I bring my camera back into the house or the car I make sure it is in the photobag, that’s it. Some silica gel in the bag doesn’t hurt either.