When it comes to consistency, manual exposure mode is the best mode among the various exposure modes. Other exposure modes include Aperture Priority and Shutter Priority, but I use Manual and Aperture Priority exclusively.
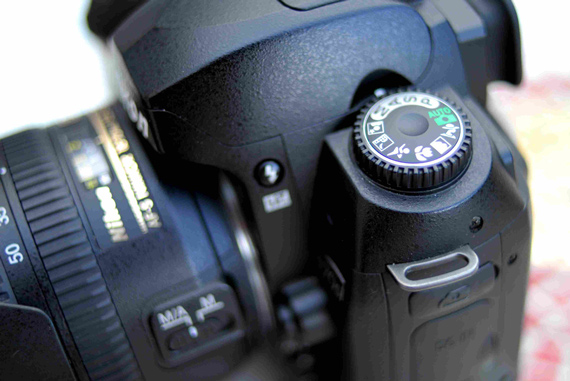
“D70s mode dial” captured by Salim Fadhley
Why Shoot in Manual Mode?
Imagine you’re shooting a group of people at 12 p.m. in a shaded porch. This group of people are standing in a circle, facing one another, and you’re right in the middle of this circle. You have a wide-angle lens (about 35mm in focal length), and you want to take individual shots of each person, without using any flash. If you’re using Aperture Priority (the natural choice for some people), you will end up with half of the pictures underexposed—the face of the person will be too dark. Why does this happen?
In Aperture Priority mode, the camera is guided by its exposure meter in order to choose a shutter speed that will give a correct exposure. A correct exposure judged by the exposure meter will not be accurate if you are shooting a person who has his back to the sun, especially if you’re using a wide angle lens.
“Remember the Mane!” captured by Garry Wilmore
This will result in underexposure because the exposure meter does not know whether the subject is the person (whose face is in the shade) or the background (which is very bright compared to the face of the person).
But once you point your camera at a person who has his back facing the door of the house, Aperture Priority gives you a correct exposure, and the person’s face will be correctly exposed.
Of course, you can use Exposure Compensation to “compensate” for the inaccuracy of the exposure meter, but this is largely a hit-and-miss exercise, depending on which person you are shooting. If you’re using a +2 for one person, you might need to use only +1 for someone else who is standing closer to the door. Finally, you will be using zero compensation for the person whose back is directly facing the door.
The solution to this inconsistency in exposure is to use Manual exposure mode.
First, point the camera at the person whose back is to the door, because you know that the camera will give you the correct exposure for this scenario. The exposure meter works well in this scenario because the light level on the person’s face is very similar to the light levels in the background, which is the door and wall of the house, not the brightly lit outdoors.
In Manual mode, choose an ISO, aperture, and shutter speed based on the exposure meter’s guidance. You will now be able to take individual pictures of each person, no matter where they are standing within the circle, without needing to adjust anything, and each shot will have a consistent exposure.
If there are any slight exposure inaccuracies using this method, it will be because of one of these two possible reasons:
1. The time of shooting is between 3 p.m. and 6 p.m., or between 6 a.m. and 9 a.m., when the sun is shining at an angle onto the subject of your baseline exposure (the person whose back is facing the door).
“Freedom… Maybe” captured by Alan L.
2. The lens you are using is not able to handle backlighting without resulting in loss of contrast (typical in a low-cost kit lens).
About the Author:
Andy Lim (SimpleSLR) runs a profitable photography business that spans wedding photography, commercial photography and conducting photography workshops.
Like This Article?
Don't Miss The Next One!
Join over 100,000 photographers of all experience levels who receive our free photography tips and articles to stay current:


Agreed, simply use spot metering.
In fact, the problem is same as when make a 360 panorama in a room that have only one window with light. 4 walls- 1 wall with a light window. 6 photos.
You chose M mode, but, for each on 6 shot, must recalibrate de speed? Or block ISO and speed from a median value?
Maybe a draw to see how is the persons is display, and where is the light source, will help.
I’m in afpgreement with both Bob & Jon here, there is absolutely no mention of choice of metering mode made and it is this, in conjunction with the use of Aperture Priority, that would enable a “perfectly” exposed image to be produced in the situation outlined.
I would even go as far as saying that in the situation above the use of, at least, centre weighted metering, if not full blown spot metering, is the prefered metering option when calculating exposure. The reading should also be taken from the face in most instances.
I agree with Jon. Surely using centre-weighted or spot metering would also be a good solution to this problem?
For beginners this is a much easier and less frightening option than telling them to use manual mode.
Firstly thank you for this article which has raised a few questions in my mind that I would like to share.
No where in the article is any mention made of what exposure metering is to be used. It appears the author is advocating the use of average metering but does not recognise that spot metering could be used also.
There is also not discussion about the background to be used for the ‘base’ exposure setting. Clearly a very light background will give a different reading to a dark background.
It would have been better to have had a more detailed article.