A tripod is a great tool to help you get good results in critical situations. Besides providing stability, a tripod also helps in getting sharp and crisp results. This is the reason why you can see most of the professional photographers, especially landscape photographers, carry a tripod with them. However, if you’re not familiar with working with tripods, they can be more of a pain to deal with, thereby slowing you down. Photographer Hudson Henry shares some tips that will help you work with tripods efficiently:
Using the Spindly Section
You can find small and ultra-light tripods in the market that have four to five sections to help you adjust their height. By design, they end up having a spindly last set of legs at the bottom. If you’re sure that you’ll be working in dry conditions, it’s a good idea not to open the last set of legs. Open the upper sections instead. But, if you’re working in wet conditions, where you need to immerse the tripod in water, pull out the lower section. More importantly, make sure that no mud or sand enter the joint.
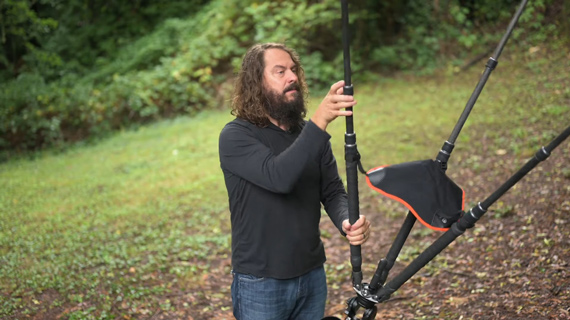
Start From the Bottom Up
Once you determine whether you want to use the spindly sections or not, start unlocking the joints from the bottom to the top. This way, if you need to adjust the height of the tripod while working, you can easily do so by adjusting the joints at the top. You don’t need to bend down too low.
Leave the Center Column Down
If your tripod has a center column whose height can be adjusted, better leave it down as much as possible. That’s because the tripod is most stable when the load is added right where the legs come together. By raising it, you increase the chance of introducing shakes.
“Leave that thing down unless you absolutely have to raise it.”
Make Use of Stone Bags
If you use a lightweight tripod, stone bags can be a great way to add weight and stability. If the working environment gets windy, you can put some stone, or another weighted object, into the stone bag to help stabilize your tripod.
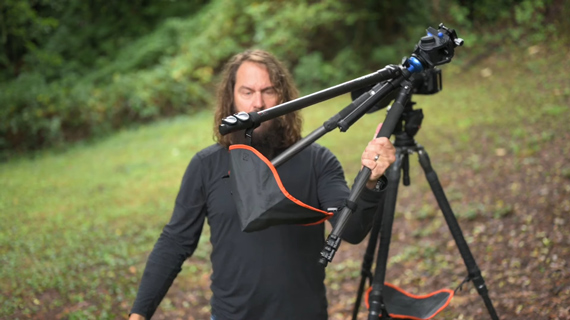
If you use rock claws on your tripod, you can even use the stone bag to cover the pointy edges, for safety reasons.
Putting Away a Tripod
You don’t need to bend down all the way to unlock the joints when putting your tripod away. A better way is to first take your camera off the tripod, and make sure that all the locks and clamps are all set rock solid. Then, simply flip the tripod upside down, undo each leg, and collapse them.
Note: If you’ve had the bottom leg immersed in salt water, do not collapse it in right away. A good idea is to first rinse it off with normal water and let the legs dry before collapsing them in.
Working With Tripods That Have Turning Locks
When working with tripods that have turning locks, there’s actually no need to torque them, or open them way up. You’ll just be wasting time and energy that way. Instead of turning the locks too much, turn them hand tight, and twist them a little. The tripod won’t collapse.
“You can press down on the tripod once you get it set up and just make sure nothing’s loose.”
Similarly, when you want to open it, just give it a quarter turn. There’s no need to loosen it the entire way.
Definitely try out these interesting tips the next time you’re out with your tripod.
Like This Article?
Don't Miss The Next One!
Join over 100,000 photographers of all experience levels who receive our free photography tips and articles to stay current:


Leave a Reply