Memory and data storage are crucial to timelapse photography. A single production often requires tens of thousands of still photographs. Since having to change memory cards mid-shoot is less than ideal, shooting tethered is a great way of managing the photos as soon as they come in. Take a look at this quick video in which Kamil Tamiola breaks down the setup he used for his masterpiece, Get Your Stars Right:
For most timelapse videos, the photographs are shot in RAW format, so they are typically large file sizes. To combat the massive amount of memory they require, Tamiola brings a small collection of external hard drives with him on set. He starts setting up his workspace by tethering his Canon 5D Mark III to his Macbook Pro.
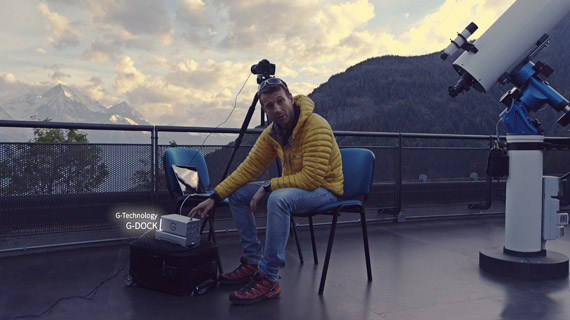
A tethered timelapse photography setup.
Once tethered, the 5D Mark III automatically sends the images to the Macbook, which automatically sends them to Tamiola’s G-Drive external drives. For this particular shoot, he brought along a 4 TB G-DRIVE Pro-Grade External Hard Drive and a G-DOCK which can hold an additional 4TB of memory.
When shooting tethered on external drives, it’s important to take their transfer speeds into consideration. Since you do not want your camera to buffer while it is supposed to be shooting photographs, your tether setup must be capable of writing your files quickly. To give you an idea, the G-Drive and Thunderbolt technology writes data at roughly 480MB per second.
How do you manage the large storage space required for shooting timelapses?
Like This Article?
Don't Miss The Next One!
Join over 100,000 photographers of all experience levels who receive our free photography tips and articles to stay current:


Leave a Reply