The idea of lighting a model with a candle light sounds great, but it can be tricky. When it comes to executing the shot, the light is simply not sufficient. So, how about photographing nighttime photos during the day? Photographer Gavin Hoey from Adorama shows you how:
When shooting in a room during the day to achieve a nighttime effect, you may be tempted to close the curtains and block out all the light. But Hoey suggests that you open up the curtains instead and let the light in to set the ambiance. You can then adjust your camera settings to control the light that is captured by the camera.
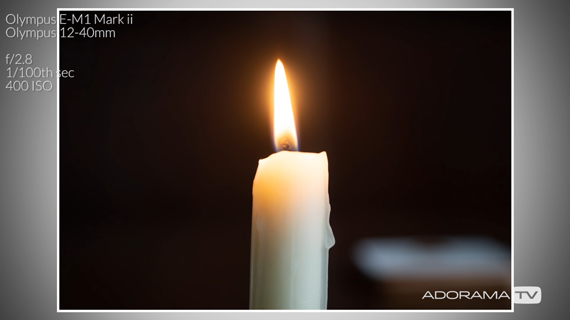
Meter for the Candle
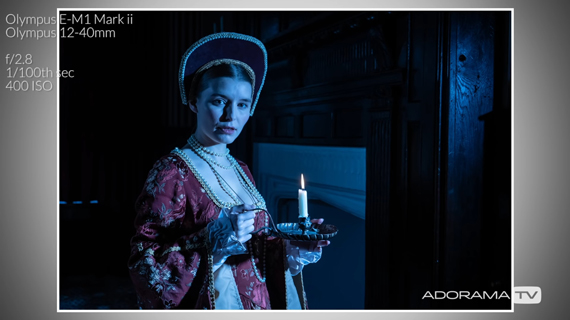
When the candle is lit, it will be the brightest thing in the shot. Hoey meters for the burning candle at f/2.8, 1/100 second, and ISO 400.
Next, with the camera fixed at those settings, he takes an image of the model in her environment. As you can see, he’s able to capture some detail on the model and the background.
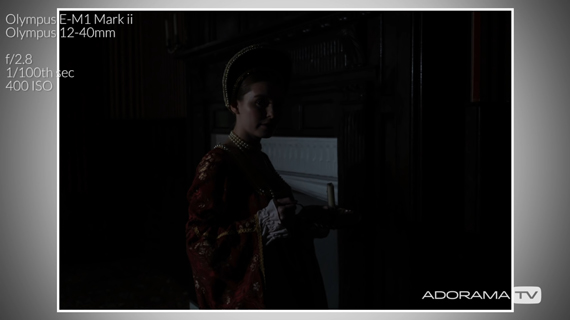
“I want some detail but not too much. Remember, this is nighttime effectively.”
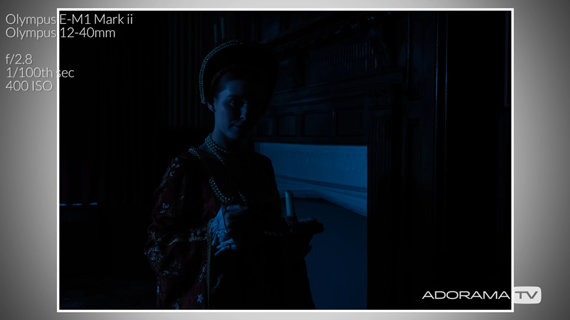
To add to the night effect, Hoey sets his camera’s white balance to 3000K. This makes the scene appear blue giving it a night feeling.
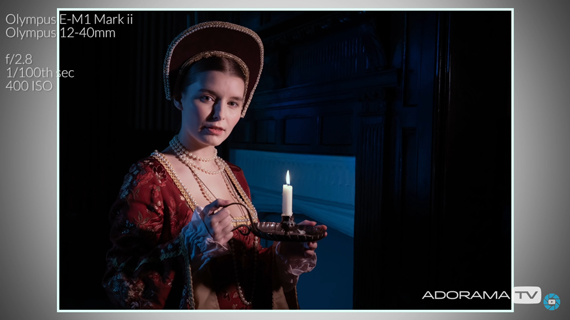
Once the mood is set, Hoey lights up the candle to see if it has any effect to light up the model.
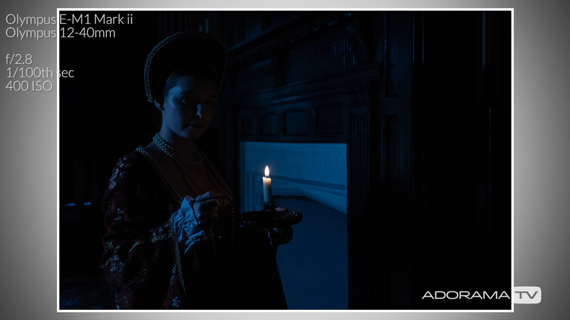
As you can see, the candle absolutely does nothing to light up the scene. This was pretty much expected.
Lighting and Color Balance
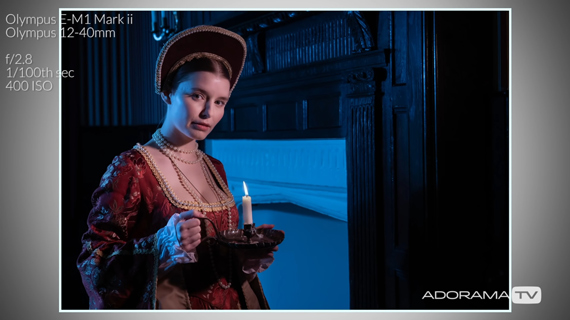
Since the light from the candle is simply not enough, Hoey uses an eVOLV 200 with a grid. This avoids any unnecessary spilling of light into the scene and illuminates just the model.
When deciding on what power to use, keep in mind that you’re aiming to replicate a night scene, so you’ll want to use the lowest power possible. Hoey starts from lowest power setting of 1/128, and here’s what he gets:
“If the flash is too bright, I could move it further away. But, if it’s not bright enough, I could just increase the power.”
In the image above, the exposure looks just about right. The obvious concern is the color. Since the white balance is set to the cooler side, even the light from the flash appears blue. To tackle the issue, Hoey adds in a stack of orange gels to the flash.
“It’s worth remembering, of course, when you put the gels on your flash, it will reduce the brightness from the flash so you may need to adjust it a little brighter to compensate.”
Feeling that the background is darker than he wants it to be, Hoey adds in an XPLOR 400 as a background light. Again, since it’s nighttime that we are trying to replicate, Hoey makes sure that it’s set to its lowest power setting.
“The whole idea here is to balance the exposure with the candle light. You don’t want to lose any detail in that candle.”
Post-Processing
Once done taking pictures of the model in artificial night conditions, Hoey goes on to edit the images, giving them a finishing touch.
First, he notices some areas in the images that appear warmer than they should be. To fix them, he creates a new layer and paints over those areas with a blue color. With the blending mode set to “Color” and by lowering the layer opacity, he gives a realistic effect to the image and the reflection on the mirror.
Next, Hoey aims to add a glow around the candle:
- He adds a new layer and samples a color from the model’s skin.
- With a large soft brush selected, he clicks once on the flame and changes the layer’s blending mode to “Lighten.”
- To make the glow not so obvious, he then reduces the layer’s opacity.
- Following these same steps, he adds a glow to the candle’s reflection on the mirror.
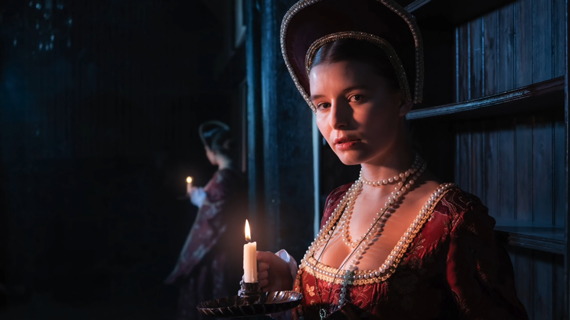
Can you tell from the final image that it was taken during daylight?
Like This Article?
Don't Miss The Next One!
Join over 100,000 photographers of all experience levels who receive our free photography tips and articles to stay current:


Leave a Reply