Post processing is an essential part of a photographer’s workflow. Today there are many software available that help you fine tune your images the way you envisioned them. And while such software feature a lot of options, there are a handful of tools that you must know about. Photographer Ted Forbes explains about 5 editing tools that you must have a grasp on in order to start editing your photos in any application:
Histogram
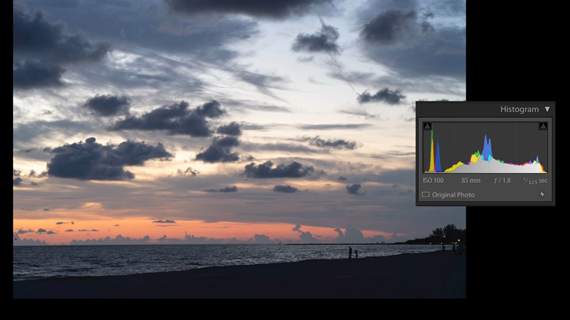
“Histogram is your window into what the digital data looks like spread across the light spectrum.”
When starting out, many beginners want the histogram to have a certain look. But, that is not the case at all. It is first important to understand that based on the lighting and level of contrast, the look of the histogram will change. Don’t have a mindset of recreating a certain shaped histogram for every photo.
Basically, the left part of the histogram represents the shadows, the middle part represents the mid-tones, and the right part represents the highlights. The further we move up, greater is the amount of data in that particular region.
For instance, the image below is underexposed. The histogram thus has a lot of data on the left side. You can also see a little white triangle on the left that lets you know that certain regions in the image is pure black. This is called clipping. When regions are clipped, details are lost. And this is something that you want to avoid while taking an image.

Now, if you increase the exposure on the image, you can see that the data in the histogram spreads out more evenly.
Sliders
A slider is simply a control mechanism that helps you to determine the intensity of a particular function. They are pretty easy to use. For instance, moving them to the right increases the intensity, and moving them to the left decreases the intensity. But, a problem with sliders is control. If you need some precise level of adjustments, sliders are probably not the greatest.
Levels
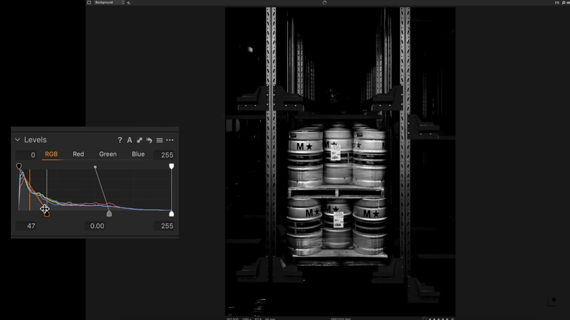
Levels is a great tool that gives you much precise control over the shadows, mid-tones, and highlights compared to sliders. While sliders tend to affect the entire image, levels are more particular about where it affects an image.
For instance, in the levels adjustment tool, if you grab the lower handle in the left and move it around, it will affect only the shadows.
Similarly, if you grab the lower handle on the right and make any adjustments, only the highlights will be affected.

The lower handle in the middle of the levels tool is the mid-tone handle that controls the amount of contrast in the image. You can add more contrast to the image by moving the lower mid-tone handle towards the highlights.
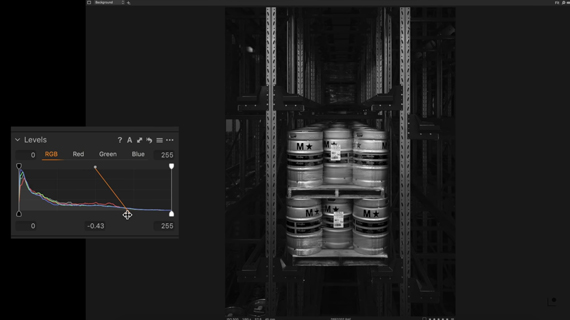
And moving it towards the shadows region will make the image less contrasty.
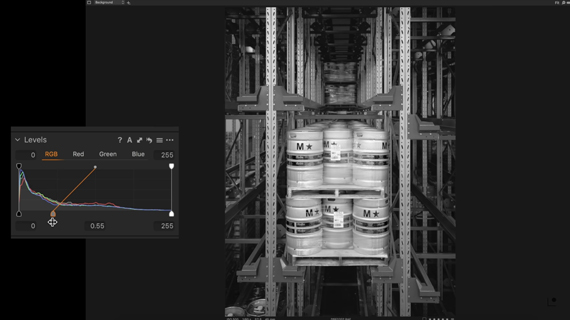
The levels tool in Capture One has handles on the upper part too that dictate the black point (left handle) and white point (right handle). Moving them towards the middle ensure that nothing in the image is pure black or pure white.
If you are working with a color image, you can even have control over the Red, Green, and Blue color channels via the levels tool. So, if you want granular control over each color channel, this tool is a great medium to do so.
Curves
Curves is yet another tool that you can find in all the photo editing tools that help you gain control over the exposure and look of the image. When you open up the curves tool, you initially see a straight diagonal. The upper-right side of the curves tool represents the highlights, while the lower-left side represents the shadows.
If you move the points in the upper portion of the curve, you can adjust the highlights in the image. Conversely, if you move the points in the lower portion of the curve, you can adjust the shadows. By moving a point in the center of the curve, you can adjust the mid-tones.
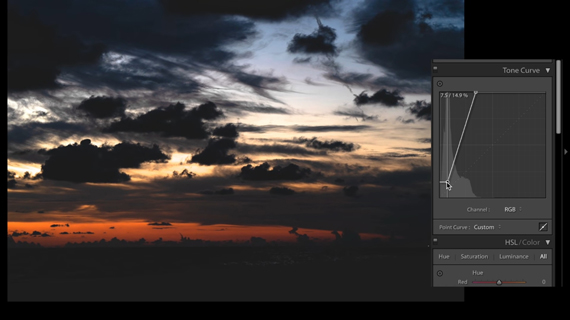
In order to darken highlights, you can move a point near the top of the curve downwards. And, to lighten the shadows, you can simply move a point near the bottom of the curve upwards. You get the idea.
And just like the levels tool, you also have the option to manipulate the RGB color channels individually using the curve tool.
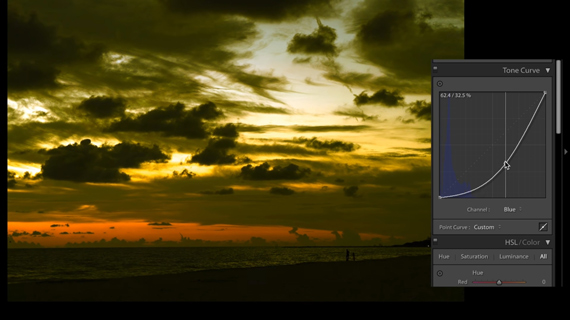
“You have a lot of finite control when you start moving into curves.”
Color Wheels
The color balance tool has color wheels that let you adjust the tint individually in the shadows, mid-tones, and the highlights regions. In Capture One, the color wheels also let you to control the saturation and brightness besides tint.
“If you can get your head around the basic concept of how these four tools and the histogram work, this will allow you to pretty much work in anything of your choice.”
Like This Article?
Don't Miss The Next One!
Join over 100,000 photographers of all experience levels who receive our free photography tips and articles to stay current:


That was great, I enjoyed the article and the video.
Thank you