Have you ever tried taking a photo of the moon? You need a long lens to photograph it, right? But getting hold of a long telephoto lens isn’t enough. Besides equipment, the camera settings and the time of the lunar cycle also play an important role in getting the best moon images. Photographer Karl Taylor talks about the key things to consider when photographing the moon:
Know the Phase of the Moon
“The phase of the moon is really important when you choose to photograph.”
If you are planning to photograph the moon, you can install one of many such apps available for your phone. You might be surprised to know that photographing the full moon gets you the least flattering result. Since the moon is lit straight-on by the sun during full moon, you won’t notice much details on the moon’s surface. Whereas, when you photograph the moon during half moon, or quarter moon, you will notice that there’s more texture and definition of the craters and mountains.
Location & Weather
You don’t have to go too far to photograph the moon; just look up and it’s right there. However, if you live in a city area, you may face issues with light pollution. This means that the images won’t have a dark enough sky. The sky will have some sort of glow to it from the city lights. If light pollution is a serious concern, find darker areas to photograph from.
As far as weather is concerned, try photographing on nights without mist or clouds. If mist and clouds do appear on your shoot night, be patient and look out for windows where you’ll have an unobstructed view of the moon.
Gear
Photographing the moon doesn’t require any extraordinary gear. Here’s some of the basic gear needed for photographing the moon:
- A tripod. While you won’t be photographing at very slow shutter speeds, using a tripod will help you in getting sharper results.
- Cable release or a remote shutter release to trigger the shutter without touching the camera. This further prevents camera shake and helps get sharper images.
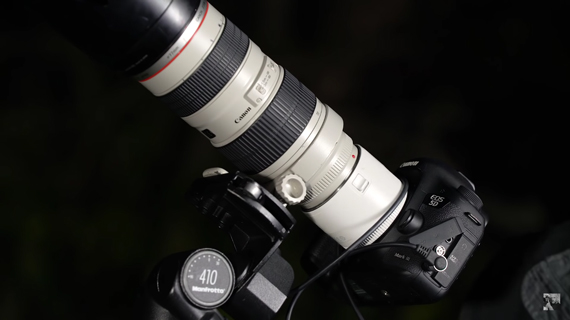
- A telephoto lens with a focal length of at least 400mm. You can even use a teleconverter to multiply the focal length of your lens. For instance, in this video, Taylor uses his 70-200mm f/2.8 lens at the 200mm end with a 2x teleconverter to get an effective focal length of 400mm at f/5.6.
Photographing the Moon
Once you have your location sorted out and your gear set up, it’s time to photograph the moon.
Taylor sets his shutter speed to 1/250 second, ISO to 200, and aperture to f/5.6. To make use of the sweet spot of your lens, you can turn down the aperture to around f/8 and slow down the shutter speed to about 1/125 second. But, make sure that you don’t go too slow. You need to factor in that the moon is steadily moving across the sky. It may not matter to the eye but you’ll notice that when you frame the moon with a focal length of 400mm or more, its movement becomes more apparent. Taylor suggests that for a 400mm lens, you don’t go slower than 1/30 second. Otherwise, your photos will come out blurry.
Another important tip to get a sharp image of the moon is to go into your camera settings and lock the mirror up. The mirror in your DSLR will open up and remain locked so that it doesn’t vibrate the camera when taking photos. If you’re using a mirrorless camera, this isn’t necessary, as there’s no mirror to cause a vibration.

Take note of these easy tips and head out for some moon photography.
Like This Article?
Don't Miss The Next One!
Join over 100,000 photographers of all experience levels who receive our free photography tips and articles to stay current:


Leave a Reply