In photo editing news, today Skylum released Luminar AI Update 4. The fourth update brings an all-new tool and important usability upgrades. With this update, Skylum continues to deliver on its promise to make it easier for artists of every skill level to achieve incredible results with their photos. They are having a sale today to celebrate the update if you want to check it out. See how it works: Luminar AI Update 4
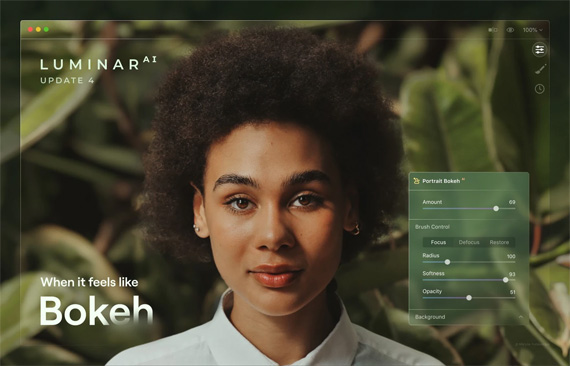
Portrait Bokeh Editing in Luminar (see how it works)
Complete focus control with Portrait Bokeh AI
This new Portrait Bokeh AI tool taps into several amazing technologies. Using artificial intelligence, Luminar AI can recognize people in a photo – even groups of people, and people posed in unusual positions. This combines with 3D depth-mapping technology which can calculate distances in a photo. This allows you to create beautiful background blur in seconds – adding realistic and dreamy 3D bokeh effects to your portraits.
Creative control
While the bokeh is automatically generated, it is entirely controlled by the artist with a single Amount slider. Be sure to experiment with different settings as well as try out the Background controls to get the desired look.
Any lighting; any lens
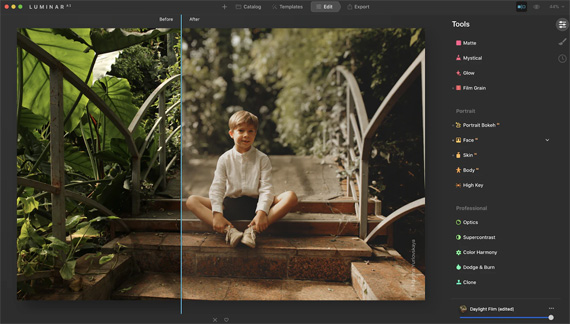
Traditionally, creamy bokeh requires expensive cameras and lenses. It also can be difficult to capture in bright outdoor lighting. Now you can use Portrait Bokeh AI to enhance the existing bokeh you’ve already captured or create it from scratch. Portrait Bokeh AI works on just about any portrait.
Intelligent mask creation
As soon as you move the amount slider, a mask is generated automatically when Luminar AI identifies people in a photo. In most cases, a perfect mask is created to separate the subjects from the background.
For additional control, use the * Brush Control to set the areas that are in Focus or that will be blurred (Defocus).
- Press the left or right bracket keys ([ or ]) to change the size of the brush.
- Press Shift + a bracket key to adjust the softness of the brush.
- Press the X key to toggle between Focus and Defocus.
- Press the / (forward slash) key to toggle the visibility of the mask.
- Use the Restore brush to paint back in the original mask.
*Tip: Don’t worry about perfection. You often don’t need to worry about a perfect mask … try adjusting the Amount and Depth Correction sliders first. You also may want to try a lower Opacity brush when editing and build up your strokes.
Refined backgrounds
In addition to adjustable bokeh, artists can further refine the background using sliders to adjust multiple visual properties.
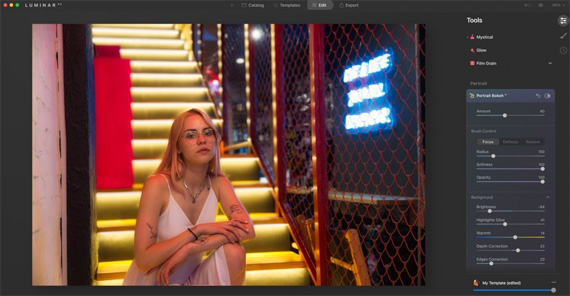
- Brightness. Adjusts the exposure of the background to lighten or darken it to taste.
- Highlights Glow. Adds a specular glow to the brighter areas of the background.
- Warmth. Warms or cools the background’s color temperature.
- Depth Correction. Adjusts where the in-focus area of the photo ends; effectively moving the blur closer or further away based on a 3D-depth mapping of the photo.
- Edges Correction. Expands or contracts the mask. Useful for fine edges like hair.
*Tip: Stunning subjects. With the background made perfect, be sure to explore our other AI-powered Portrait Tools — FaceAI, SkinAI and BodyAI — to really make subjects stand out in the frame.
Improved Textures with visual preview
The ability to add transformable texture overlays with the Texture tool was first introduced with Update 2. This added the ability to use transparent PNG files or traditional JPEG files for creative results in the Local Masking controls.
With Update 4, the improved Textures tool gives you incredible new possibilities. You can now visually browse Textures in the dropdown list and instantly have an idea of what your final result might look like. The tool is similar to how SkyAI and Augmented SkyAI works.
- Custom Textures are also now shown right after various default selections in the visual dropdown grid. Flares and Sparklers are included by default.
- Need more Textures for your photos? Click Get More Textures below the dropdown menu and quickly browse textures in the Luminar Marketplace.
- If you want to load your own textures (or even folders of textures) just choose Show Custom Textures… from the category drop-down list. Any folders that you add will show as new categories in the group list.
To explore adding textures to your photos, follow these steps:
- Switch to the Local Masking controls.
- Click the +Add button and select Textures.
- Click the Texture Selection drop-down menu to browse all of your loaded texture overlays
- Be sure to use the Place Texture and Blend controls to refine your texture’s appearance.
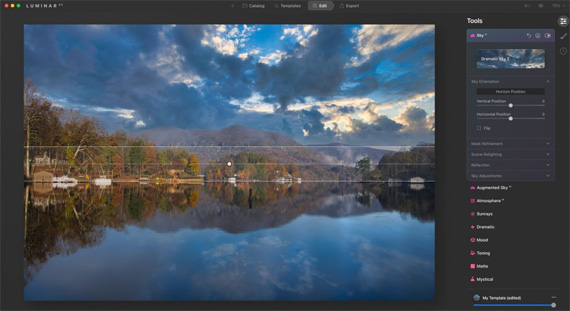
Precise Horizon Control in Sky AI
A new on-screen tool makes it even easier to control positioning of new skies when performing sky replacements with the Sky AI tool. In the Sky Orientation controls three sliders have been replaced by a single, intuitive Horizon Position control which makes accurate sky alignment easier for artists of every experience level.
To explore the new Horizon Position control within Sky AI, follow these steps:
- Open the Sky Orientation panel.
- Click the Horizon Position button to open the new on-screen adjustment tool. There are three controls offered to refine the position of the sky.
- Vertical Positioning. Grab the center-line of the pin to Shift the new sky vertically. You can freely position your new sky and place it exactly where you want it in the scene.
- Horizon Blending. Click and drag the line to smooth the transition between the current horizon and the new one. Since there is often a soft transition, using a higher value often results in a more photo-realistic look.
- Z-Axis Rotation. Move the pointer to the outside of the line until it becomes a curved arrow for Rotation. You can rotate the new sky on the Z-axis for perfect placement.
More Features, Bug Fixes and Minor Enhancements
Bug Fixes and Minor Enhancements
They’ve fixed more than 50 bugs, including 7 major bugs on both macOS and Windows; preventing potential crashes or unexpected results.
macOS
- Open and edit in LuminarAI as a Photos for macOS extension without errors.
- Add transparent PNG Textures to your photos without encountering artifacts.
- View the Custom Textures that load right away, even upon leaving and returning to the Texture overlays.
- Find the controls for placing Sky Objects and Textures in the correct location instead of in the bottom-left corner of your photo.
- Crop a photo in CompositionAI to a small ratio and use SkyAI or Augmented SkyAI without a hitch.
- Smoothly work with masking in Show Mask mode.
- Use the Shift + ] and Shift + [ hotkeys to smoothly adjust the Softness slider when in a Masking mode.
Windows
- Add transparent PNG Textures to your photos without encountering artifacts.
- Use LuminarAI as a Photoshop or Lightroom plugin and see the right-side Templates and Edit tabs without a hitch.
- Enjoy better disk space optimization.
- Export files in a raw format without experiencing crashes.
- Work in Augmented SkyAI, SkyAI, and AtmosphereAI without experiencing memory leaks and crashes.
- Open Templates created in LuminarAI on a macOS system.
- Export multiple photos while retaining the original resolution.
To celebrate the update, the company is having a sale today if you want to check it out.
Deal ending soon: Luminar A.I. Photo Editor Update Sale
Like This Article?
Don't Miss The Next One!
Join over 100,000 photographers of all experience levels who receive our free photography tips and articles to stay current:


I have been learning photography for a while now and I still don’t think I know everything. Every time I learn something new, there are always some useful tips that help me improve my skills. This article is one of those articles! It has helped me to understand how to take better photos in the most effective way and all this knowledge comes from a single blog post written by you! Thank you so much for sharing such valuable information with us, it’s very helpful.
I think LUMINAR is best in terms of doing color correction of a RAW photo. But Photoshop is still best for photo editing and photo manipulation. However, if anyone wanna do high-end color correction professionally, they must know Photoshop very well. For beginners, LUMINAR will be a great choice for them to start.
I am a professional Photoshop user. It’s impressive and nice to read these useful informative tips.
Luminar is great and popular program to edit photos. Highly appreciate for your sharing
Nice post. Thank you for share. already I have used Luminar 4. otherwise I will decide to purchase this pack.
Nice program. Thank you for the great post. I’m a long time Photoshop user, I would love a deep dive into your thoughts on this or using this with Ps. Otherwise, I’ll decide to purchase Luminar 4 with the sunset pack.