Whether you take portraits professionally or photograph as a hobby, finding the post-processing workflow that works best for you is difficult. Especially when working with programs like Adobe Lightroom, choosing between dozens of sliders and tools can feel overwhelming. If you’re struggling to find the best way to perfect your photographs, know that you’re not alone.
Luckily, hundreds of artists online are open to sharing their secrets to success. Here’s four quick Lightroom tips that we loved, courtesy of photographer Tajreen Hedayet:
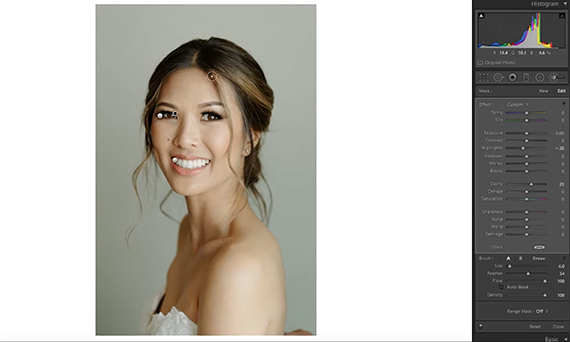
1. Refine (select) details
When you’re looking at a person’s face, what features do you notice first? For most people, eyes and smile take center stage before all else. Even the most subtle adjustments to these areas play a huge role in strengthening a portrait’s overall quality.
In particular, Tajreen specifically suggests brightening the teeth and eyes as well as clarifying brows, lashes, and hair. To do this, use a local adjustment brush to paint over any areas that need a little bit of extra love. From there, you can make slight adjustments to exposure, shadows, color, and clarity as needed. Don’t be afraid to use multiple brush layers to treat each individual segment appropriately!
2. Tweak the highlights
Believe it or not, the basic highlight slider found in LR’s default edit panel is not the same as the highlight slider found under the Tone Curve. The differences are subdued, but knowing how each effects your portrait can really make a difference.
Lowering basic adjustment highlights can bring a “natural” feel to a digital image. To compensate, you can bring in tonal highlights that won’t impact your image’s shadows. This gives your subject a nice “glow” to them that doesn’t look artificial.
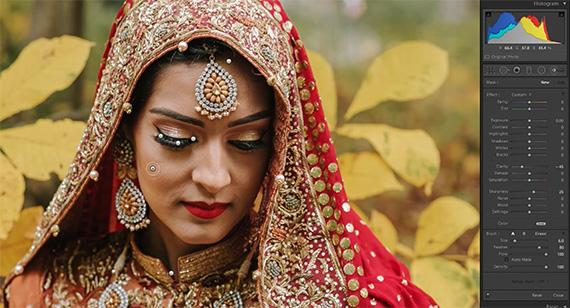
3. Perfect the skin tones
Under most lighting conditions, skin has a slightly orange base to it. You can control that specific range of colors with the hue, saturation and luminance sliders to get your subject’s skin tone looking just right.
Many beginners believe that bumping up the color will give your subject a more vibrant appearance. However, the exact adjustments you’ll have to make change on a case-by-case basis. In fact, in many cases, lowering the HSL values yields much more rich, natural results.
4. Smooth out skin
Skin is one of the trickiest aspects any portrait photographer has to deal with. Camera’s tend to capture more detail than we’d actually like to see. However, an over-airbrushed look can be just as off-putting to viewers. Luckily, the local adjustment brush can provide a happy medium.
The trick is to lower your clarity and bump up your sharpness. When you gently brush the area with these settings, you’ll be able to minimize uneven lighting and tone down any unflattering skin. Easy as that!
If you’re not sure how to put the finishing touches on your portraits, these tips are for you. While they aren’t overbearing on their own, when used in conjunction they’ll truly bring out the beauty hiding in any photograph!
Like This Article?
Don't Miss The Next One!
Join over 100,000 photographers of all experience levels who receive our free photography tips and articles to stay current:


Leave a Reply