Everyone loves levitation photography, but not everyone has the skills to create such an illusion using editing software. However, with a little bit of creativity and effort, you can levitate subjects without any sort of digital manipulation at all! Watch below to see some of the techniques the folks at COOPH were able to come up with.
1. “Weight” your model down
First, find a heavy (or at least heavy looking) object to serve as an “anchor” for your photograph. Tie one end of a rope around your anchor, the other around a model.
Get close to the ground and angle your camera upwards to create a low perspective. Once you have your field of view settled and composition ready, have your model leap into the air. Time your shots carefully to catch your subject mid-air, when the rope is at full tension.

2. Freeze an object
To start, prepare a safe landing for the object that you’d like to levitate. Then, set your camera to high shutter speed capable of freezing motion.
When you’re ready, drop the object and snap the shutter as the object is mid-descent. And that’s all there is to it! Get creative with props, settings, and human assistants to further strengthen the illusion.
3. Gravity Flip
For this particular trick, try to plan your photo shoot for a clear day for the best possible results. Bring a reflector and place it on the ground. The light bounced off will mimic sunlight.
Choose an object that can dangle over the top of the reflector. While an assistant holds your prop of choice, take a photograph, aiming to fill the entire background with sky. In post-processing, flip your photograph 180° to make your props “float”

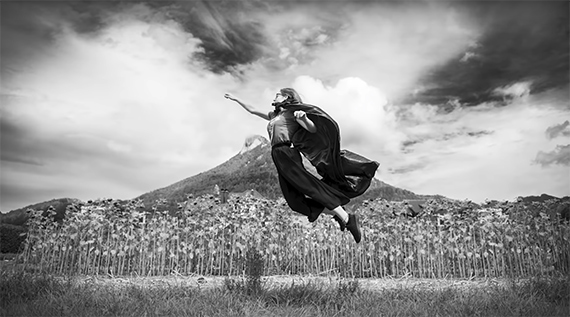
4. Leap into flight
There’s not much to this levitation illusion. Rather than relying on crafty props or clever execution, the key to mastering this technique is all in the timing.
All you have to do to prepare is create a soft landing for your model. From there, all there is to it is to instruct your model to leap. Use a fast shutter speed to suspend your model in air and shoot continuously so that you can choose the perfect moment of flight.
5. Tricky Perspective
For this levitation technique, you’ll need a seamless paper backdrop, a movable wall, and a floor or ground lookalike – ideally in a studio setting.
First, drape the seamless paper backdrop over the wall along the floor of your shooting space. Then, over the backdrop, drape your false flooring. Then, bring in any models, props, or lighting that you’d like to complete your illusion. Finally, use a ladder to shoot down on your scene.
6. Shadow Play
The first step to this illusion is to find a cement sidewalk or pavilion that’s evenly lit area and lacks shadows. Once you’ve found your spot, use a sponge and some water to “paint” a shadow on the ground.
Position your model in line with the false shadow, and you’re good to go! It’s low tech, but in specific instances it can fool a few folks into looking twice at your shot!
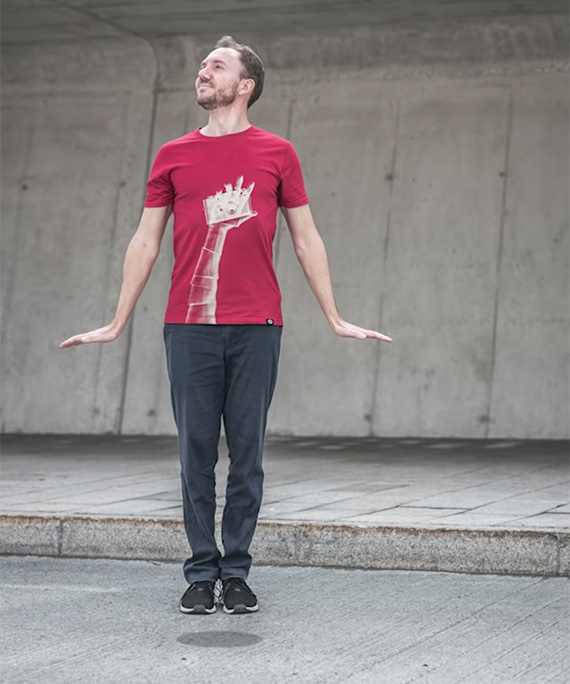
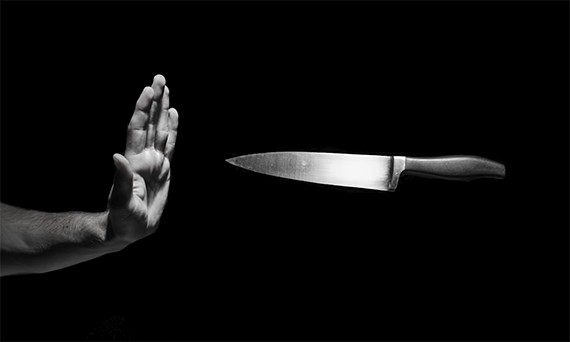
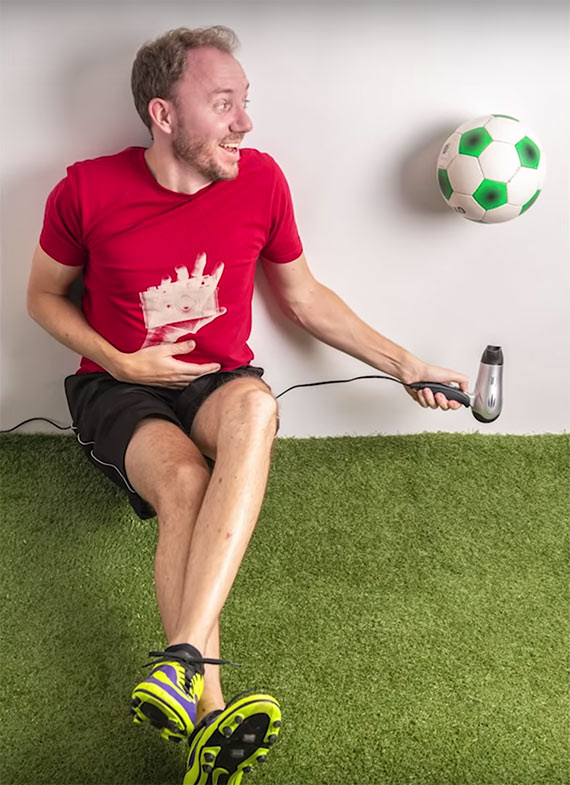
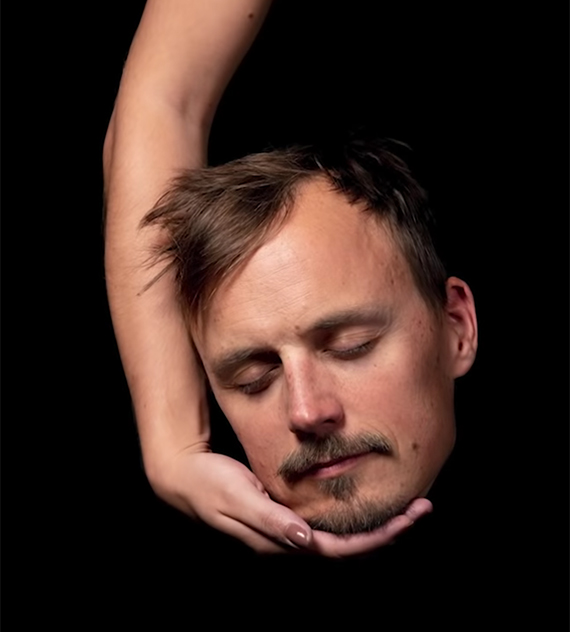
7. Floating Parts
For the final trick, you’ll want to grab a matte black cloth and clamp it to a backdrop stand. Then, use a pair of scissors to cut a hole large enough for a “piece” of your model to fit through. Try slipping a hand, a leg, or a head through the opening.
Use a focused light source to expose your disembodied subject and throw and distracting elements into shadow. You may also want to bring in an additional model to interact with whatever you have floating through the blackness.
Don’t let levitation photography intimidate you. These fun approaches are tailor made for beginners looking to experiment. Try a few out and discover for yourself which illusion creates the most magical results!
Like This Article?
Don't Miss The Next One!
Join over 100,000 photographers of all experience levels who receive our free photography tips and articles to stay current:


Leave a Reply