Adobe’s Photoshop CC, along with its entire Photography package, is one of the most powerful tools available for amateur photographers. Terry White does a great job at explaining the new features found in Lightroom CC and Camera Raw, and the following video addresses one of these features, the Dehaze option:
Travel photos are the ones where dehazing is most often needed, since you don’t have any studio equipment or perfect conditions to help you take the best shots. Some of your photos might end up looking foggy. Here’s how to touch them up:
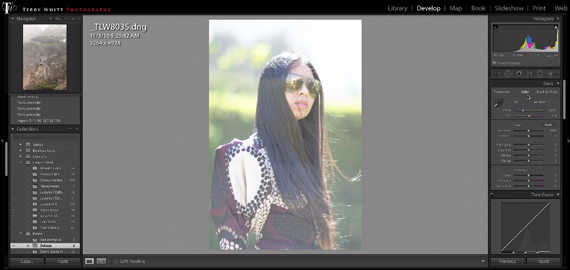
Notice how the sun makes the photo blurry and difficult to use.
How to Dehaze Photos with Lightroom
- Select the photo you want to dehaze and go to the Develop tab.
- Scroll down to the Effects panel and you’ll see a Dehaze slider. If you want to use haze as an effect for your photo, drag the slider to the left, but if you want to remove the fogginess drag it to the right. The higher the value, the clearer the photo will look.
- If you only want to dehaze a certain part of the photo, you can select the Adjustment brush and dehaze only the area you want to edit.
- If you want to use a lot of dehazing, open the image in Photoshop CC and go to Filter -> Camera Raw Filter. Use the Dehaze filter as many times as you want, so if you run the filter at 100 percent, applying the filter time and time again will get it 200 percent, 400 percent dehazed, or even more—as many times you want.

The end result looks much more clear and vivid.
So there you have it, the Dehaze feature in Adobe’s new products. What do you think of it? Is it useful for you?
Like This Article?
Don't Miss The Next One!
Join over 100,000 photographers of all experience levels who receive our free photography tips and articles to stay current:


Thanks Andrei for the guide on using dehaze. Especially since I am sort of an amateur myself and might be wanting to take outdoors photos soon when travelling :)
I also subscribed to the emails newsletter to know if you have more tips coming.
Thank you
To use the dehaze multiple times you do not need photoshop. Simple use a graduated filter and duplicate is as many times you need it!
Dear Andrei,
Thank you for the article, it shows mostly you or Terry have read the manual too, just one comment.
You state clearly lightroom cc is great tool for amateurs, I like to know what in your opinion professionals are using ??? And if so I suggest you confront Adobe with your inspirational vision and ask them to develop a specific pro version of LR