When you’re out photographing, you might get into the zone and end up taking hundreds or even thousands of images. Taking pictures is fun, but going through them later at home definitely isn’t. It can be a boring and time-consuming task. Photographer James Popsys shares how to efficiently sort your images and pick out your best shots using Lightroom:
A simple solution to the problem is to take fewer photos. However, that’s a risky option. By taking lots of photos, you can be sure that you’ve captured the moment with many options to choose from. On the flip side, you need to invest more of your time going through the photos.
“When I get home with thousands of my photos, I need an effective way to choose the best ones that’s consistent, that works, and that doesn’t make me pull too much of my hair out.”
Choosing Photos in the Field
Sometimes, when out in the field, you’ll get a sense that you have taken an image that is better than the rest. You might have captured the decisive moment, and you can’t risk forgetting about it amidst the hundreds and thousands of other photos you take. When this happens, simply switch the focusing mode to manual, then place your hand over the lens, and take a photo.
This will simply insert a black frame in the sequence. Later, when you’re going through the images on your computer, you can refer to the black frames as bookmarks to easily locate those images.
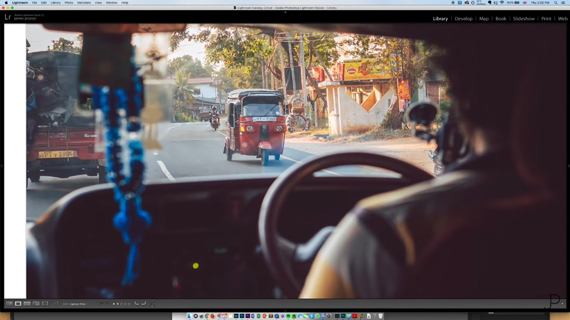
Choosing Photos in Lightroom
“My advice whenever you get home from a shoot is that you should import to Lightroom.”
Popsys suggests that you import all of the photos from the day’s shoot into Lightroom and not delete any of them. You may think that most of the photos are absolute rubbish but you never know what the client may ask for.
“I’ve gotten into a practice of never getting rid of anything because I just don’t see the advantage. Storage is cheap. It doesn’t take all that long to import photos and as far as I can tell, there’s no real downside but lots of upside.”
While Popsys recommends that you import the photos as soon as you get home, he doesn’t suggest that you start going through them trying to sort them out immediately. Sorting images can get boring, so it’s better not do it immediately after a tiring day.
Star Rating System in Lightroom
If you’re familiar with how Lightroom works, you’re aware of the star rating system there to help you rate and sort images. Well, Popsys has a certain system of his own:
1 star: An image needs to have two important things to achieve a single star. It needs to be interesting and should be focused well at the right places.
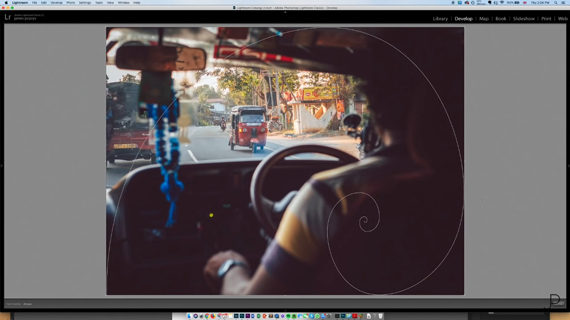
2 stars: When awarding an image a single star, he also keeps his eyes out to see if the composition works. However, he doesn’t stress too much about composition, as he can use the crop tool to adjust the composition later.
3 stars: If a photo earns 2 stars, he then evaluates the exposure of the image. If the image is exposed correctly, he awards it 3 stars.
In this first round, Popsys likes to go through all of his photos awarding them with up to 3 stars. Once done with all the photos, he then filters the images so that Lightroom shows only those images that have 2 or 3 stars.
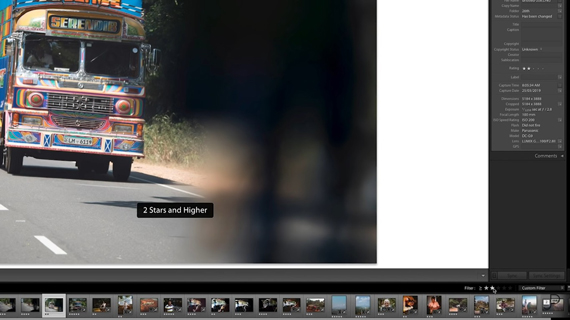
“This means that the images that I’m looking at are all interesting and in focus, and they’re at least either compositionally good, or they’re exposed well.”
Keep in mind that you can make adjustments to the composition by cropping the images. Also, modern-day cameras generate files that are pretty flexible for post-processing. But, if you need to crop and adjust the exposure so much that it starts affecting the image quality negatively, you’d be better off giving the files a poor rating in the first place.
After you’ve made some adjustments to the composition and exposure, chances are that you’ll have more 3-star photos. Now, this becomes an excellent point toy start looking at photos that you can actually edit, and that could end up being the best ones.
“At the end of that process, I’m hoping to end up with half a dozen images maybe that have 4 stars. And the whole point of 4 star is that they get elevated for me to pick the best one from a much smaller selection of good ones.”
Once you’ve funneled down to the 4-star rated images, you can choose the best from the small bunch and rate them 5 stars. Narrowing down the basket to choose from makes this step more convenient.

These steps may sound a bit complex at first, but as you get used to the culling process, you’ll realize that it actually saves you a lot of time. And you’ll be surprised with the quality of 5-star photos you’ll end up getting.
Like This Article?
Don't Miss The Next One!
Join over 100,000 photographers of all experience levels who receive our free photography tips and articles to stay current:


Leave a Reply